
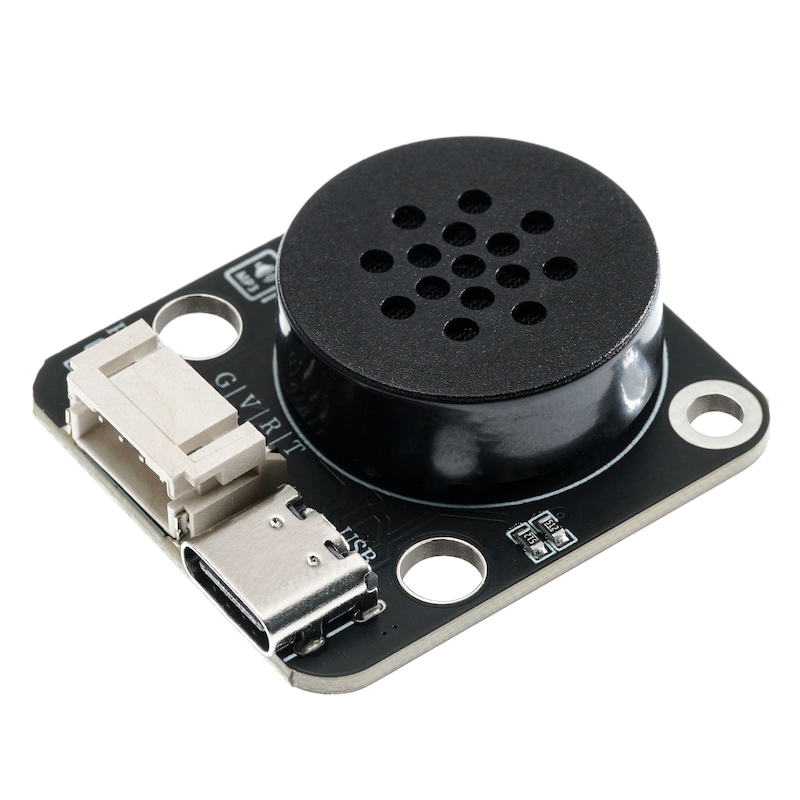
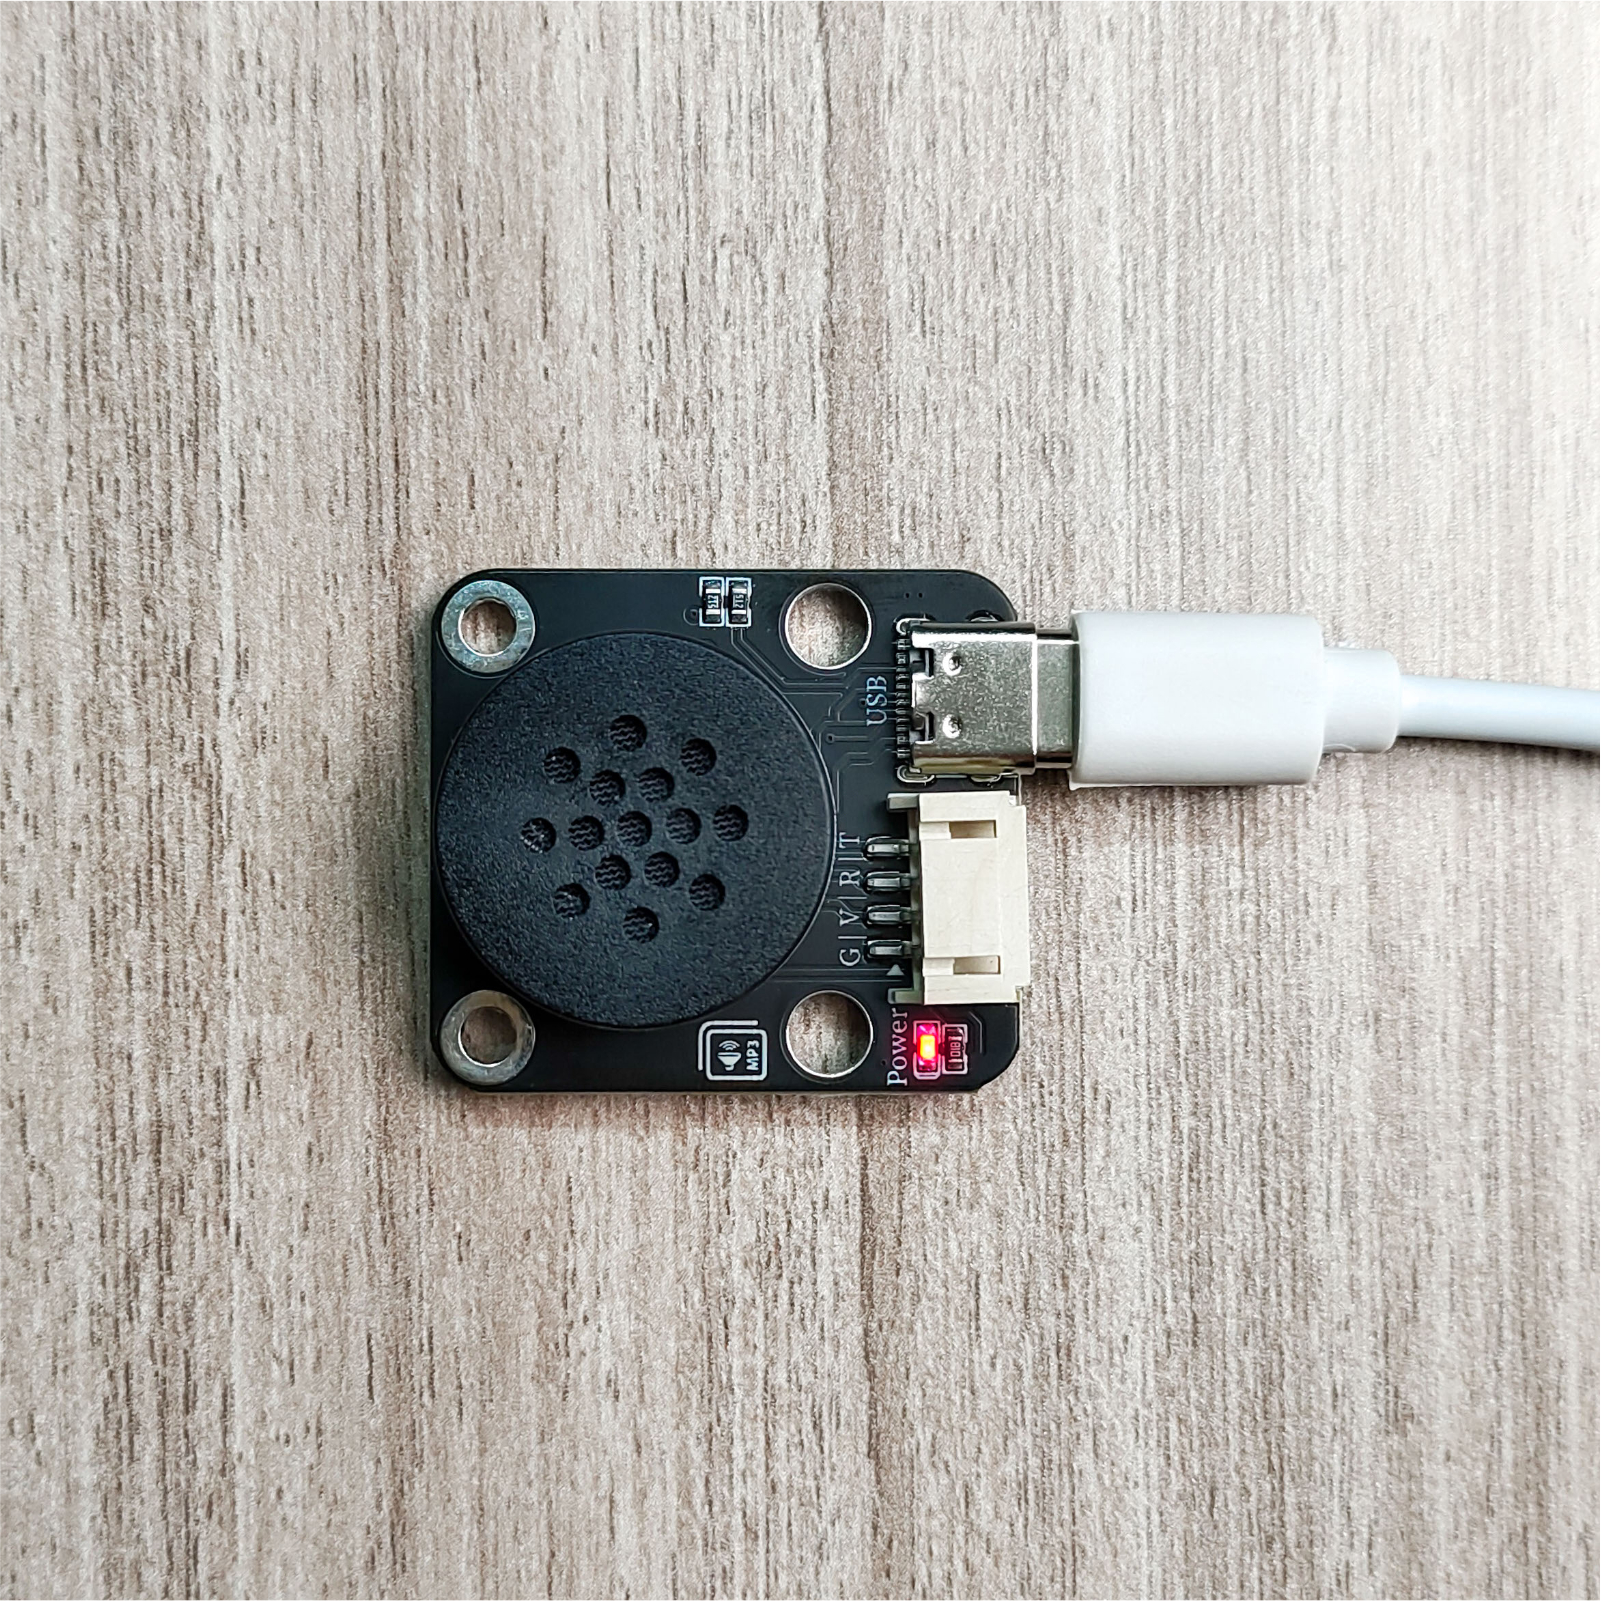
1. Introduction
2. Schematic
HS-S49A-PL-MP3 Module SchematicClick to view
Module Parameters
Pin Name | description |
|---|---|
VCC | VCC (Positive Power Input) |
GND | GND (Negative Power Input) |
R | Signal Reception Pin |
T | Signal Transmission Pin |
USB | Download and store audio |
Power Supply Voltage: 3.3V / 5V
Connection method: PH2.0 terminal wire
Installation method: double screw fixing/Lego assembly
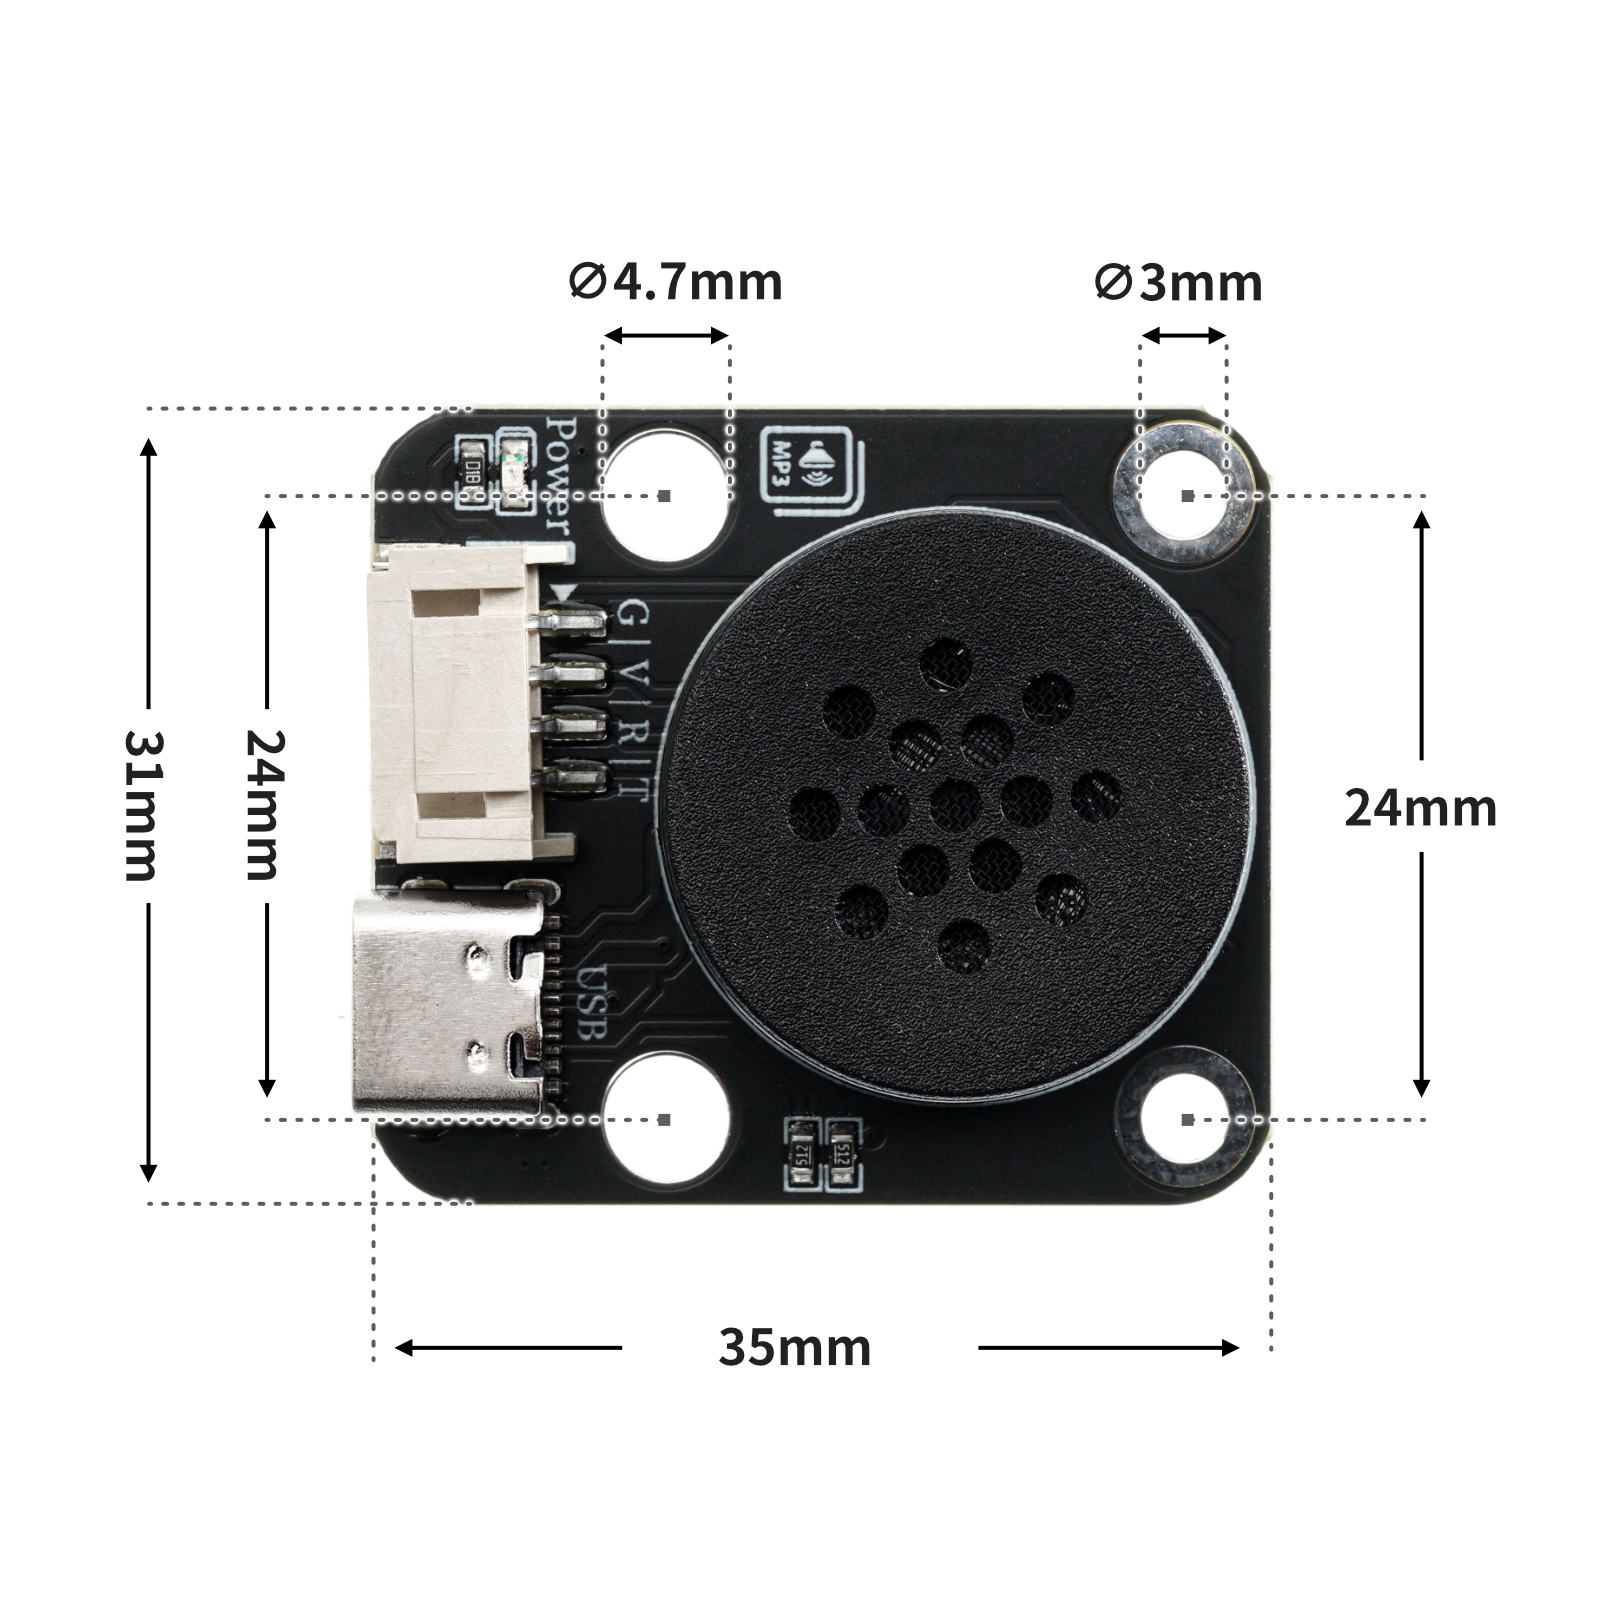
4, Circuit Board Size
5. Add Arduino library files and Mind+ library files
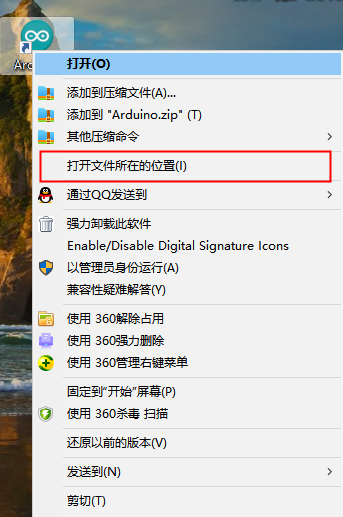
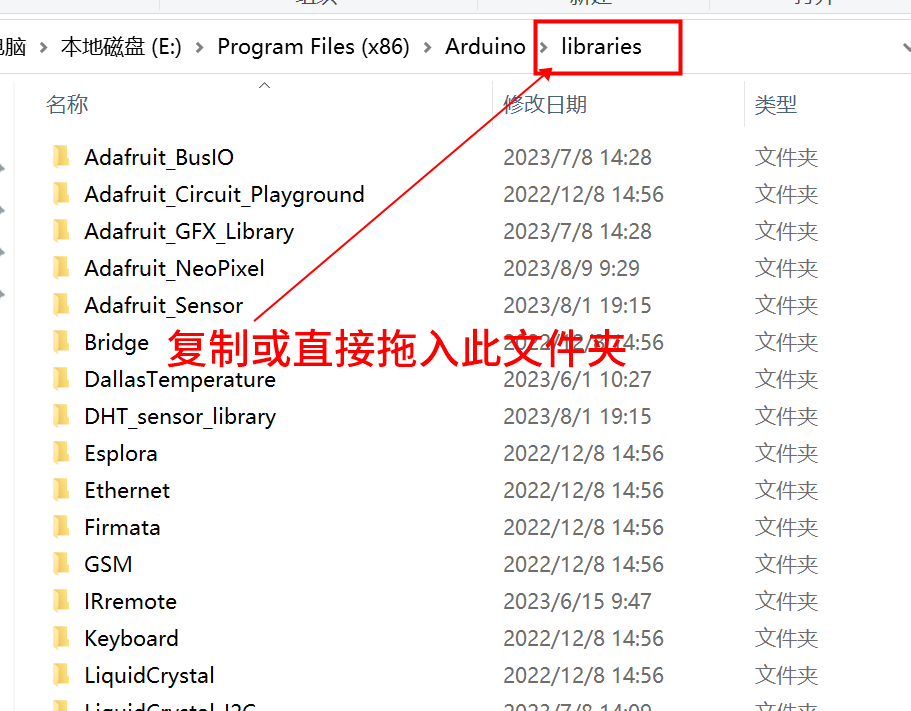
First find the Arduino library folder:
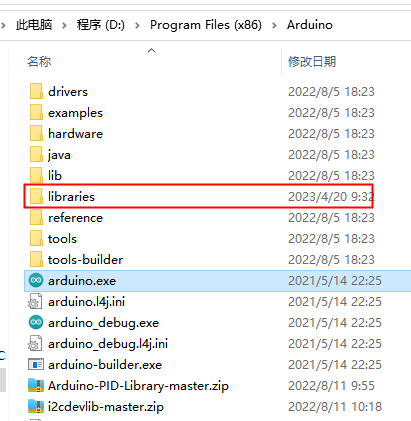
Copy the library file to the libraries folder in the Arduino IDE software directory and it's done:
Library file:Click to download
Add Mind+ library files
Library file:Click to download
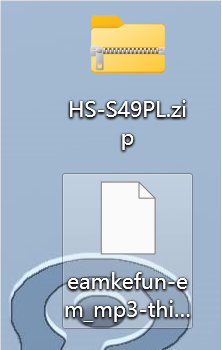
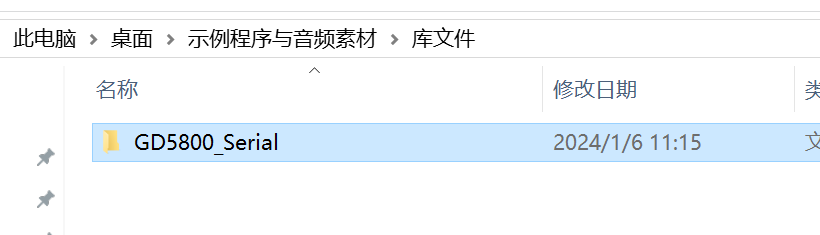
After downloading, unzip the file to get the file...
Step 2: Open the mind+ extension library.
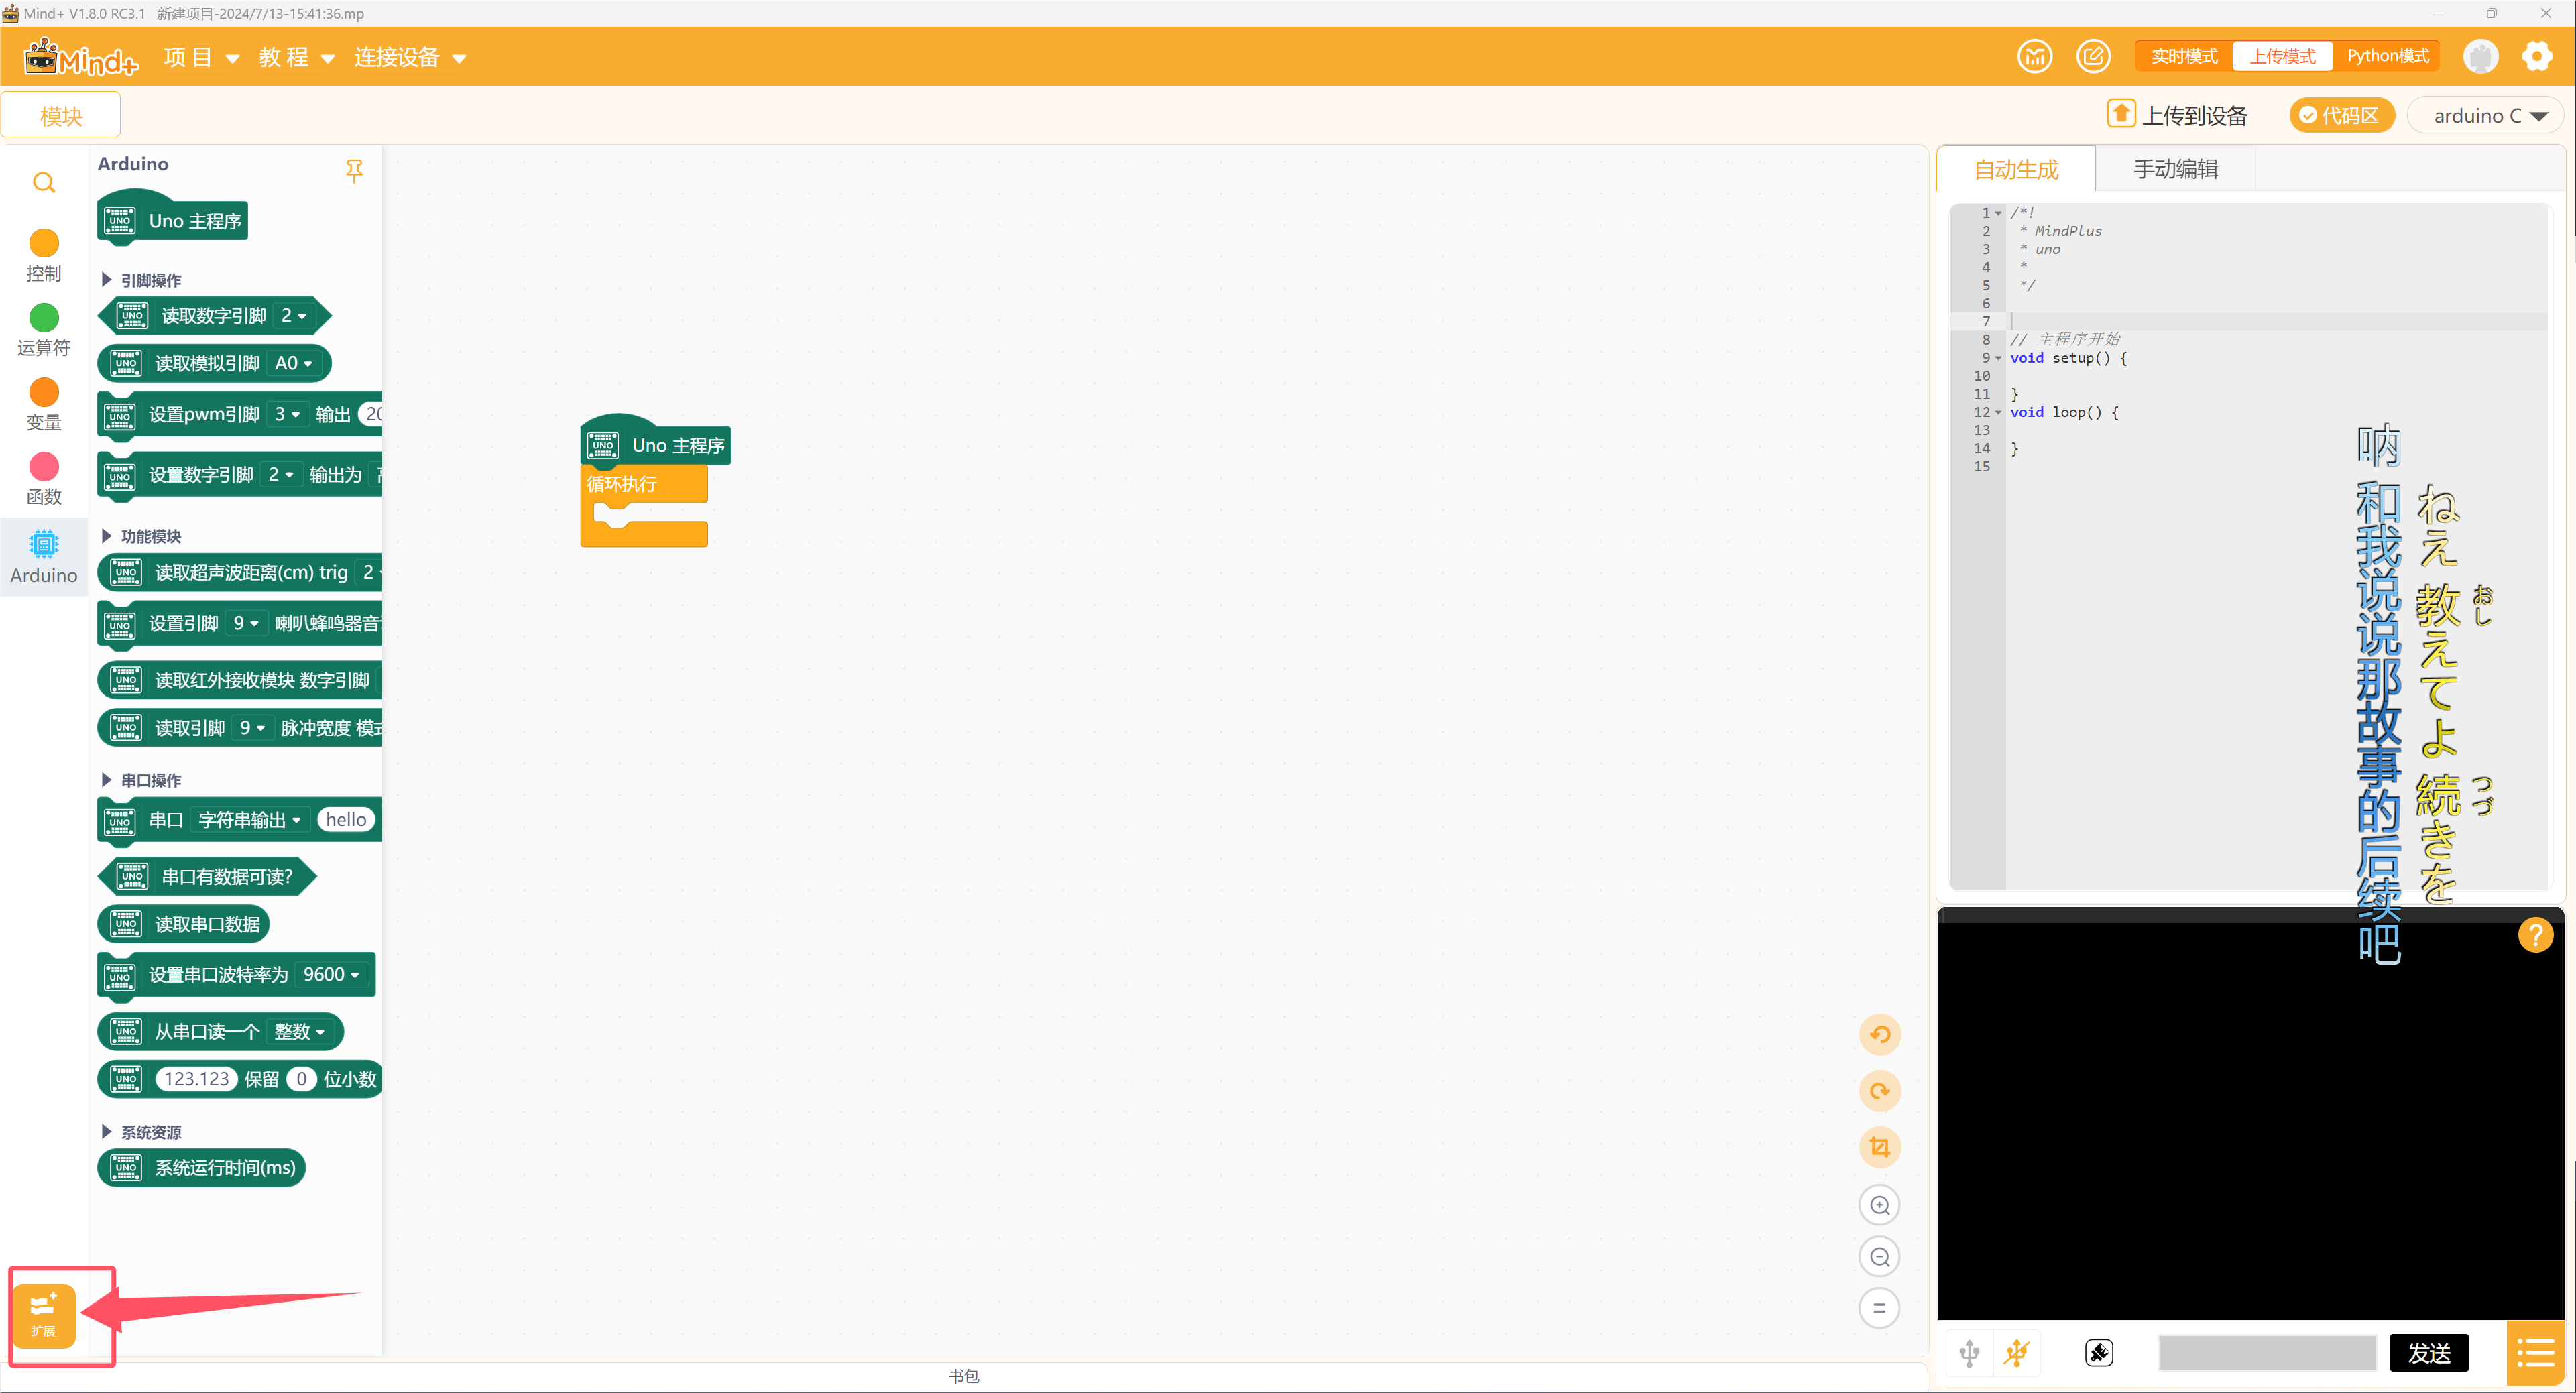
Step 3: Load the library and add the file just added
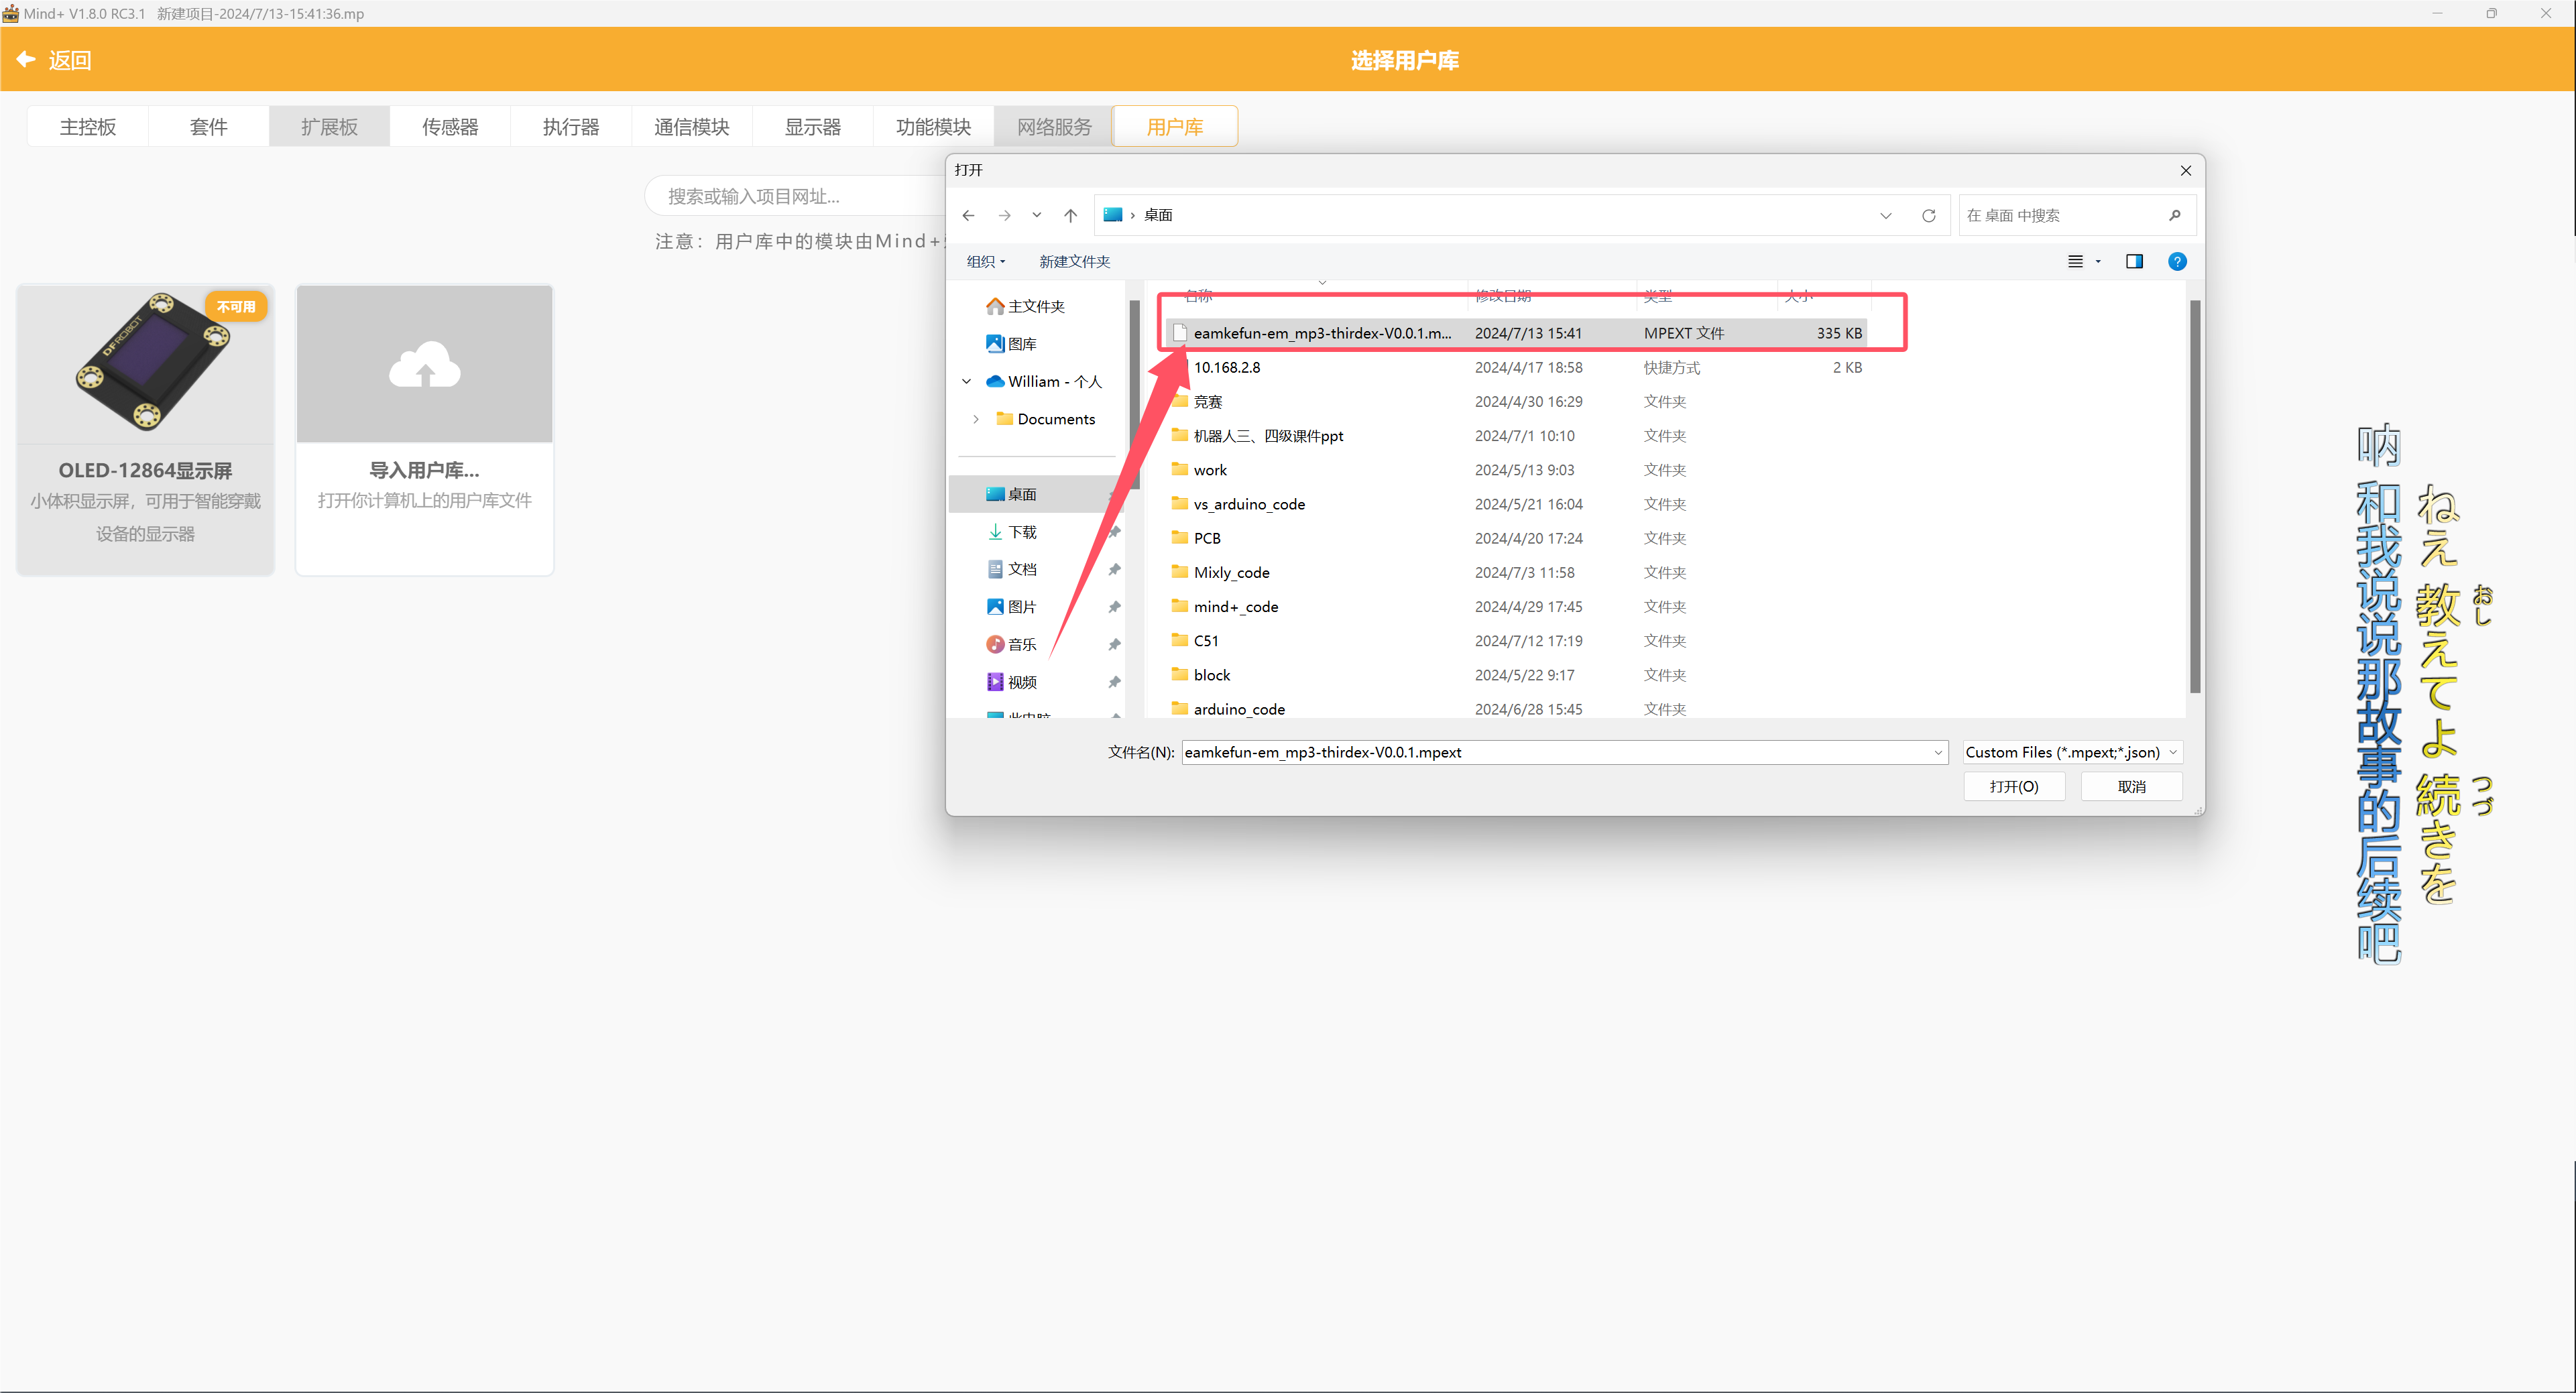
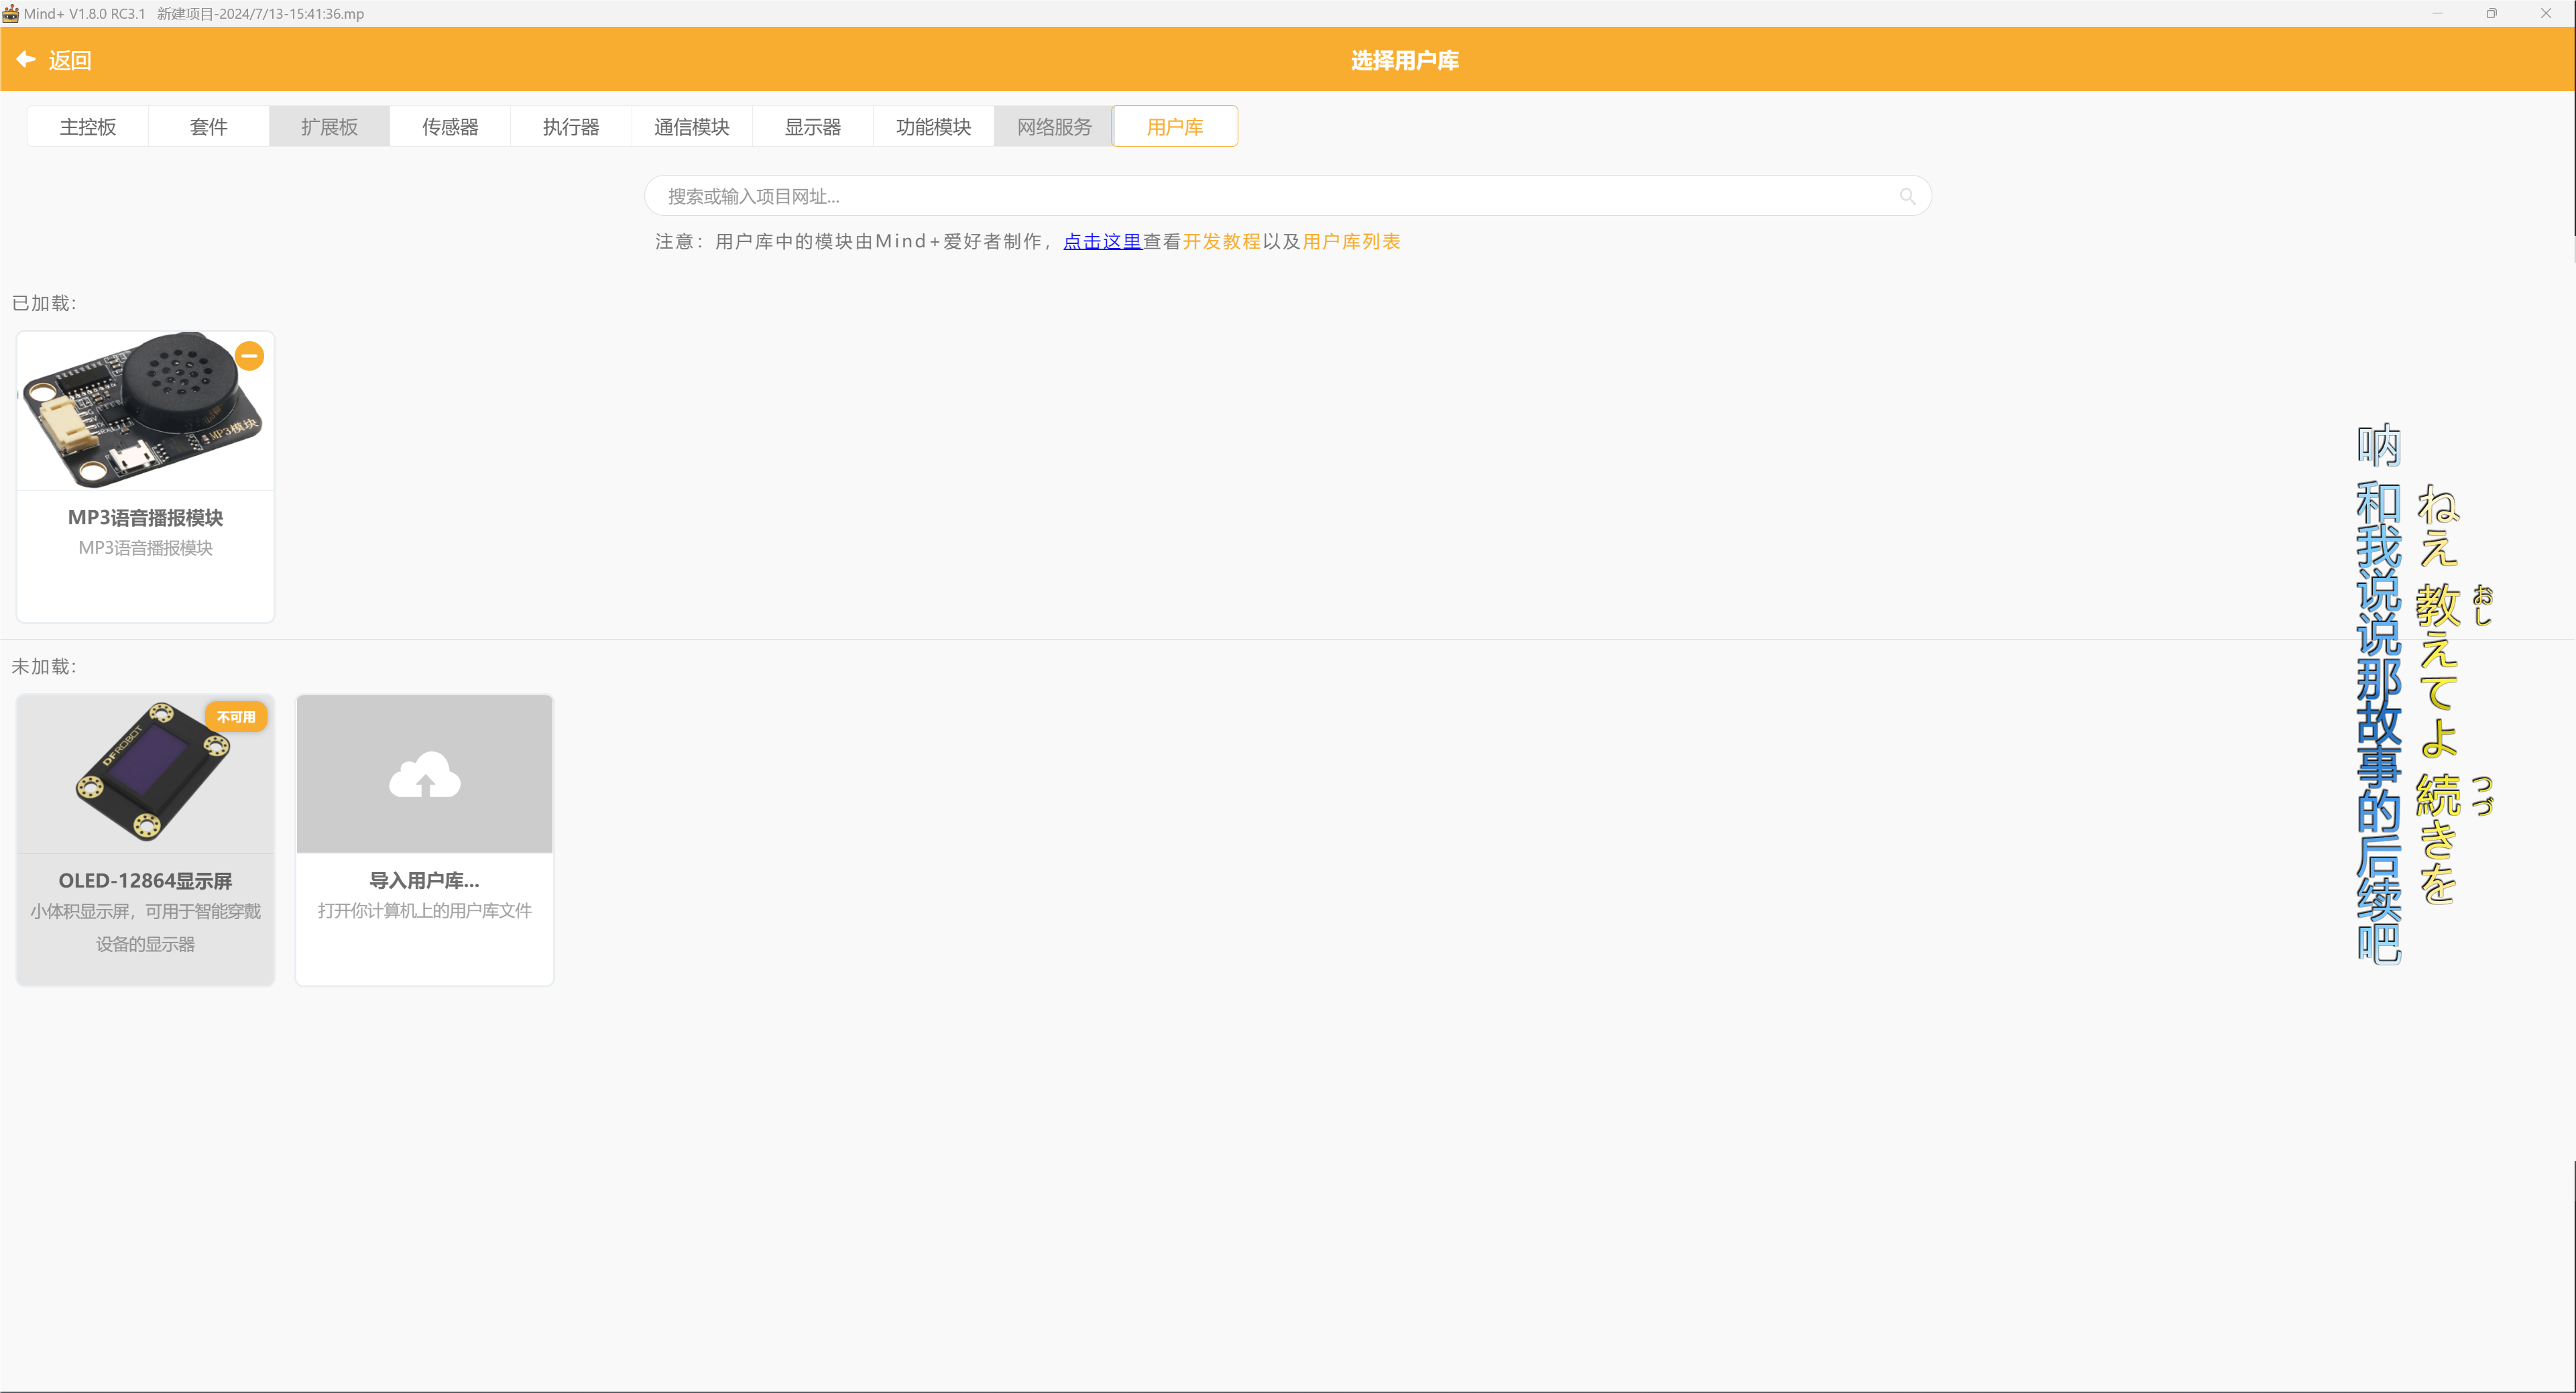
Now it can be used.
6. Download and store audio.
1. Connect the MP3 player module to the computer via the USB interface
2. Double-click to open My Computer
3. Copy the MP3 audio file and paste it into the MP3 playback module to move to disk G
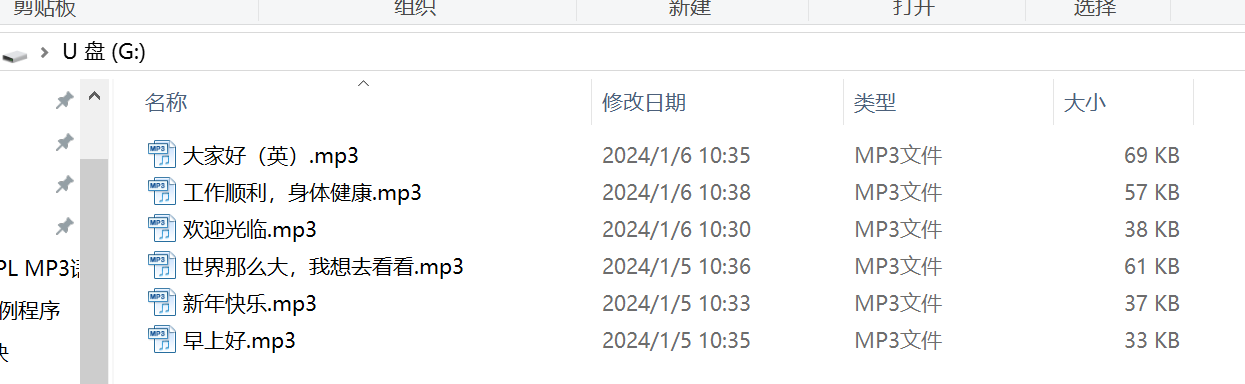
Audio file:Click to download
7. Arduino IDE example program
Attention: If prompted with an error message about the library file during program upload, please import the library file first!
Arduino IDE Library Download and Import Tutorial:Click to view
Example program (UNO development board):
#include <GD5800_Serial.h>
GD5800_Serial mp356(5, 6);
void setup(){
mp356.begin(9600);
delay(1000);
mp356.setLoopMode(MP3_LOOP_ALL);
mp356.setVolume(255);
}
void loop(){
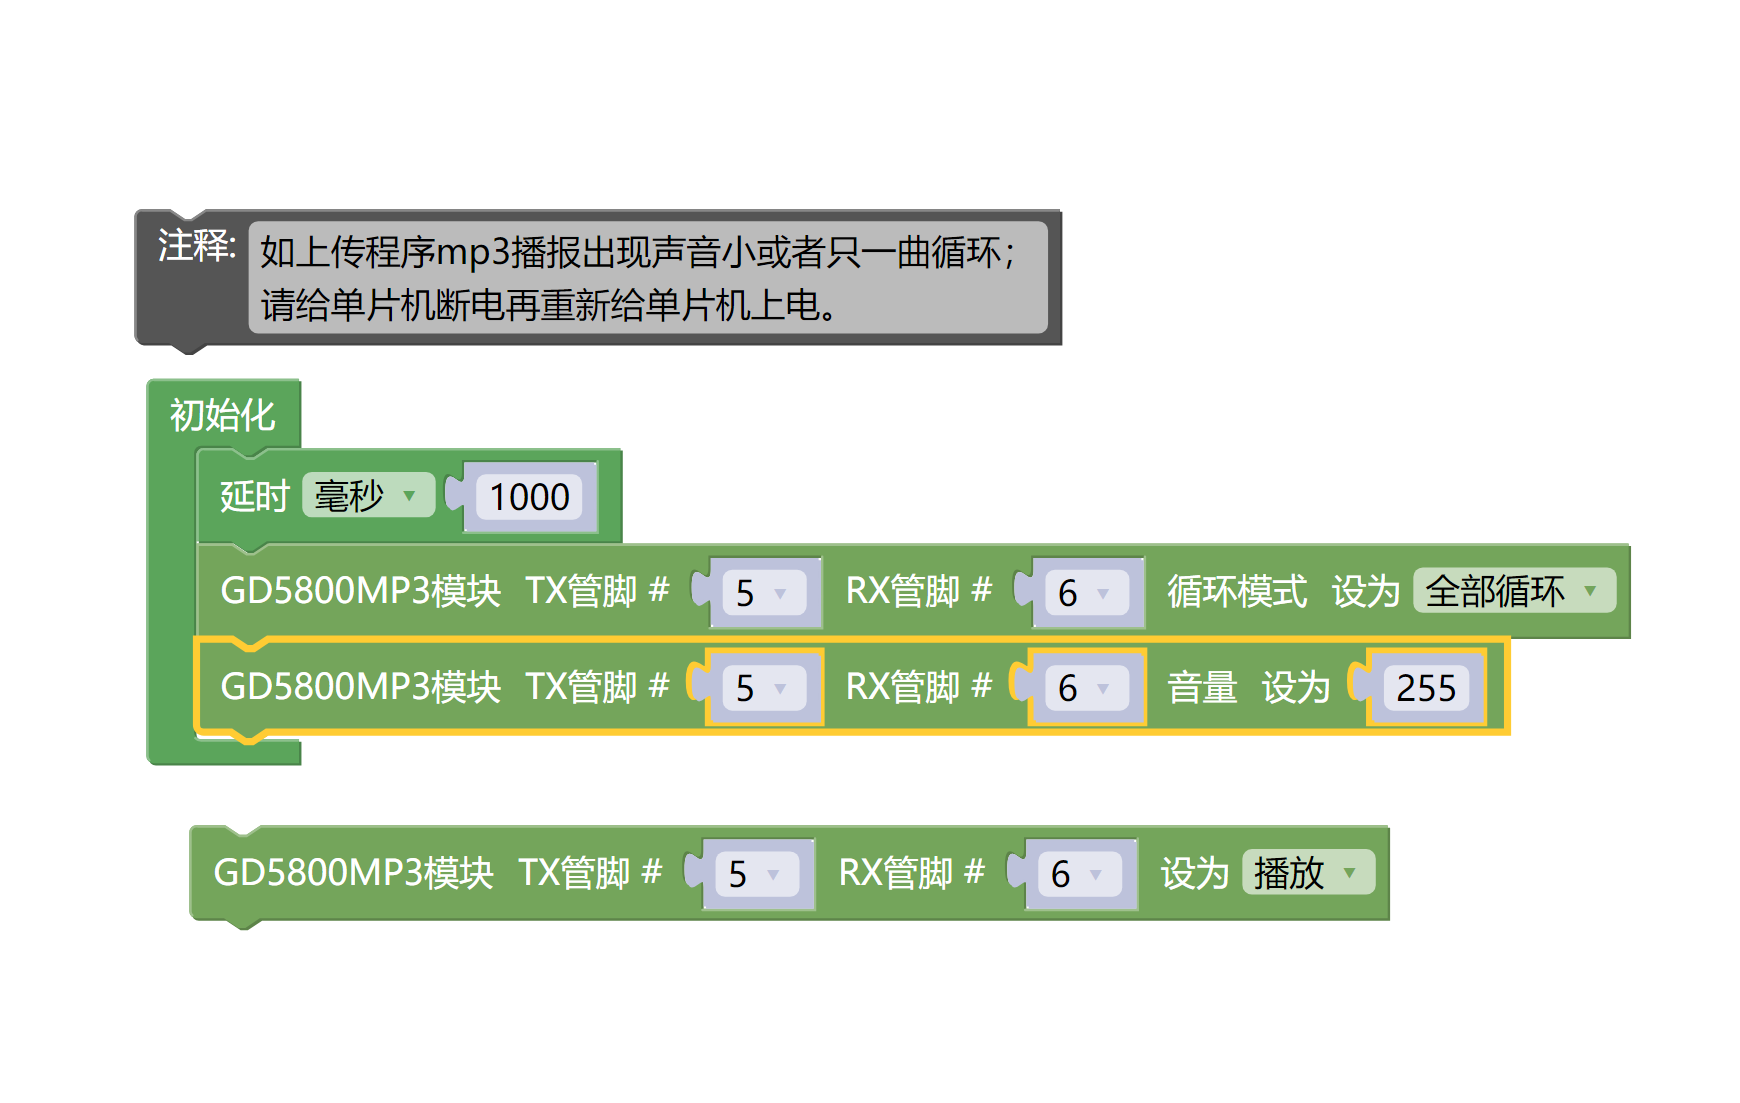
//如上传程序mp3播报出现声音小或者只一曲循环;
//请给单片机断电再重新给单片机上电。
mp356.play();
}
8, ESP32 Python Example (for Mixly IDE / MiXChip)
Choose the development board Python ESP32 [ESP32 Generic(4MB)] and upload in code mode
Attention: If prompted with an error message about the library file during program upload, please import the library file first!
Download and import tutorial for Mixly IDE ESP32 library:Click to view
Example program (ESP32-Python):
import machine
import time
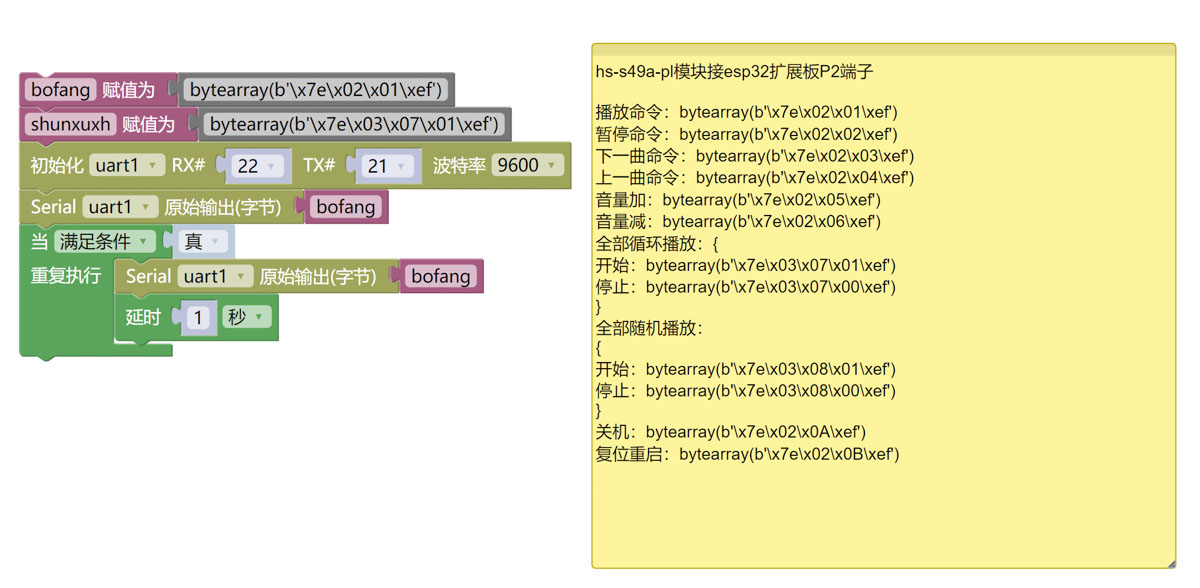
bofang = bytearray(b'\x7e\x02\x01\xef')
shunxuxh = bytearray(b'\x7e\x03\x07\x01\xef')
uart1=machine.UART(1, tx=21, rx=22, baudrate=9600)
uart1.write(bofang)
while True:
uart1.write(bofang)
time.sleep(1)
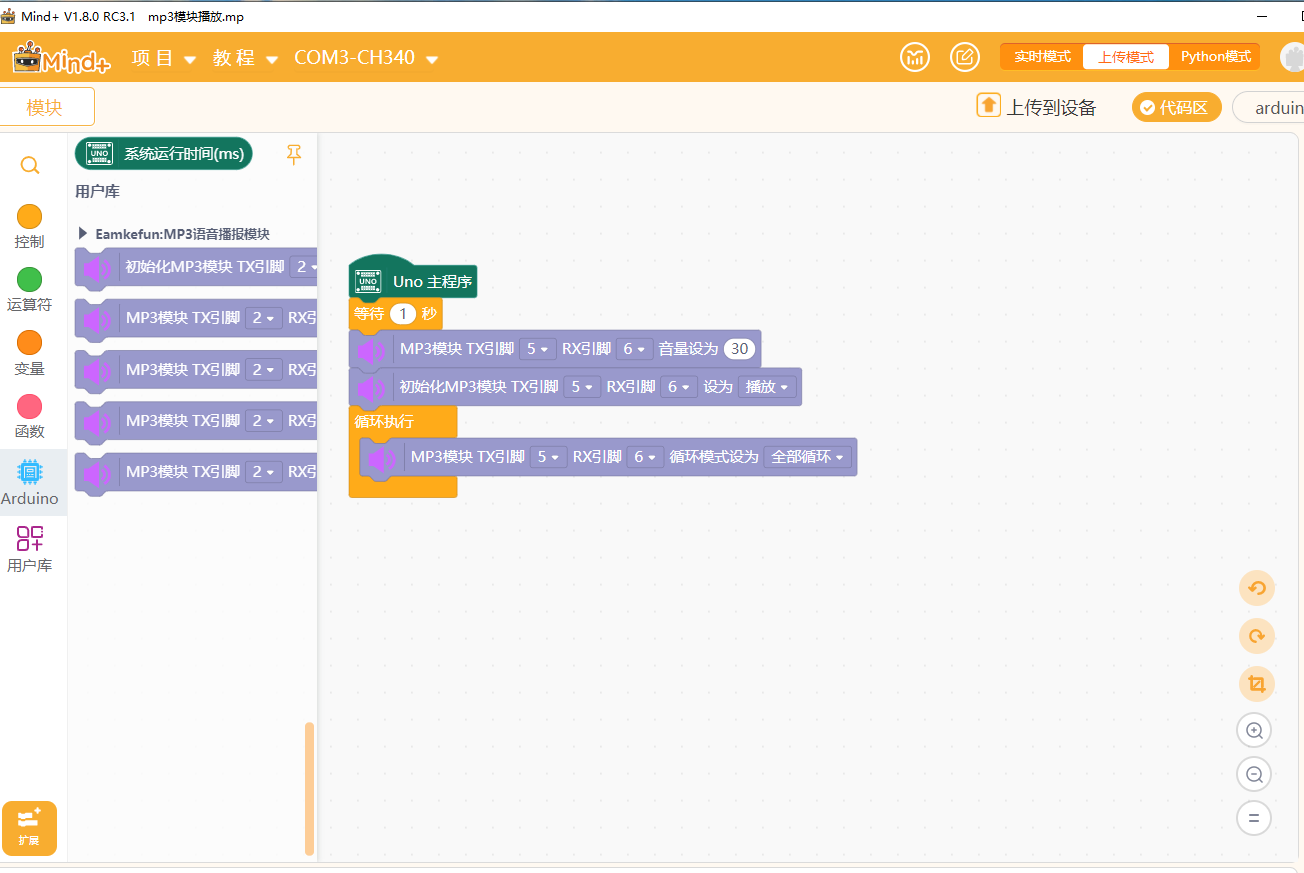
9, MiXChip Mixly Example Program (graphic language)
Example program (UNO development board):Click to download
Attention: If prompted with an error message about the library file during program upload, please import the library file first!
Download and import tutorial of Mixly IDE Arduino library:Click to view
Example Program (ESP32 Development Board):Click to download
Attention: If prompted with an error message about the library file during program upload, please import the library file first!
Download and import tutorial for Mixly IDE ESP32 library:Click to view
10, Test Environment Setup
Arduino UNO Test Environment Setup
Prepare Components:
HELLO STEM UNO R3 DEVELOPMENT BOARD *1
HELLO STEM UNO R3 P EXPANSION BOARD *1
USB TYPE-C DATA CABLE *1
USB Micro Data Cable *1
MP3 Voice Broadcast Module (HS-S49PL) *1
PH2.0 4P socket to Dupont wire *1 or PH2.0 4P double-ended socket wire *1
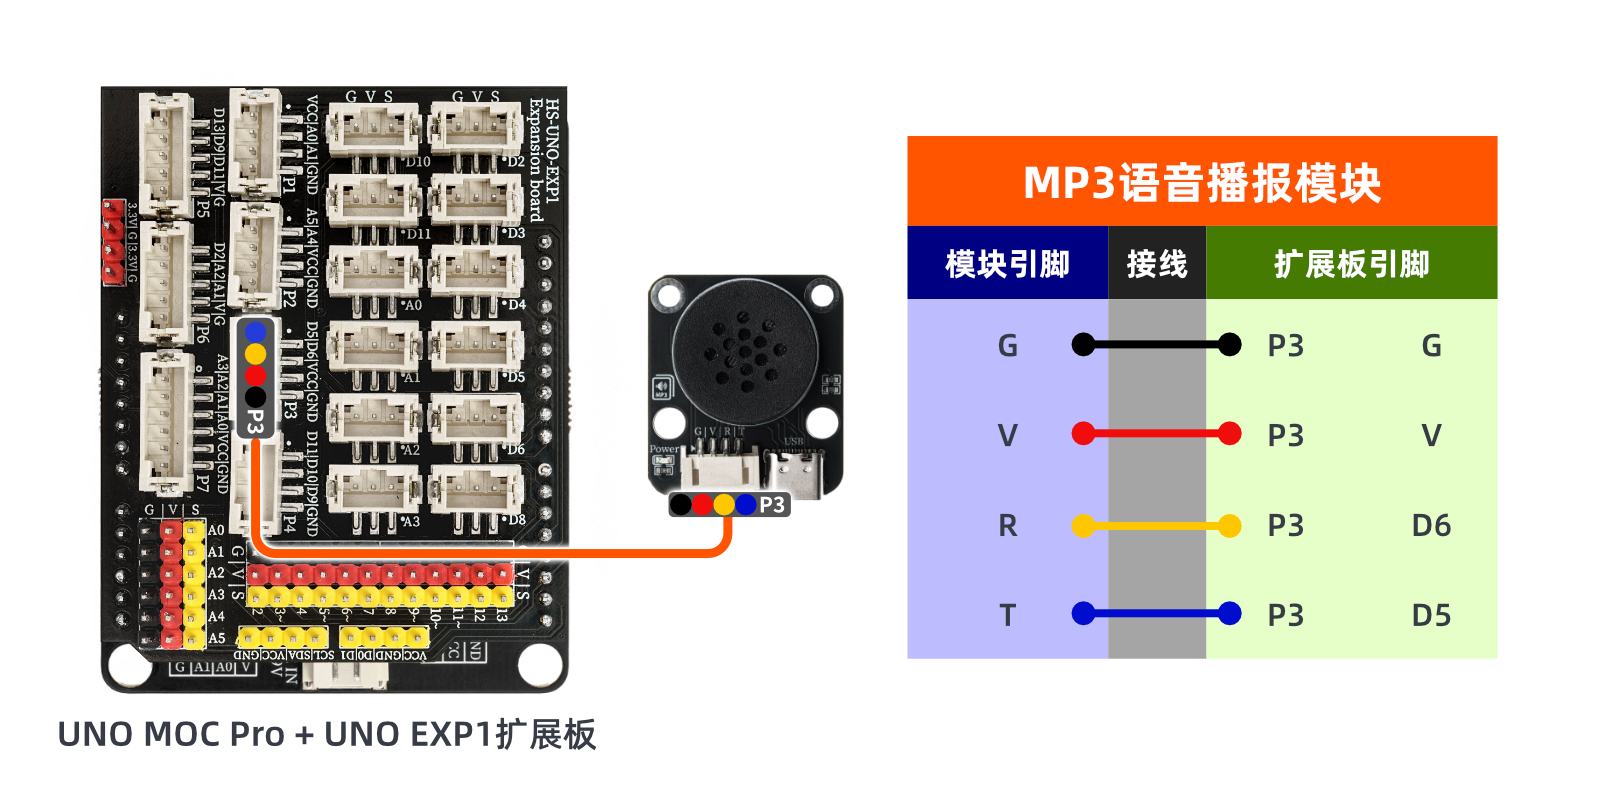
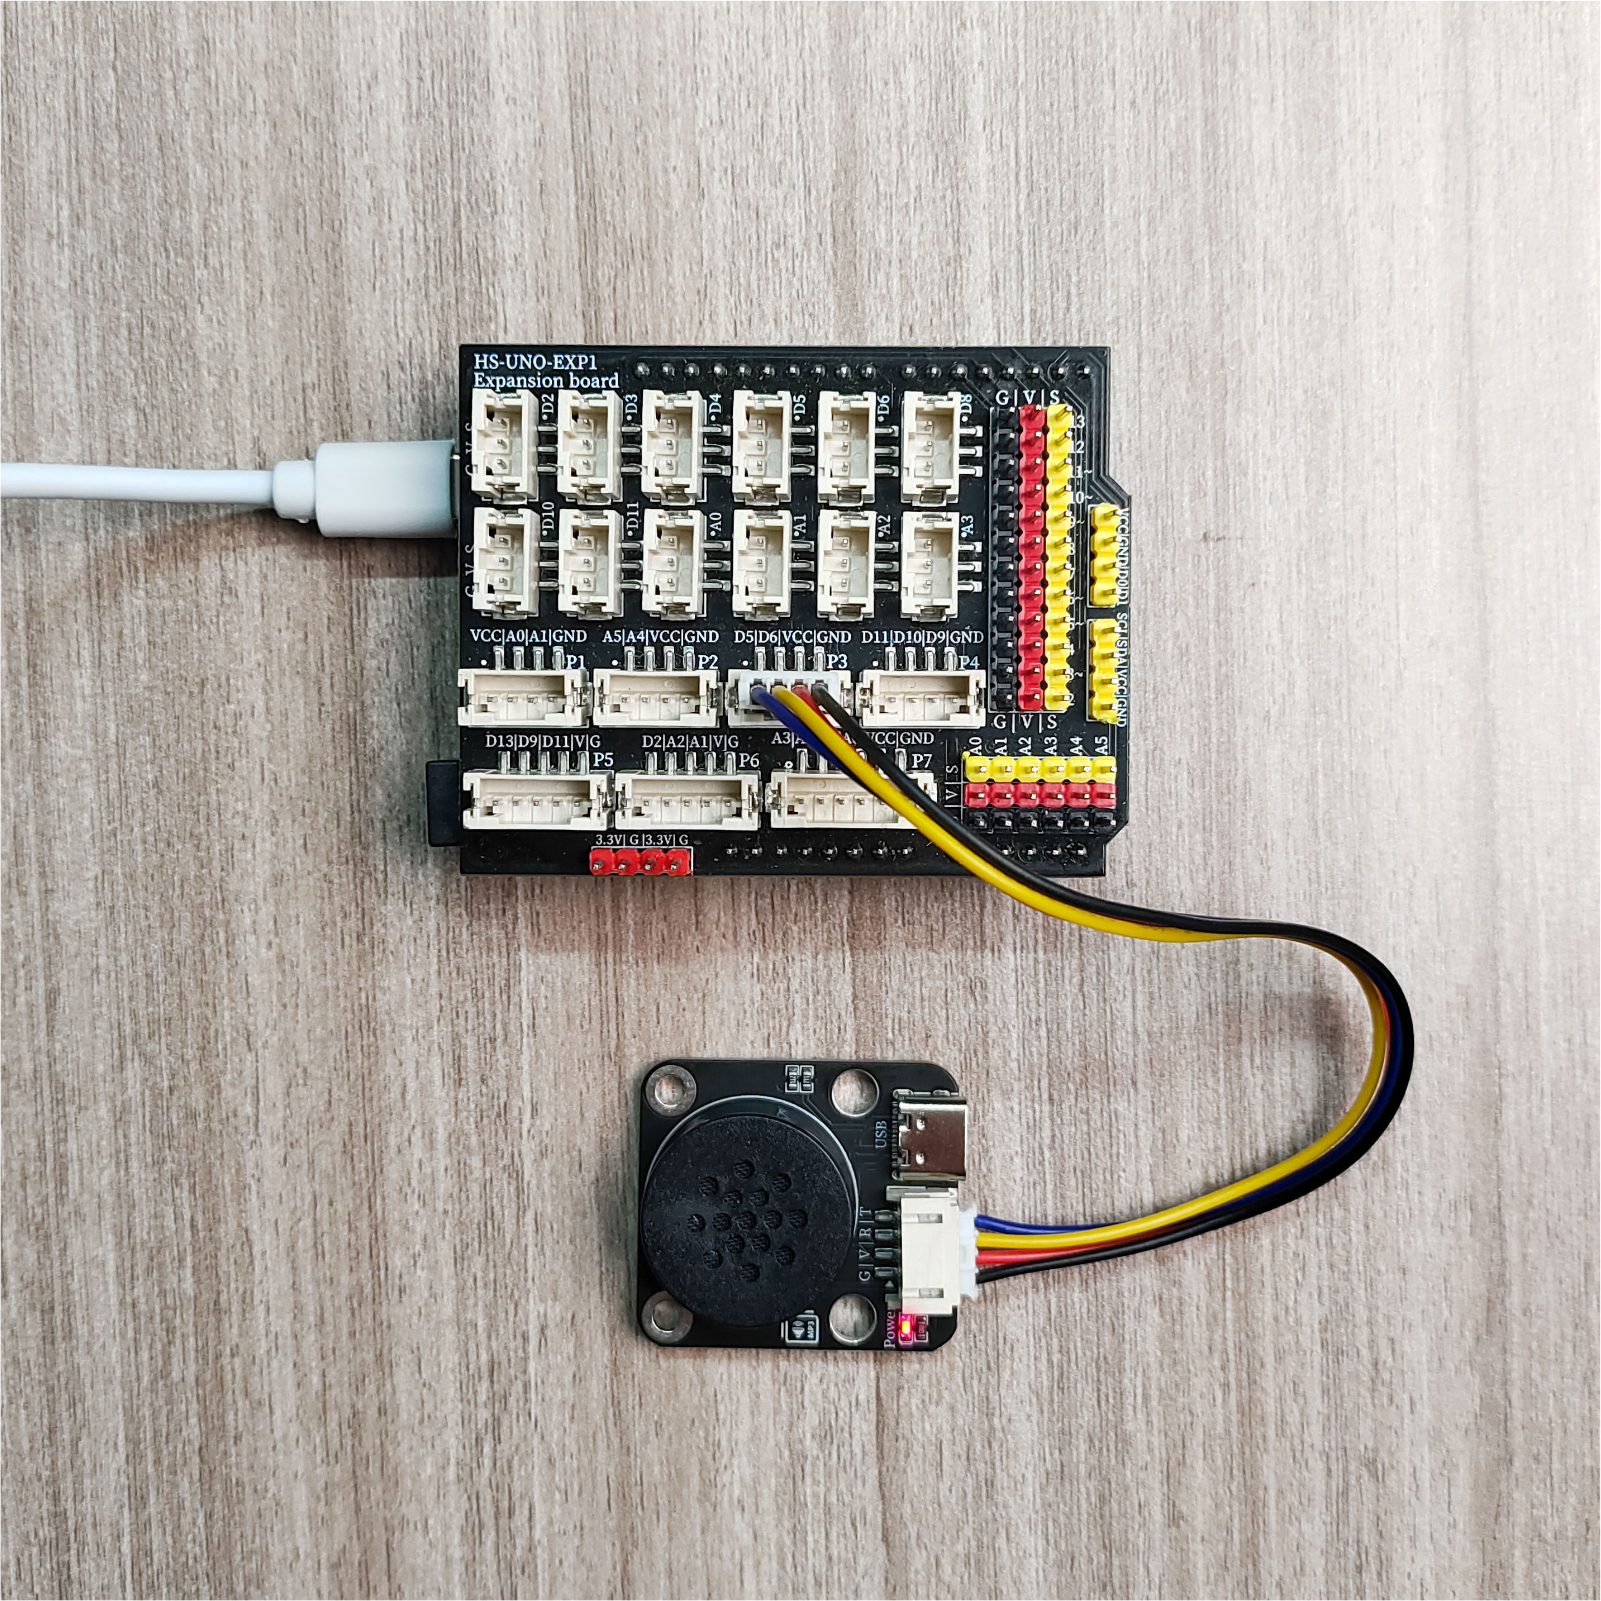
Circuit wiring diagram:
ESP32 Test Environment Setup
Prepare Components:Pending update...
Circuit wiring diagram:Pending update...
11, Video Tutorial
Video tutorial:Click to view
12, test result
Arduino UNO test results:
After the device is connected and the program is burned to the development board, you can hear the MP3 play the stored audio.
ESP32 Test Results:
Pending update...