
1. Introduction
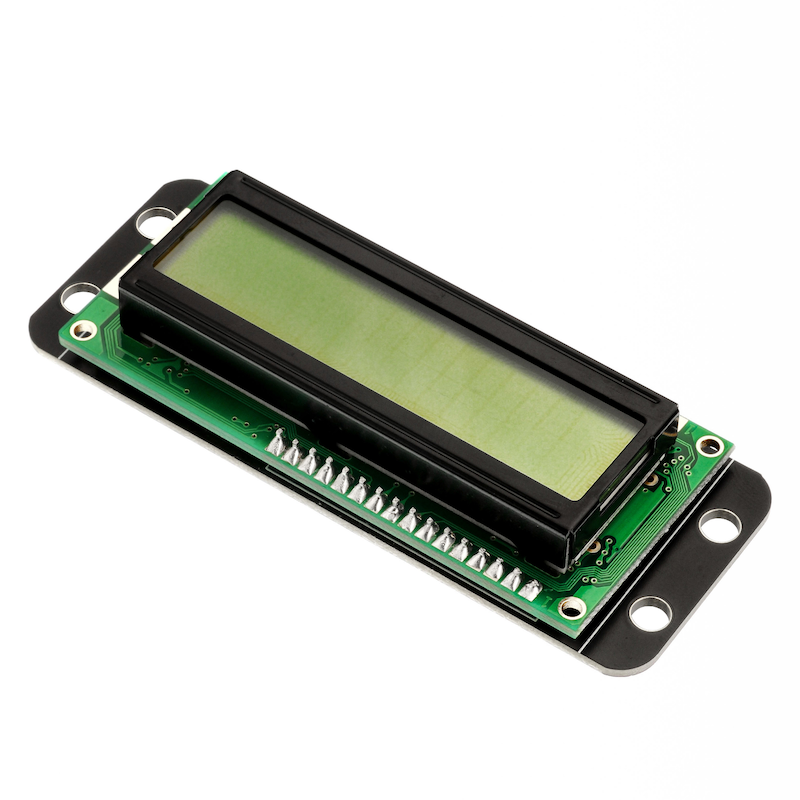
Due to the limited number of I/O ports on Arduino, directly using the I/O ports to drive an LCD1602 would consume a lot of I/O port resources and is not conducive to connecting more other devices. The IIC LCD1602 adapter board can greatly reduce the number of IO interfaces needed. The original 1602 screen requires 7 IO ports to drive, and our developed module can save you 5 IO ports. For Arduino beginners, you don't have to worry about the complicated liquid crystal driver circuit connections. You can simply display data with just two wires, and can also connect with other IIC devices to easily achieve data recording and display.
2. Schematic
LCD1602 Liquid Crystal Display-HS-F21-L SchematicClick to view
Module Parameters
Pin Name | description |
|---|---|
GND | GND (Negative Power Input) |
VCC | VCC (Positive Power Input) |
SDA | Bidirectional Data Communication Pin |
SCL | Clock Signal Communication Pin |
Power Supply Voltage: 3.3V / 5V
Connection method: PH2.0 4P terminal wire
Installation method: Fixed with four screws (compatible with LEGO)
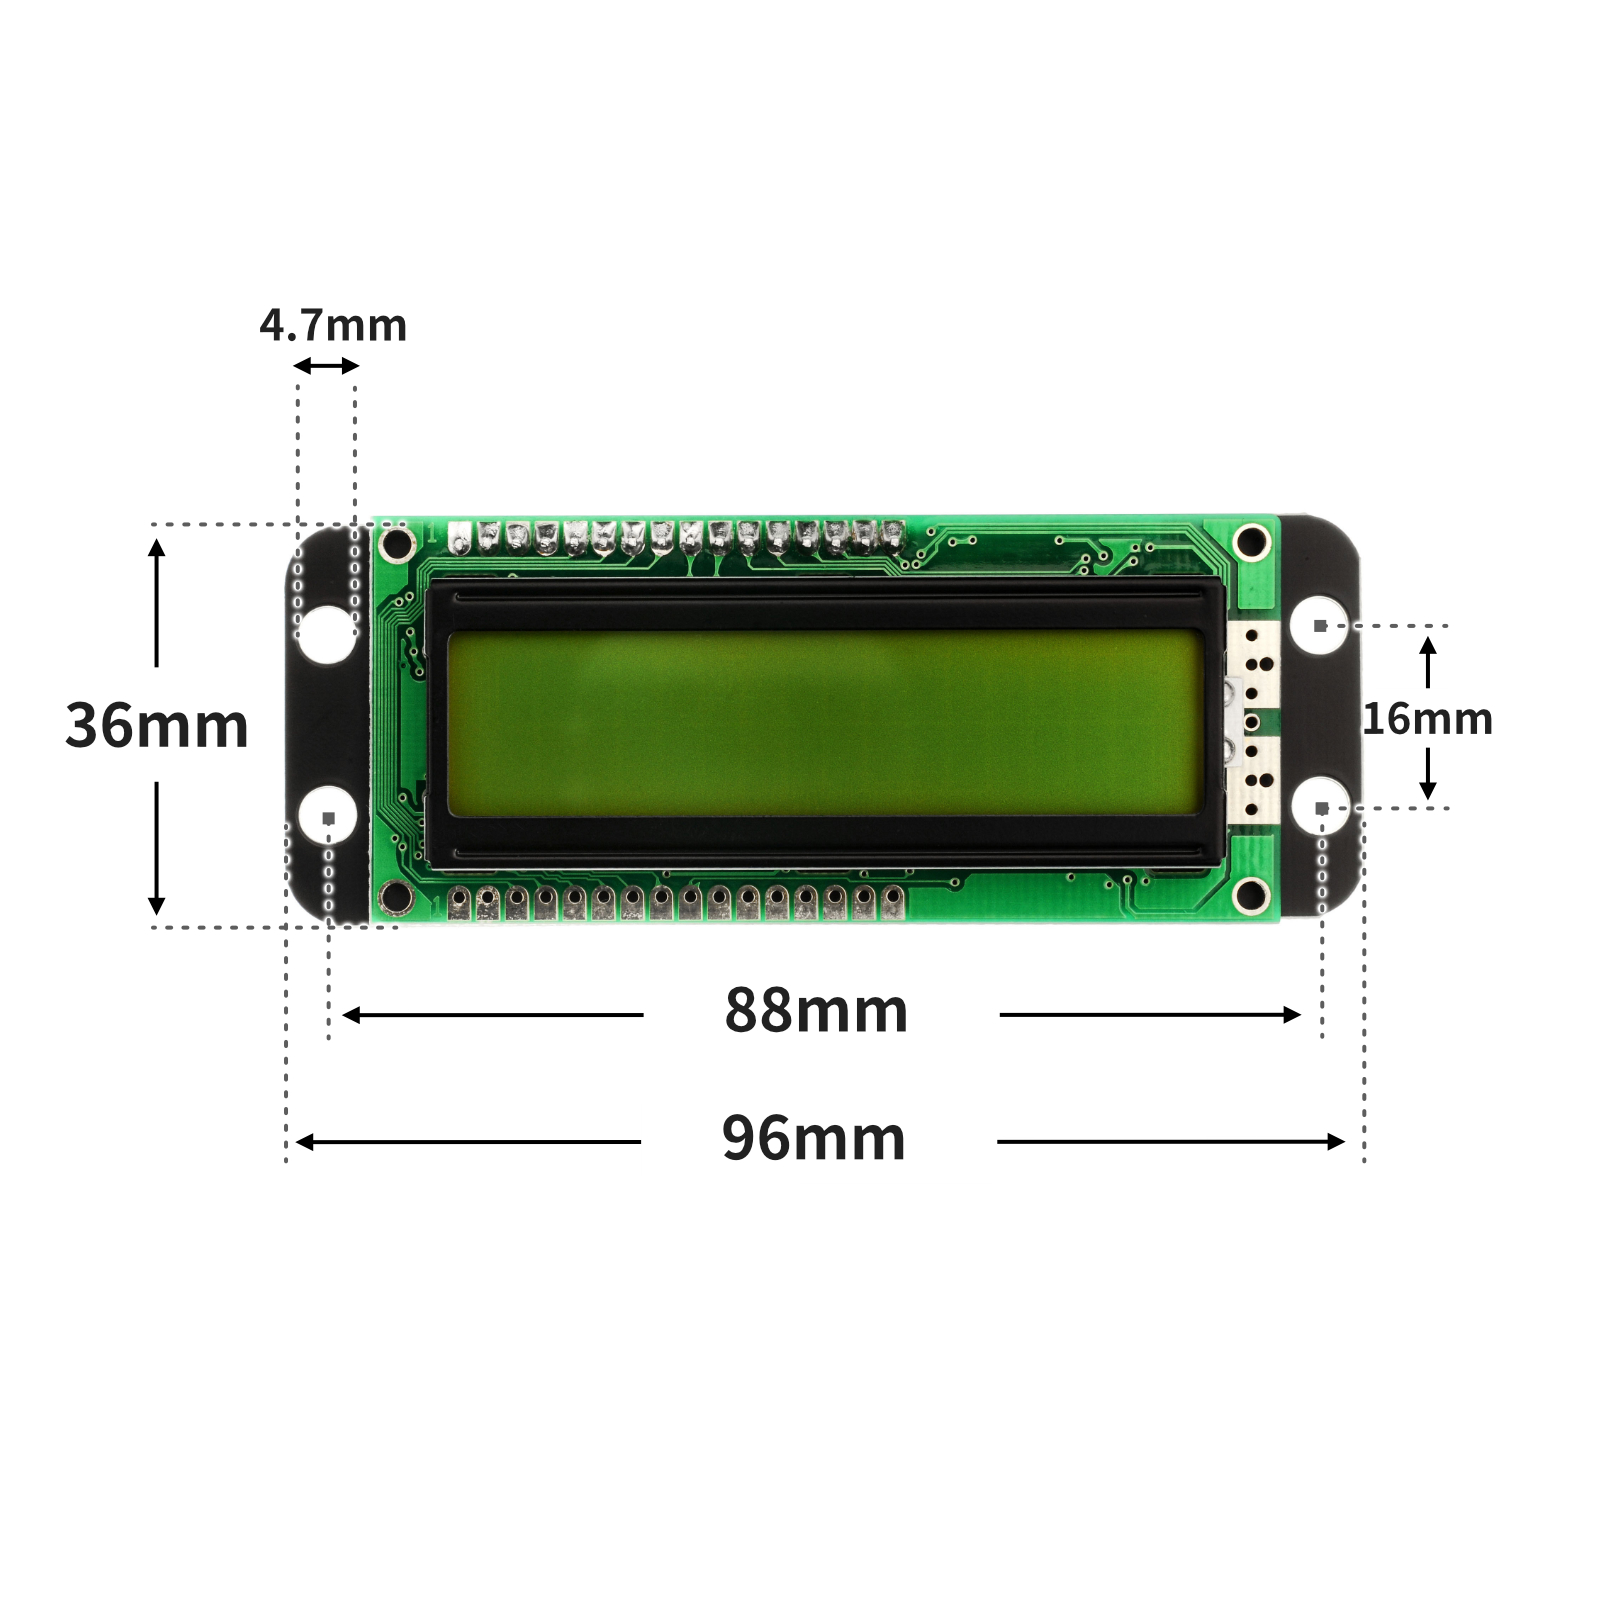
4, Circuit Board Size
5 of Arduino IDE example program
Attention: If prompted with an error message about the library file during program upload, please import the library file first!
Arduino IDE Library Download and Import Tutorial:Click to view
Example program (UNO development board):
#include <Wire.h>
#include <LiquidCrystal_I2C.h>
LiquidCrystal_I2C mylcd(0x27,16,2);
void setup(){
mylcd.init();
mylcd.backlight();
mylcd.clear();
mylcd.setCursor(1-1, 1-1);
mylcd.print("Hello STEM");
}
void loop(){
//液晶显示屏接开发板IIC
//scl引脚接开发板scl(A5),SDA引脚接开发板SDA(A4);
//用螺丝刀调节液晶显示屏显示字体亮度。
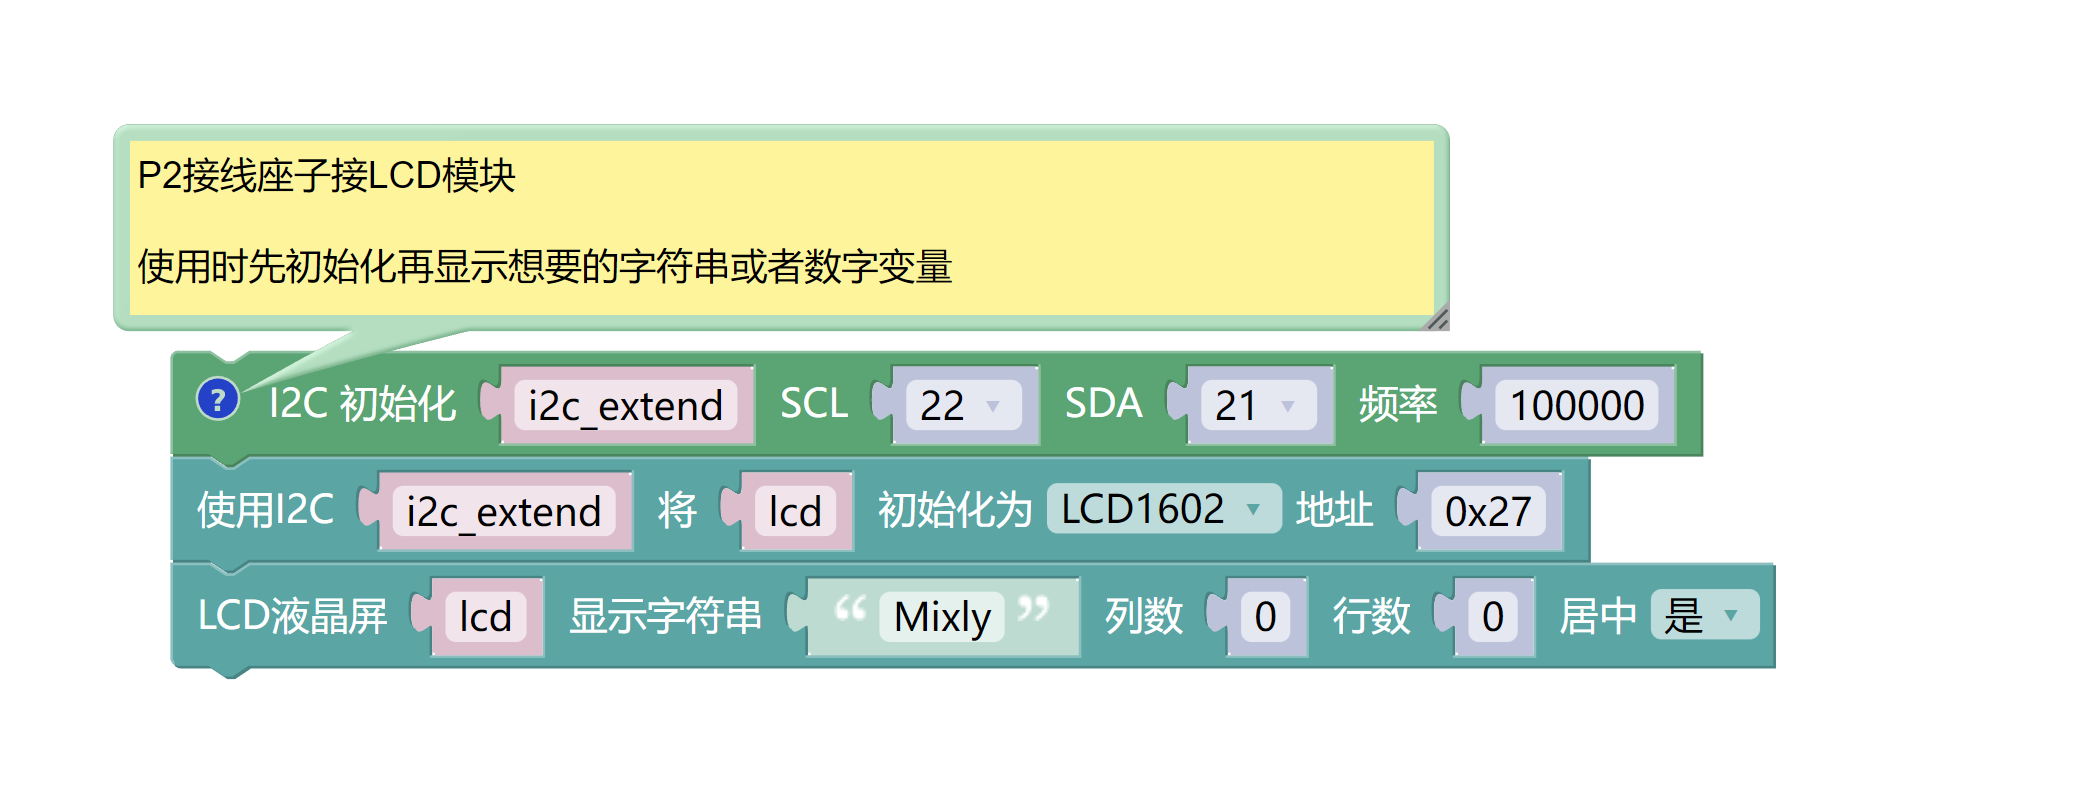
}6, ESP32 Python Example (for Mixly IDE/Misashi)
Choose the development board Python ESP32 [ESP32 Generic(4MB)] and upload in code mode
Attention: If prompted with an error message about the library file during program upload, please import the library file first!
Download and import tutorial for Mixly IDE ESP32 library:Click to view
Example program (ESP32-Python):
import machine
import i2clcd
i2c_extend = machine.SoftI2C(scl = machine.Pin(22), sda = machine.Pin(21), freq = 100000)
lcd = i2clcd.LCD(i2c_extend,lcd_width=16,i2c_addr=0x27)
lcd.shows('Mixly',column = 0,line = 0,center = True)
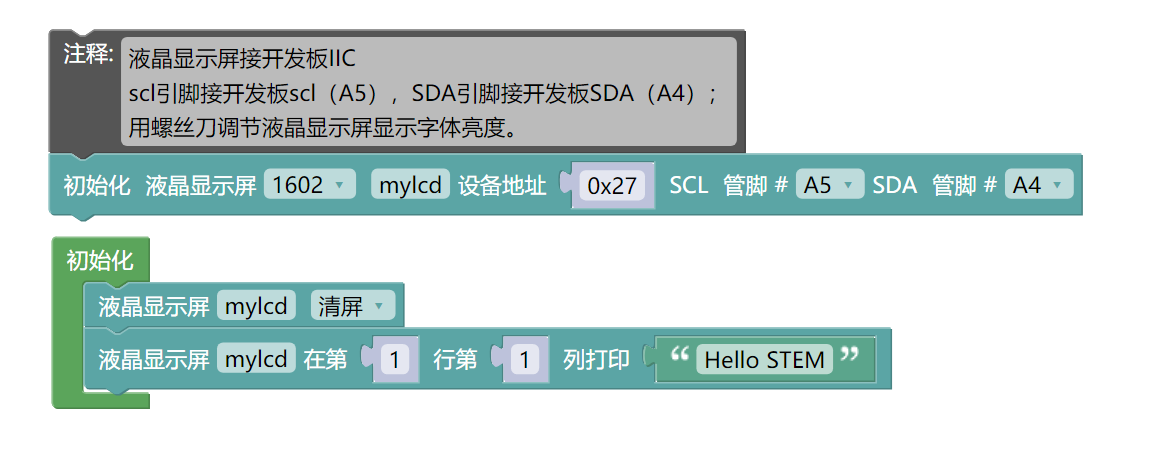
7, Mixly example program (graphical language)
Example program (UNO development board):Click to download
Attention: If prompted with an error message about the library file during program upload, please import the library file first!
Download and import tutorial of Mixly IDE Arduino library:Click to view
Example Program (ESP32 Development Board):Click to download
Attention: If prompted with an error message about the library file during program upload, please import the library file first!
Download and import tutorial for Mixly IDE ESP32 library:Click to view
8. Setting up the Test Environment
Arduino UNO Test Environment Setup
Prepare Components:
HELLO STEM UNO R3 DEVELOPMENT BOARD *1
HELLO STEM UNO R3 P EXPANSION BOARD *1
USB TYPE-C DATA CABLE *1
LCD1602 display screen (HS-F21L) *1
PH2.0 dual-headed terminal line *1 piece
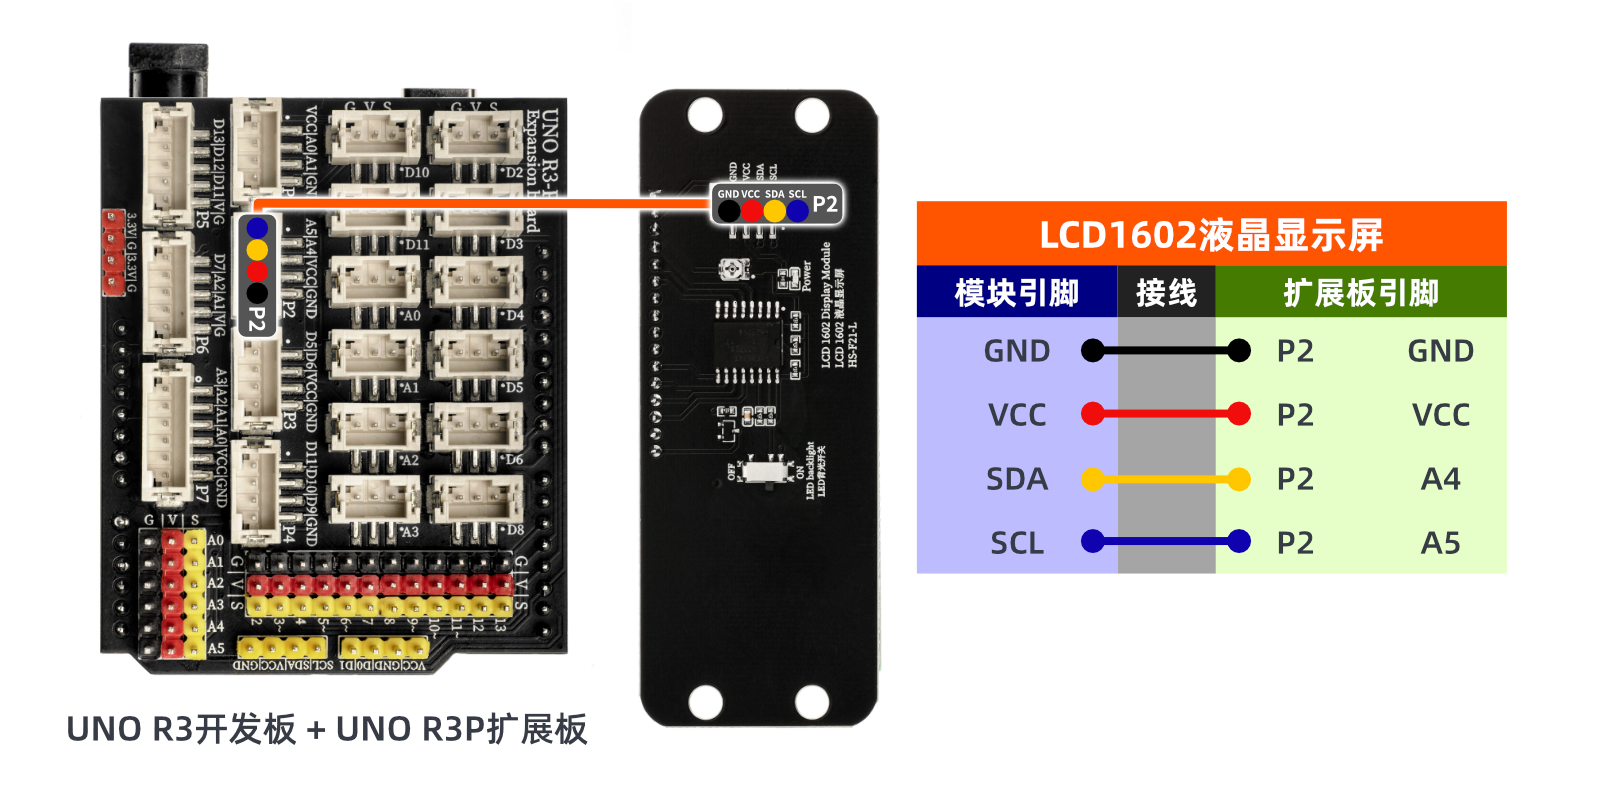
Circuit wiring diagram:
ESP32 Test Environment Setup
Prepare Components:Pending update...
Circuit wiring diagram:Pending update...
9, Video tutorial
Video tutorial:Click to view
10, Test results
Arduino UNO Test Conclusion:
After the device is connected and the above program is uploaded to the Arduino UNO development board, open the Mxily serial port monitor, and the serial port prints the date and time read by the DS1307 clock module from the system time.
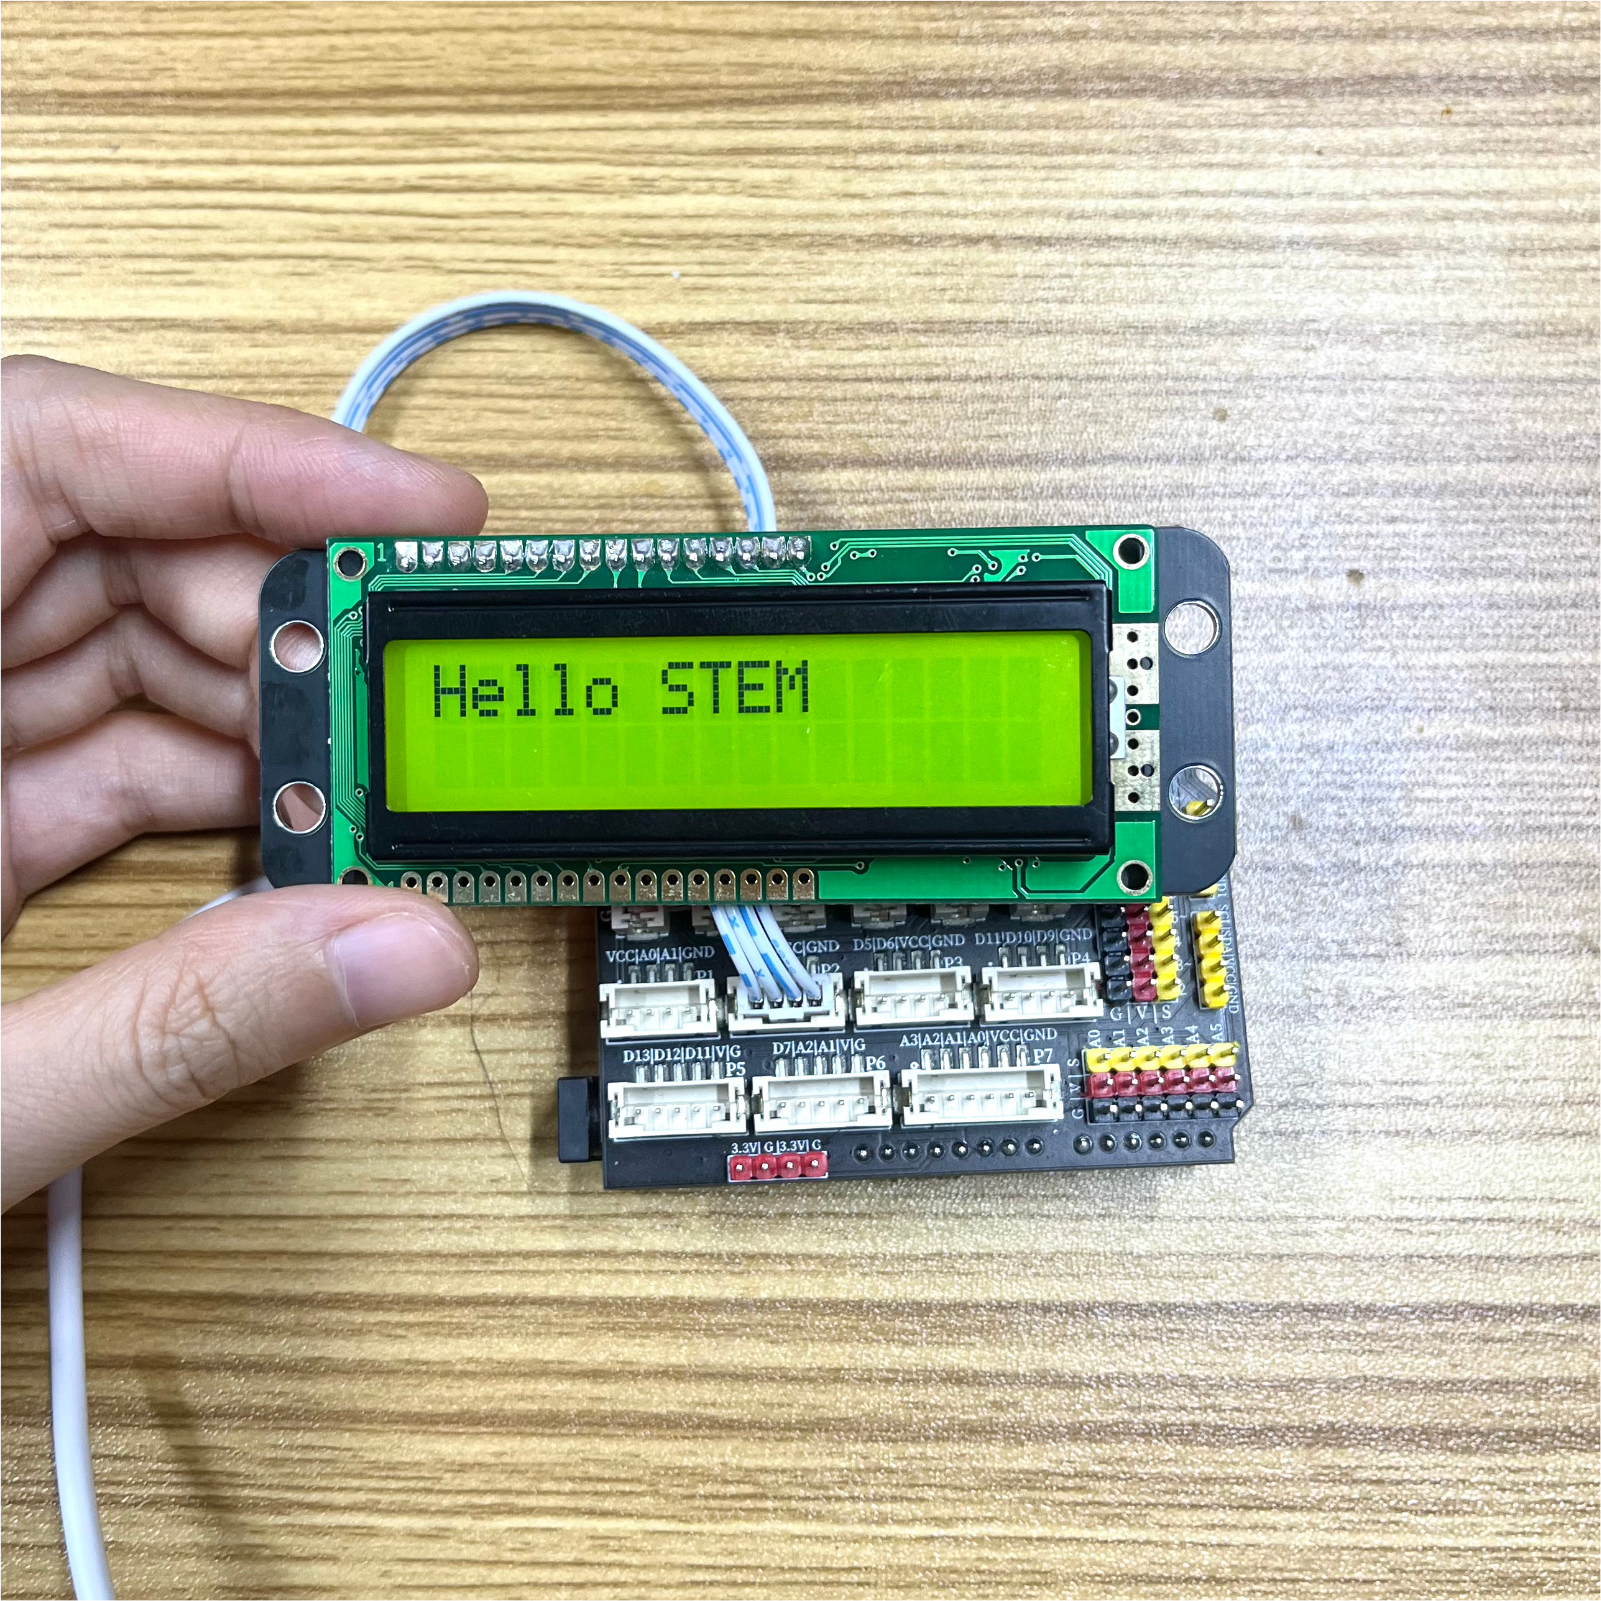
Display the text and images set in our program on the LCD1602 liquid crystal display.
ESP32 Python test conclusion:
Display the text and images set in our program on the LCD1602 liquid crystal display.