
1, development board parameters
ATtiny13A data capacity
1K Bytes (1024 Bytes) programmable Flash memory, this is the capacity of our program
64 Bytes EEPROM, can save some data, will be saved when power is off
64 Bytes internal SRAM, program running memory
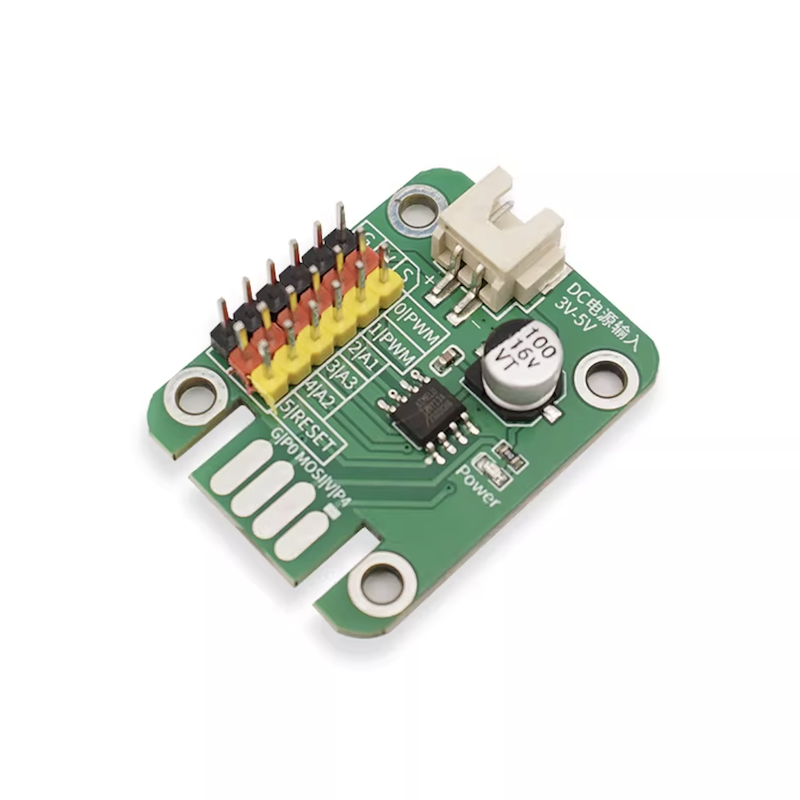
ATtiny13A channel interface
8-pin PDIP/SOIC package
6 programmable I/O pins, Arduino can use 5 of them, and cannot use the RST pin as a general-purpose IO.
1 8-bit timer/counter
2 PWM channels
4 channel 10-bit ADC (one of which is RST, which Arduino cannot use)
Each I/O pin has a DC current of 20mA (max 40mA)
Operating voltage 3 - 5.5V (max 6V)
2, Development environment configuration
Program the ATtiny13A using the Arduino IDE
Add ATtiny13 to the board manager
1, Open the Arduino IDE
2, Go to the menu, select 'File' → 'Preferences', and click the 'Add Board Manager URL' button.
4, Open the 'Board Manager', search for 'ATtiny13', select the version, and install.
Download method: Downloader made with ArduinoIDE + UNO development board
1. Make a downloader using the UNO development board:
1, connect the UNO development board to the computer, open ArduinoIDE, select the development board as ArduinoUNO, and select the port (the port of UNO, which will also be used to download the ATTiny13 program via ISP later).
2, Open the example file: ArduinoISP
3, Compile and upload the example file, the downloader is ready.
Second, connect the AT-13A microcontroller to the UNO programmer:
Connect ATtiny13A PB2 to UNO Pin 13 (as SCK interface)
ATtiny13A PB1 connects to UNOPin 12 (as MISO interface)
ATtiny13A PB0 connects to UNOPin 11 (as MOSI interface)
ATtiny13A PB5 connects to UNOPin 10 (acting as RESET interface, note that it is not connected to UNO's RST
ATtiny13A V Connector to UNO 5V
ATtiny13A G Connector to UNO GND
Three, download (upload) the program in the Arduino IDE: 1, select 'Tools' → 'Board': select 'ATTiny13'.
2, Menu 'Tools' → 'B.O.D': Select '2.7v'. (If no fuse setting is done, select 'Disabled')
3, Menu 'Tools' → 'Clock': Select '9.6 MHz internal osc'.
4, Menu 'Tools' → 'GCC Flags': select 'default'.
5, Menu 'Tools' → 'Port': Select the port where UNO is located.
6, Menu 'Tools' → 'Programmer': Select 'Arduino as ISP'.
7, Menu 'Project' → 'Upload Using Programmer'.
8, Download (upload) completed, OK, try plugging the device into the ATtiny13A and see the effect.