
1. Introduction
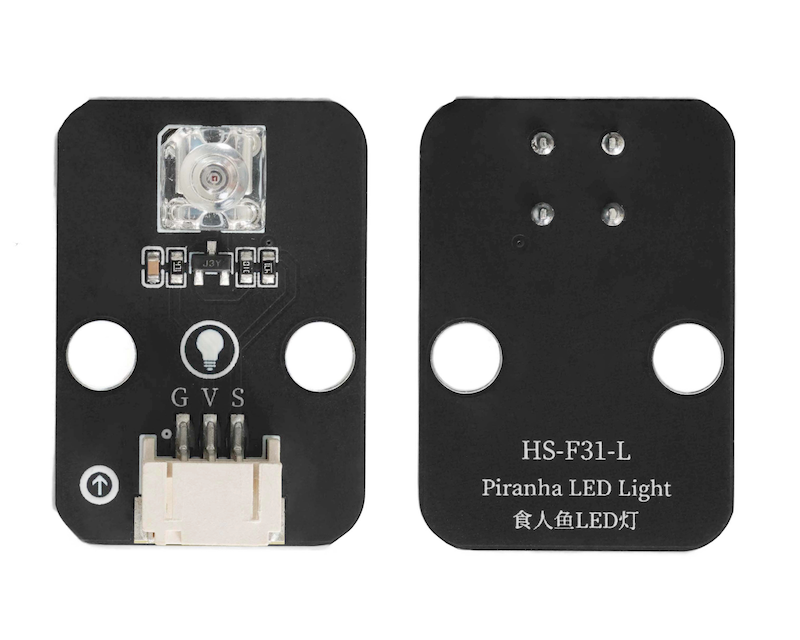
Reptile LED light module, usually enclosed in square transparent resin, resembling a square box in appearance, with four pins.It can pass through a larger current, and its design structure is favorable for luminosity, hence the Sardine LED has a higher luminous intensity compared to ordinary LED lights.The pin spacing design between the pin and the luminous part allows the eCOB LED to have better heat dissipation than general LED, and can withstand greater power.
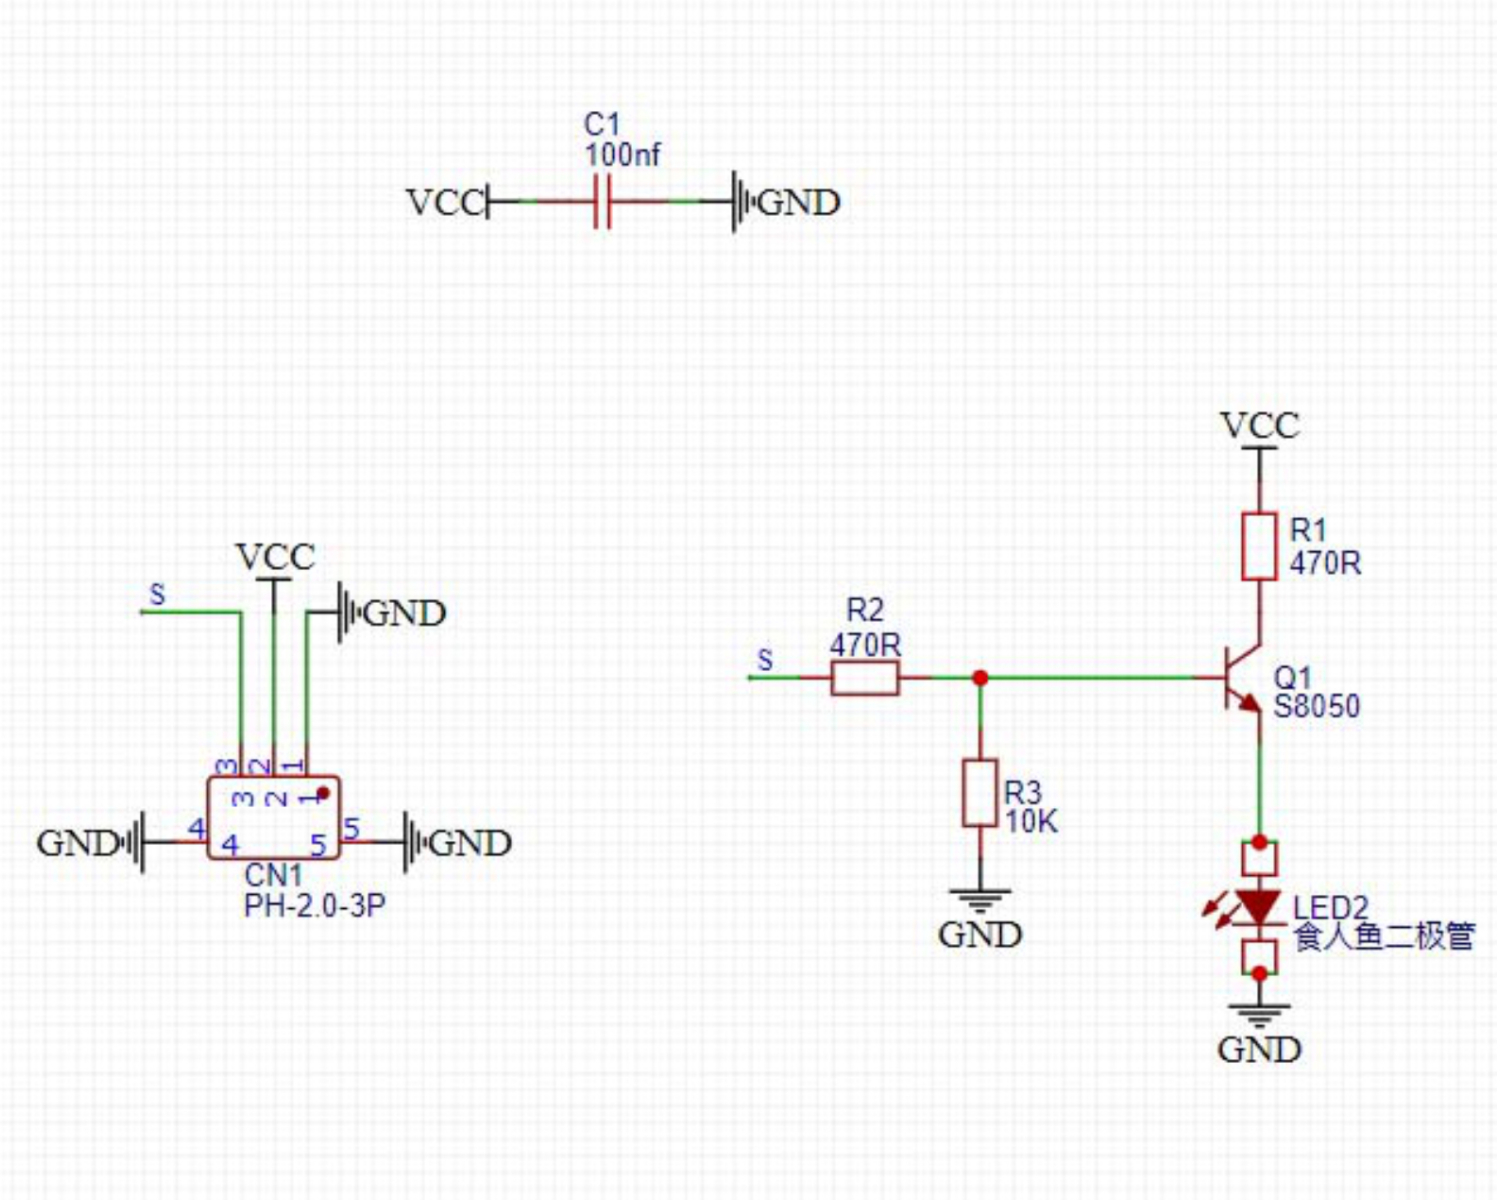
2. Schematic
Module Parameters
Pin Name | description |
|---|---|
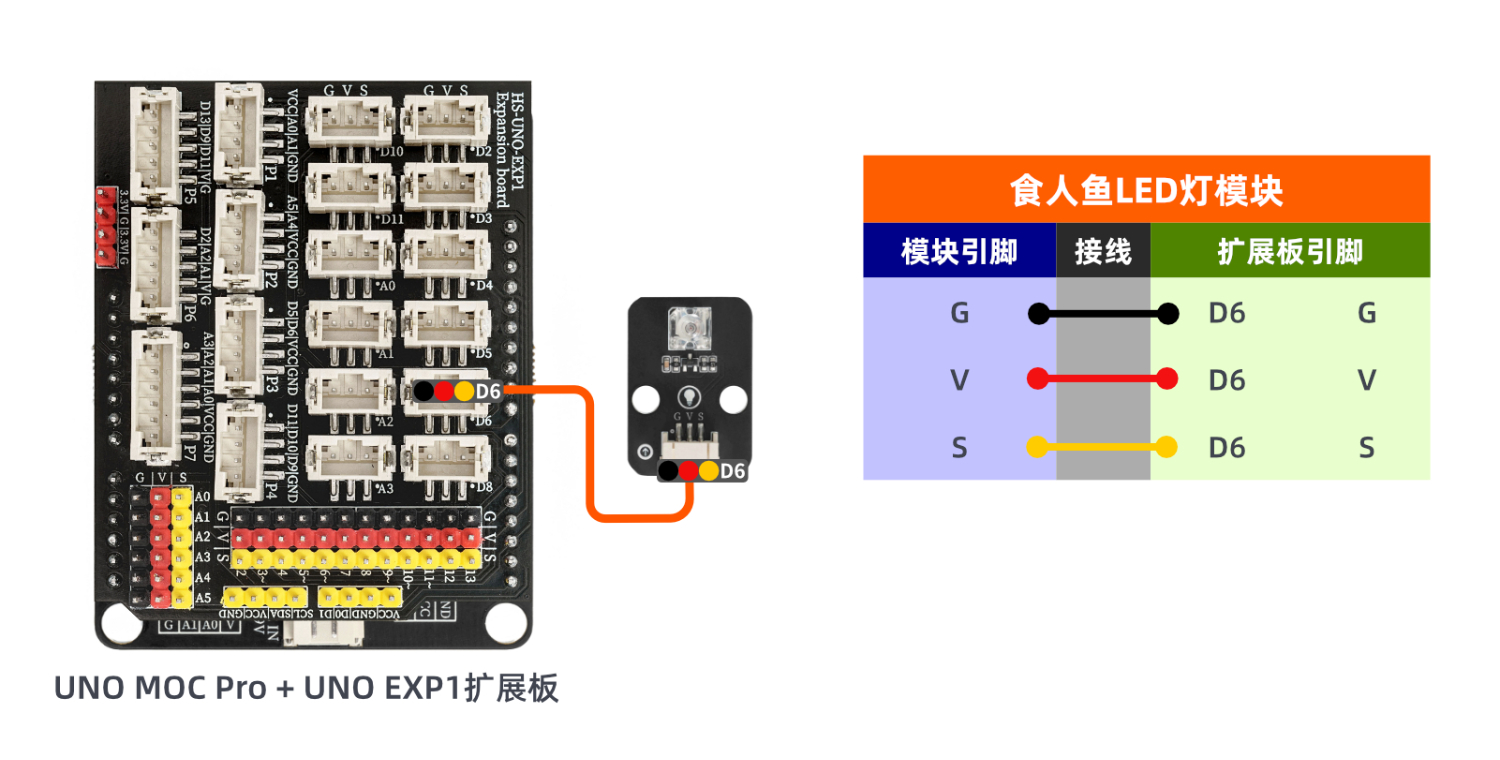
G | GND (Negative Power Input) |
V | VCC (Positive Power Input) |
S | Digital Signal Pin |
Power Supply Voltage: 3.3V / 5V
Connection type: PH2.0 3P terminal wire
Installation method: Lego block fixed
4, Circuit Board Size

5 of Arduino IDE example program
Arduino example program:
void setup(){
  pinMode(6, OUTPUT);
}

void loop(){
  digitalWrite(6,HIGH);
  delay(1000);
  digitalWrite(6,LOW);
  delay(1000);

}
ESP32 Python Example (for Mixly IDE / Micskit)
(Choose the Python ESP32 [ESP32 Generic(4MB)] to switch to code mode upload):
import machine
import time


pin4 = machine.Pin(4, machine.Pin.OUT)
while True:
    pin4.value(1)
    time.sleep(1)
    pin4.value(0)
    time.sleep(1)
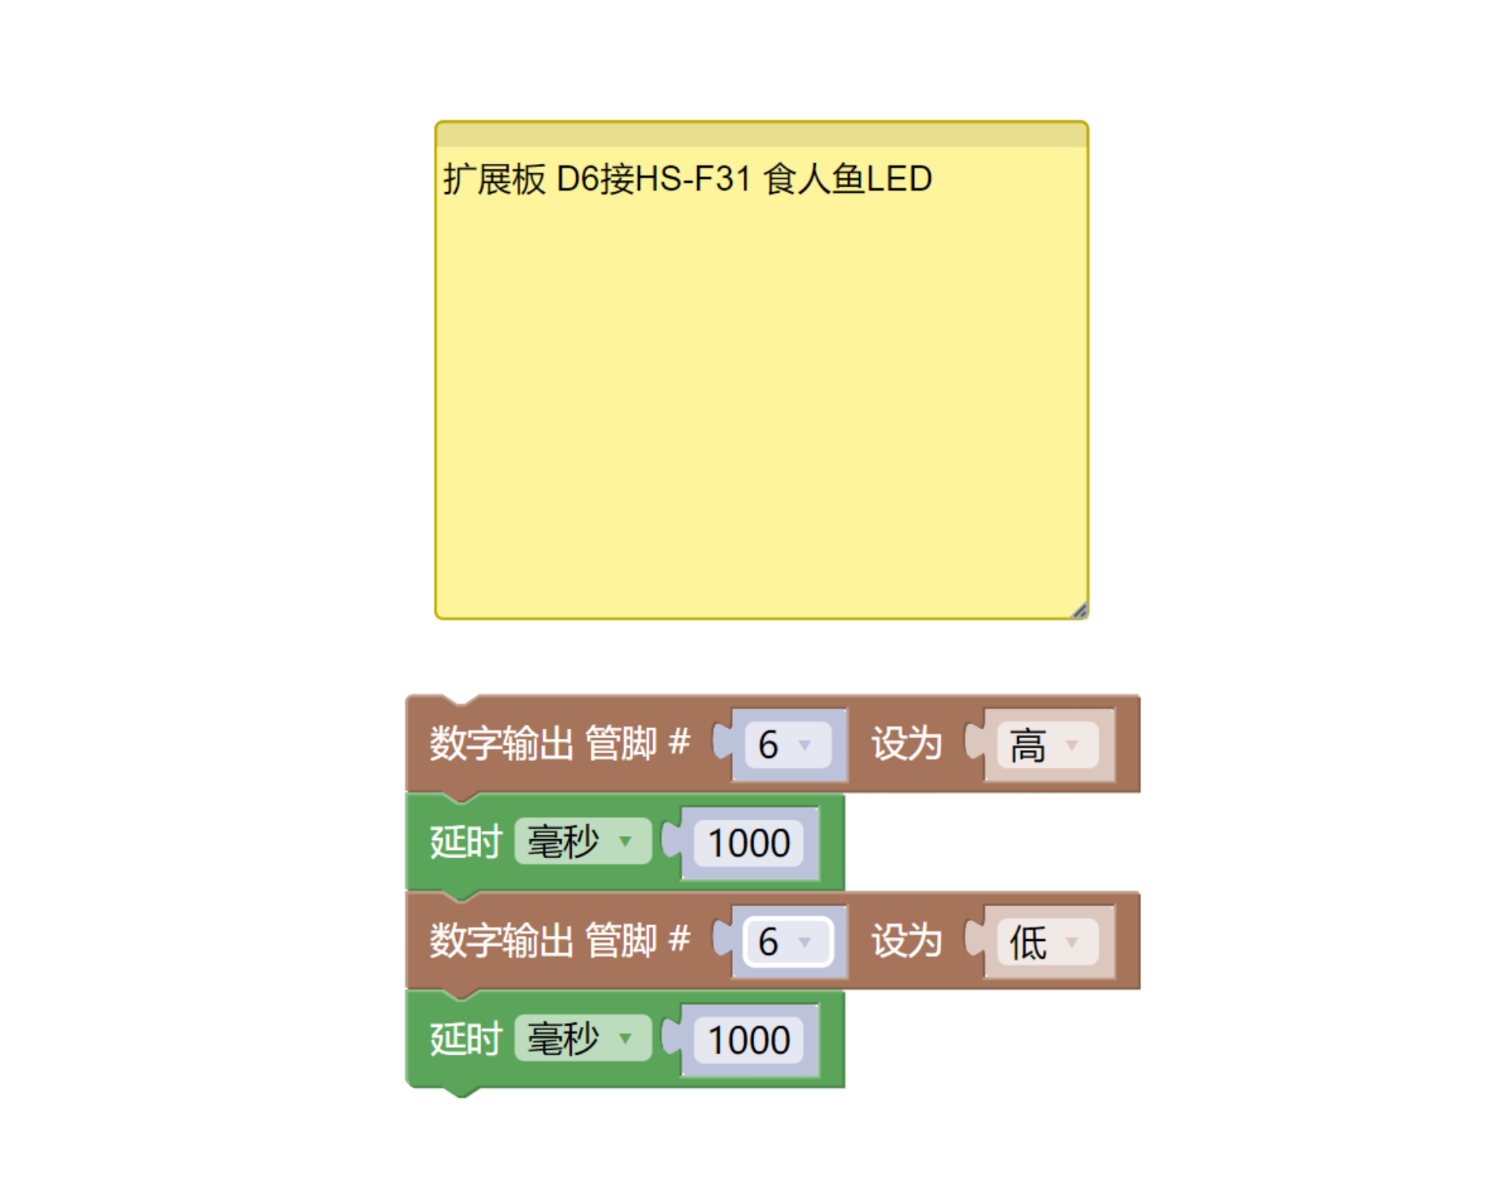
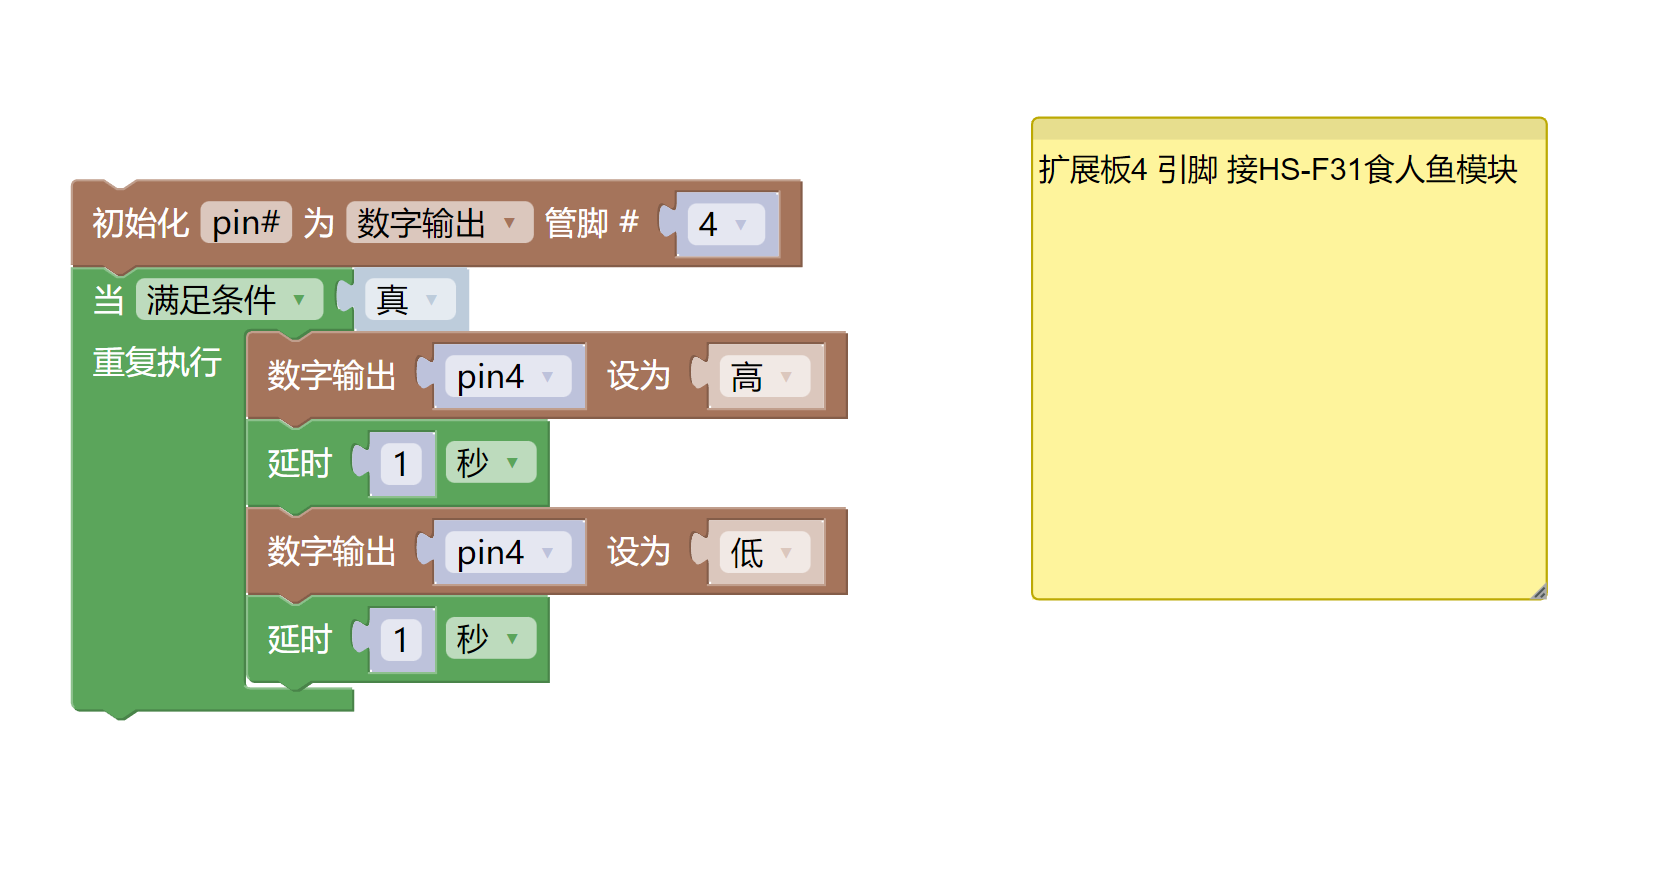
6, Miciqi Mixly Example Program (Graphical Language)
Arduino UNO Graphical Example Program:Click to download
ESP32 Python Graphical Example Program:Click to download
7, Test Environment Setup
Arduino UNO Test Environment Setup
Prepare Components:
HELLO STEM UNO R3 PRO DEVELOPMENT BOARD *1
HELLO STEM UNO R3 P EXPANSION BOARD *1
USB TYPE-C DATA CABLE *1
Predator module (HS-F31L) *1
PH2.0 3P dual headed terminal line *1
Circuit wiring diagram:
ESP32 Python test environment setup
8. Video tutorial
Arduino UNO video tutorial:Click to view
ESP32 Python Video Tutorial:
9. Test conclusion
Arduino UNO Test Conclusion:
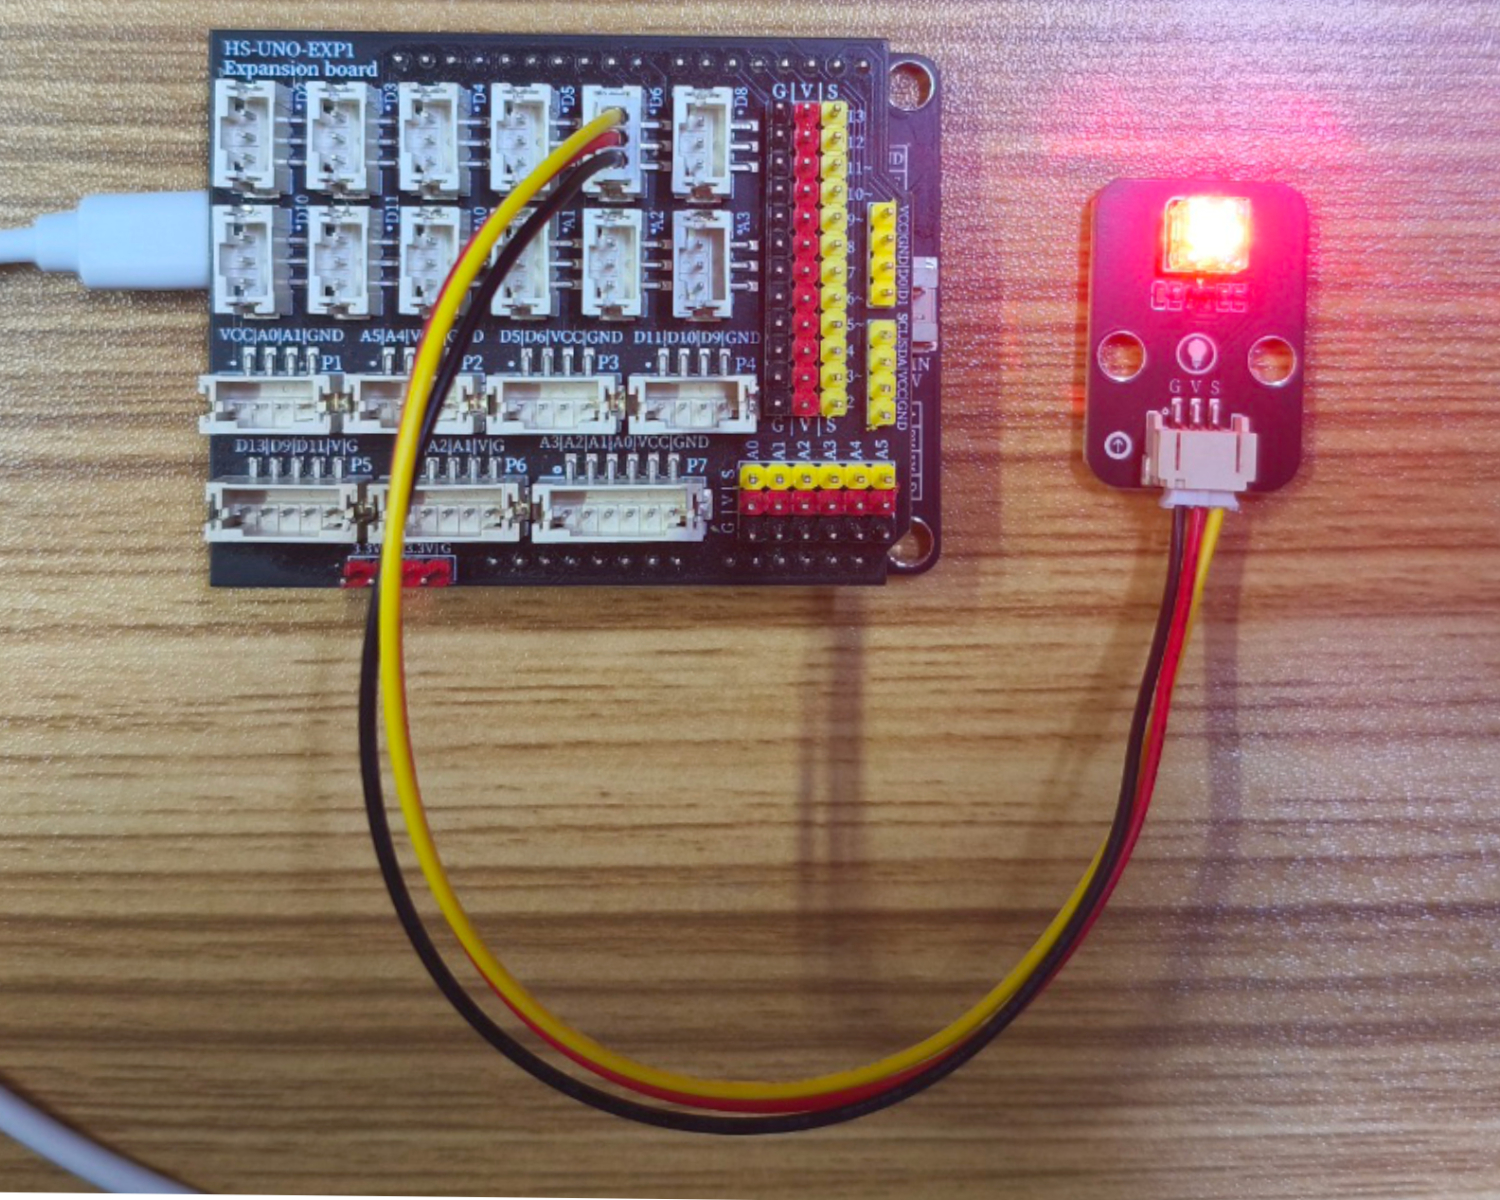
After the device is connected and the program above is uploaded to the UNO R3 PRO development board, you will find that the LED light will blink at a frequency of 1 second on and 1 second off, achieving the effect we want.
ESP32 Python test conclusion:After the device is connected and the program above is uploaded to the UNO R3 PRO development board, you will find that the LED light will blink at a frequency of 1 second on and 1 second off, achieving the effect we want.