
1. Introduction
2. Schematic
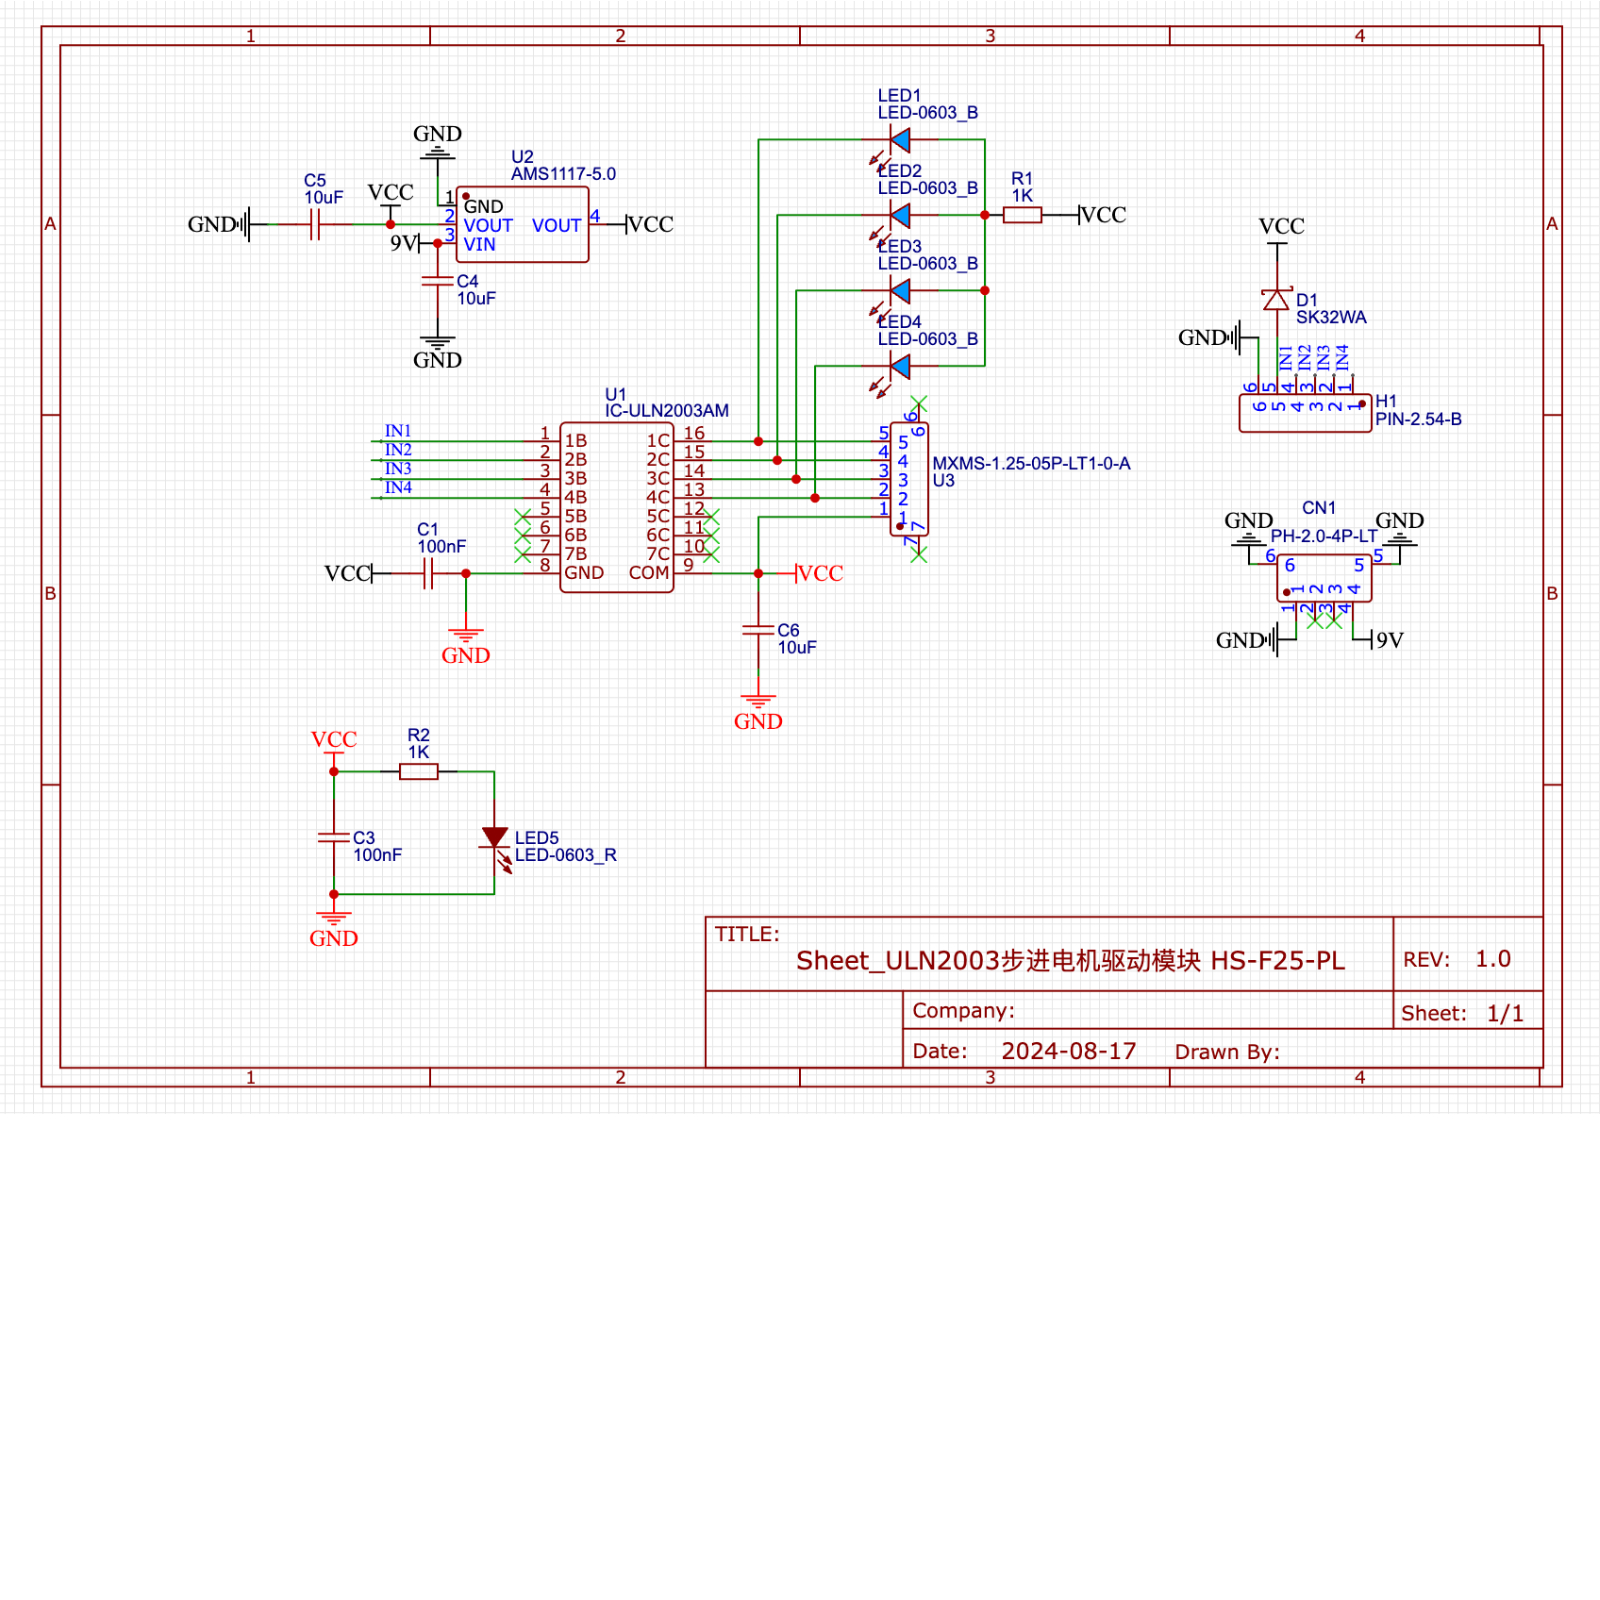
Module Parameters
Pin Name | description |
|---|---|
G | GND (Negative Power Input) |
V | VCC (Positive Power Input) |
IN1 | Motor Signal Pin 1 |
IN2 | Motor Signal Pin 2 |
IN3 | Motor signal pin 3 |
IN4 | Motor signal pin 4 |
Supply voltage: 5V
Power signal connection method: 6P DuPont wire
Stepper motor connection method: PH1.5-4P terminal
Installation method: Screw fixed / Lego construction
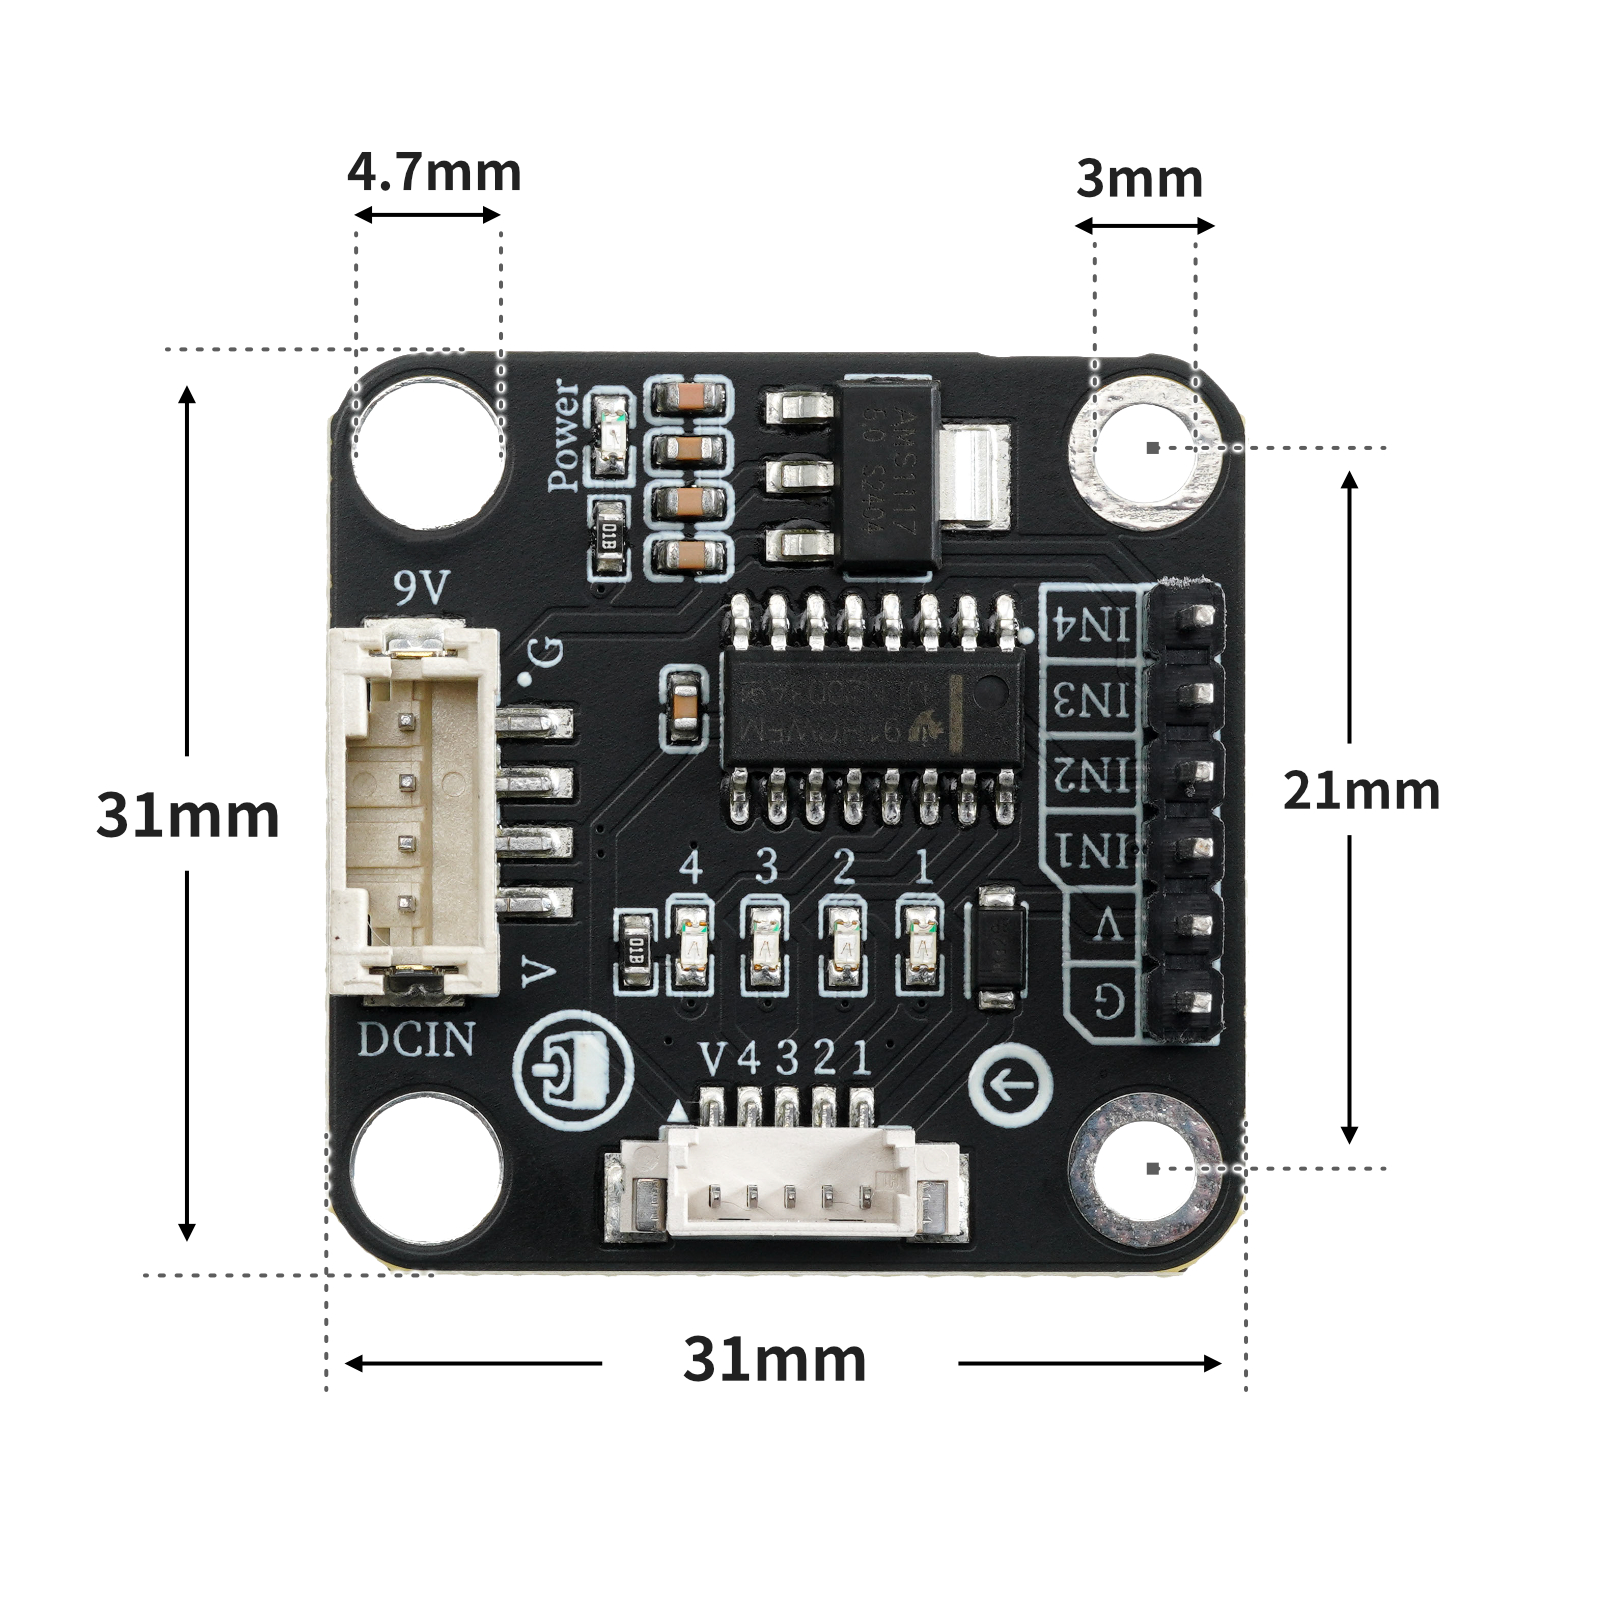
4, Circuit Board Size
Add Arduino Library File
Reference here if you don't know how to use library files:Install and use library files
Library file download: Click to download
6, Arduino IDE example program
Example Program (UNO Development Board):Click to download
#include <Stepper.h>

Stepper mystepper(2048,2,3,4,5);

void setup(){
  mystepper.setSpeed(10);
}

void loop(){
  //控制步进电机正转一圈反转一圈

  //设置步数与移动步数相等,代表刚好转一圈;移动步数前数值为正代表顺时针转动;负数代表逆时针转动。
  mystepper.step(2048);
  delay(200);
  mystepper.step((-2048));
  delay(200);

}
Example Program (ESP32 Development Board — Based on Python language, cannot be uploaded using Arduino IDE):
7, Mixly example program (graphical language)
Example Program (UNO Development Board):Click to download
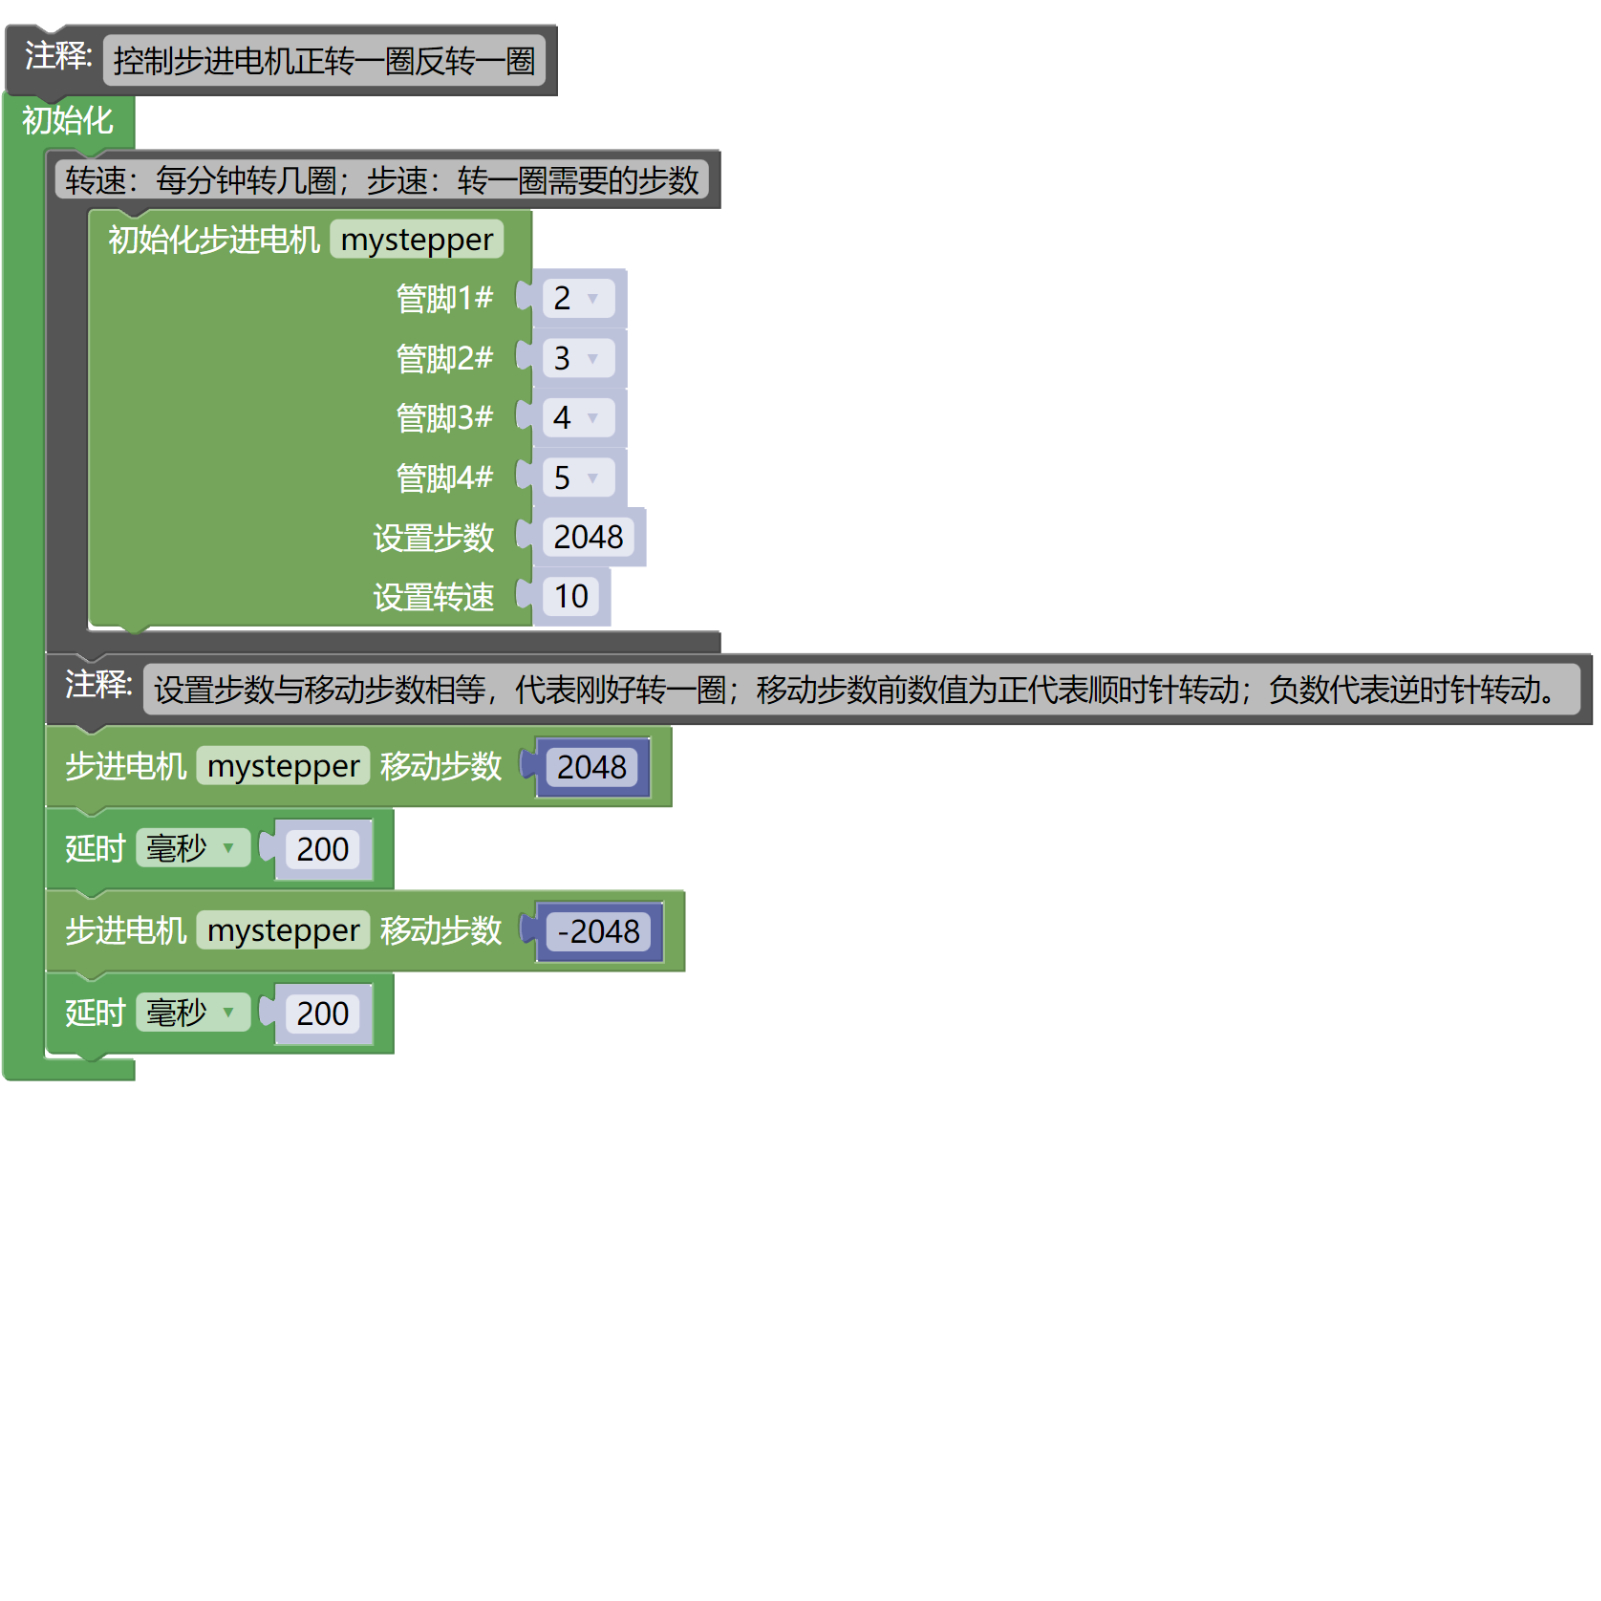
Example Program (ESP32 Development Board): Click to download
8. Setting up the Test Environment
Arduino UNO Test Environment Setup
Prepare Components:
UNO-R3 Development Board *1
UNO-R3 P Expansion Board *1
USB TYPE-C DATA CABLE *1
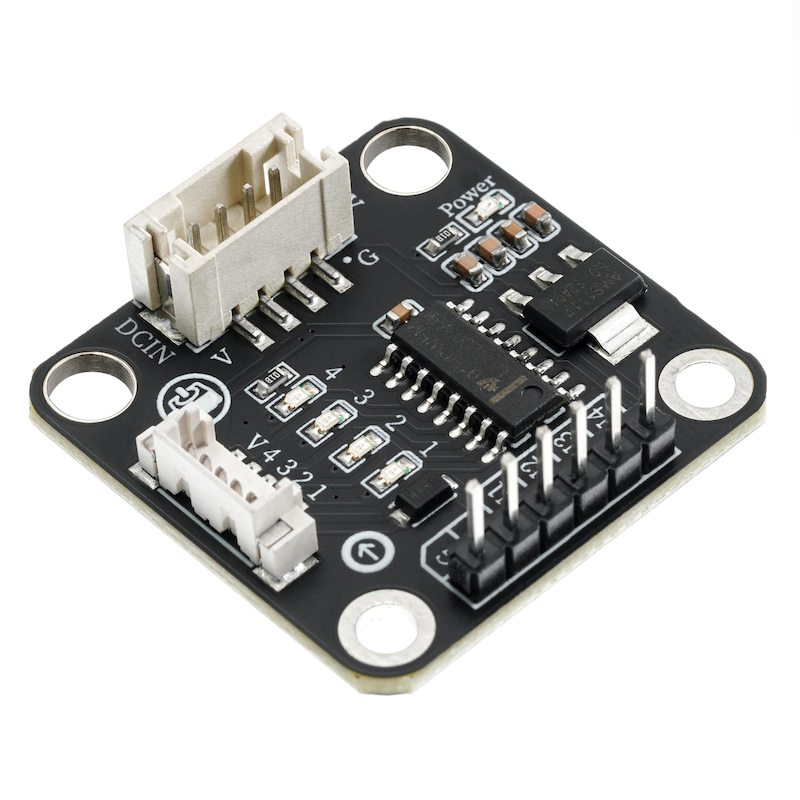
Stepper motor driver module (HS-F25-PL) *1
6P Dupont wire *1
PH1.5-4P wire
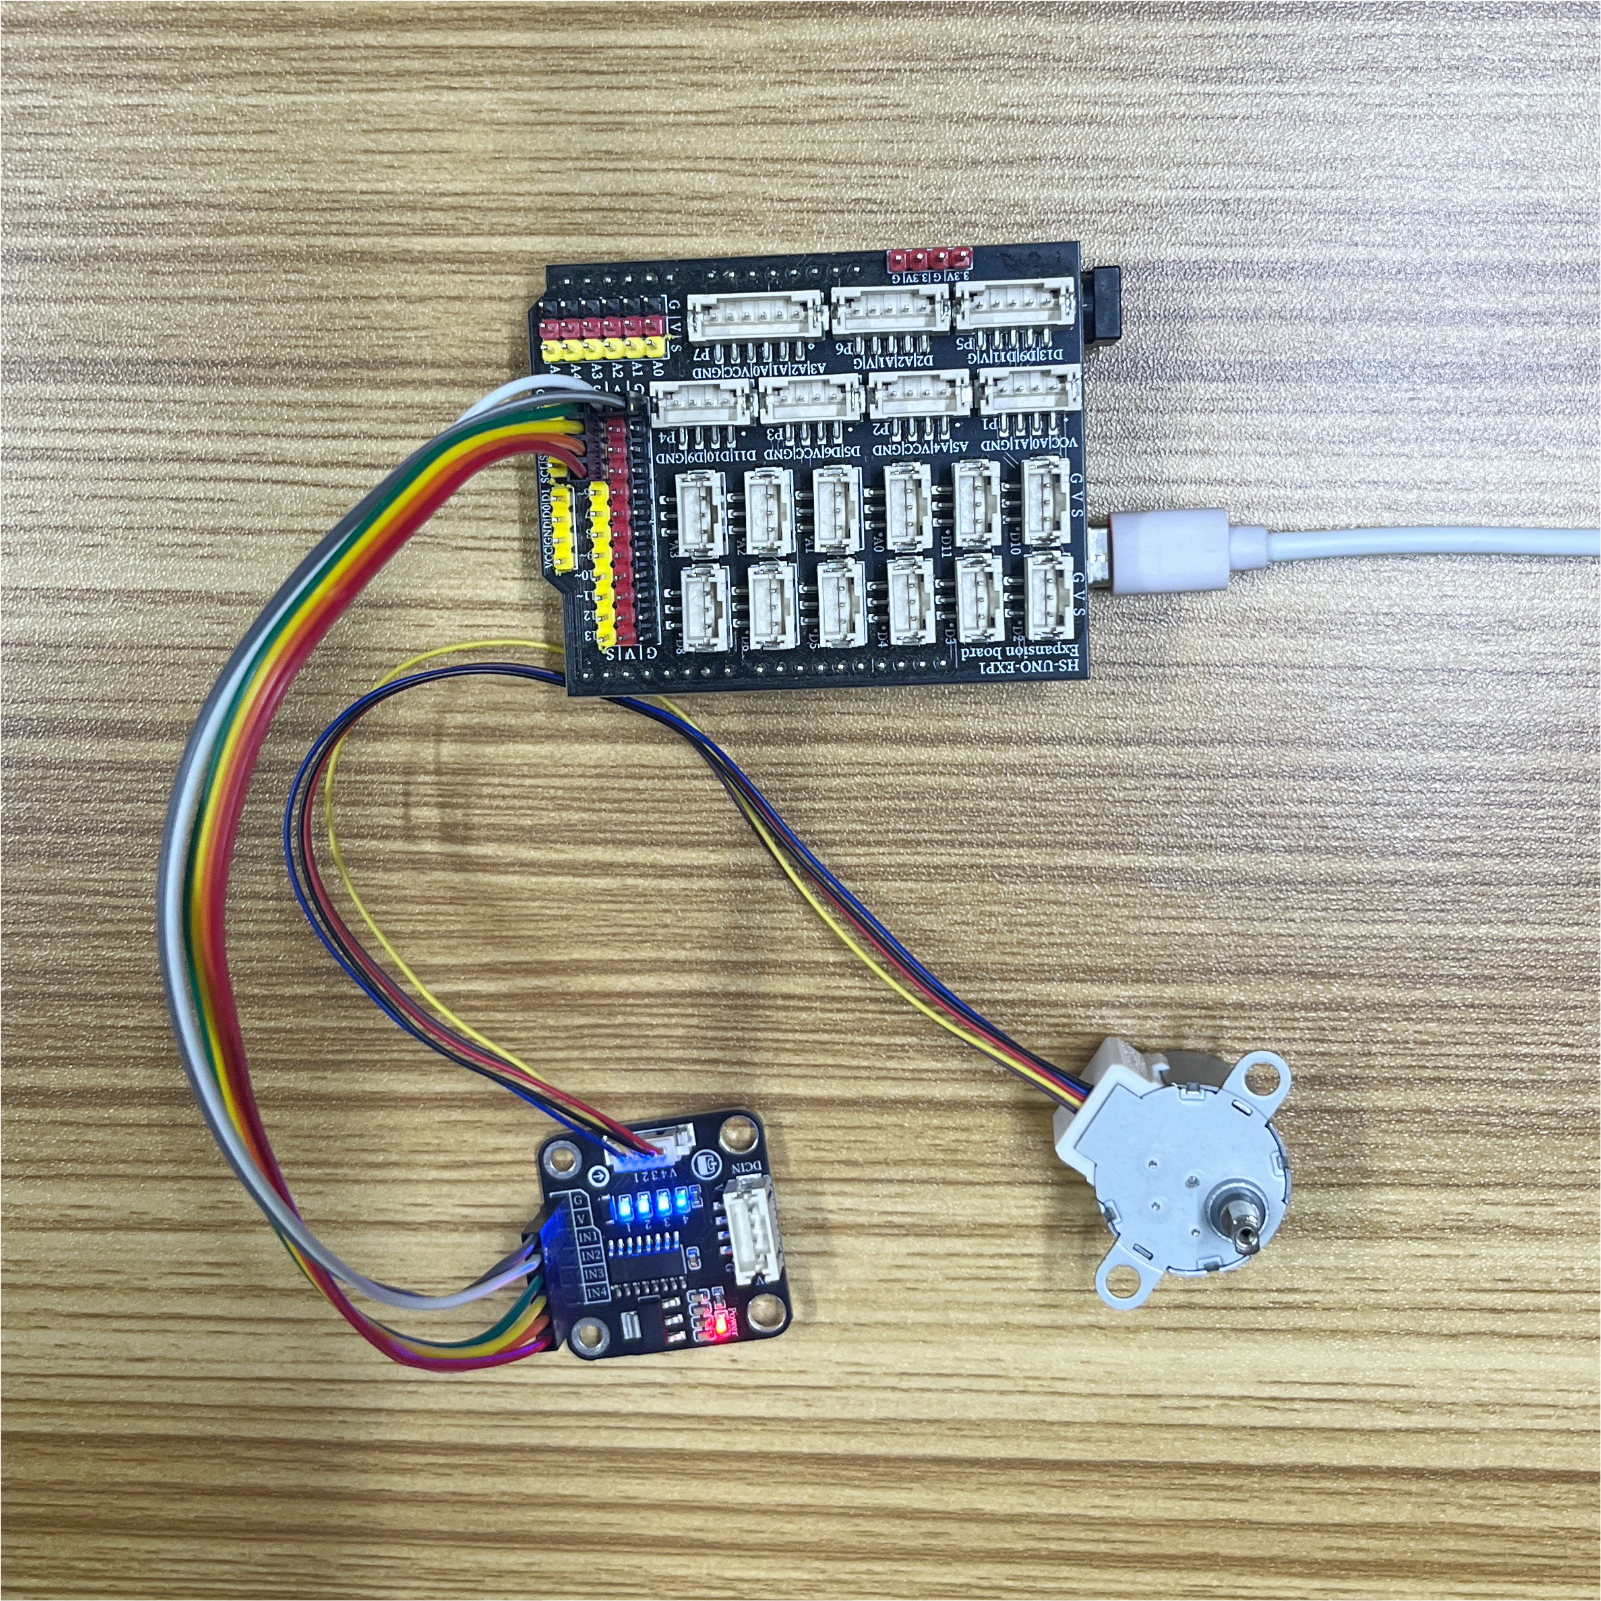
Circuit wiring diagram:

ESP32 Python test environment setup
9, Video tutorial
Arduino UNO video tutorial: Click to view
ESP32 Python Video Tutorial:
10, Test conclusion
Arduino UNO Test Conclusion:
After programming the program, it can be observed that the motor rotates one revolution, pauses slightly, and then reverses one revolution.