
1. Introduction
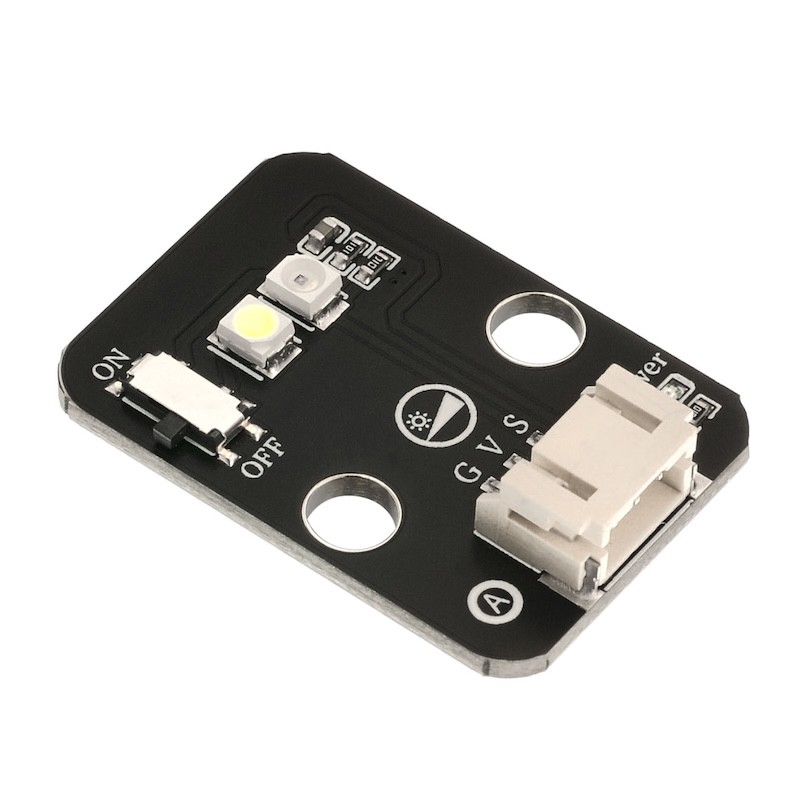
The grayscale sensor is an analog sensor that can be used with Arduino to perceive different colors on the ground or desktop and produce corresponding signals. It can realize interactive works related to colors, and can also be used as a tracking car sensor or a football robot's field grayscale recognition sensor.The grayscale sensor includes a white high-brightness LED and a photosensitive resistor. Due to the different light returned by the LED when照射 to paper with different grayscale, the photosensitive resistor receives the returned light, and the resistance value of the photosensitive resistor is also different according to the intensity of the light, thereby realizing the grayscale value test.
2. Schematic
Module Parameters
Pin Name | description |
|---|---|
G | GND (Negative Power Input) |
V | VCC (Positive Power Input) |
S | Analog Signal Pin |
Power Supply Voltage: 3.3V / 5V
Connection Method: PH2.0 Terminal Wire
Installation Method: Double Screw Fixed
4, Circuit Board Size

5 of Arduino IDE example program
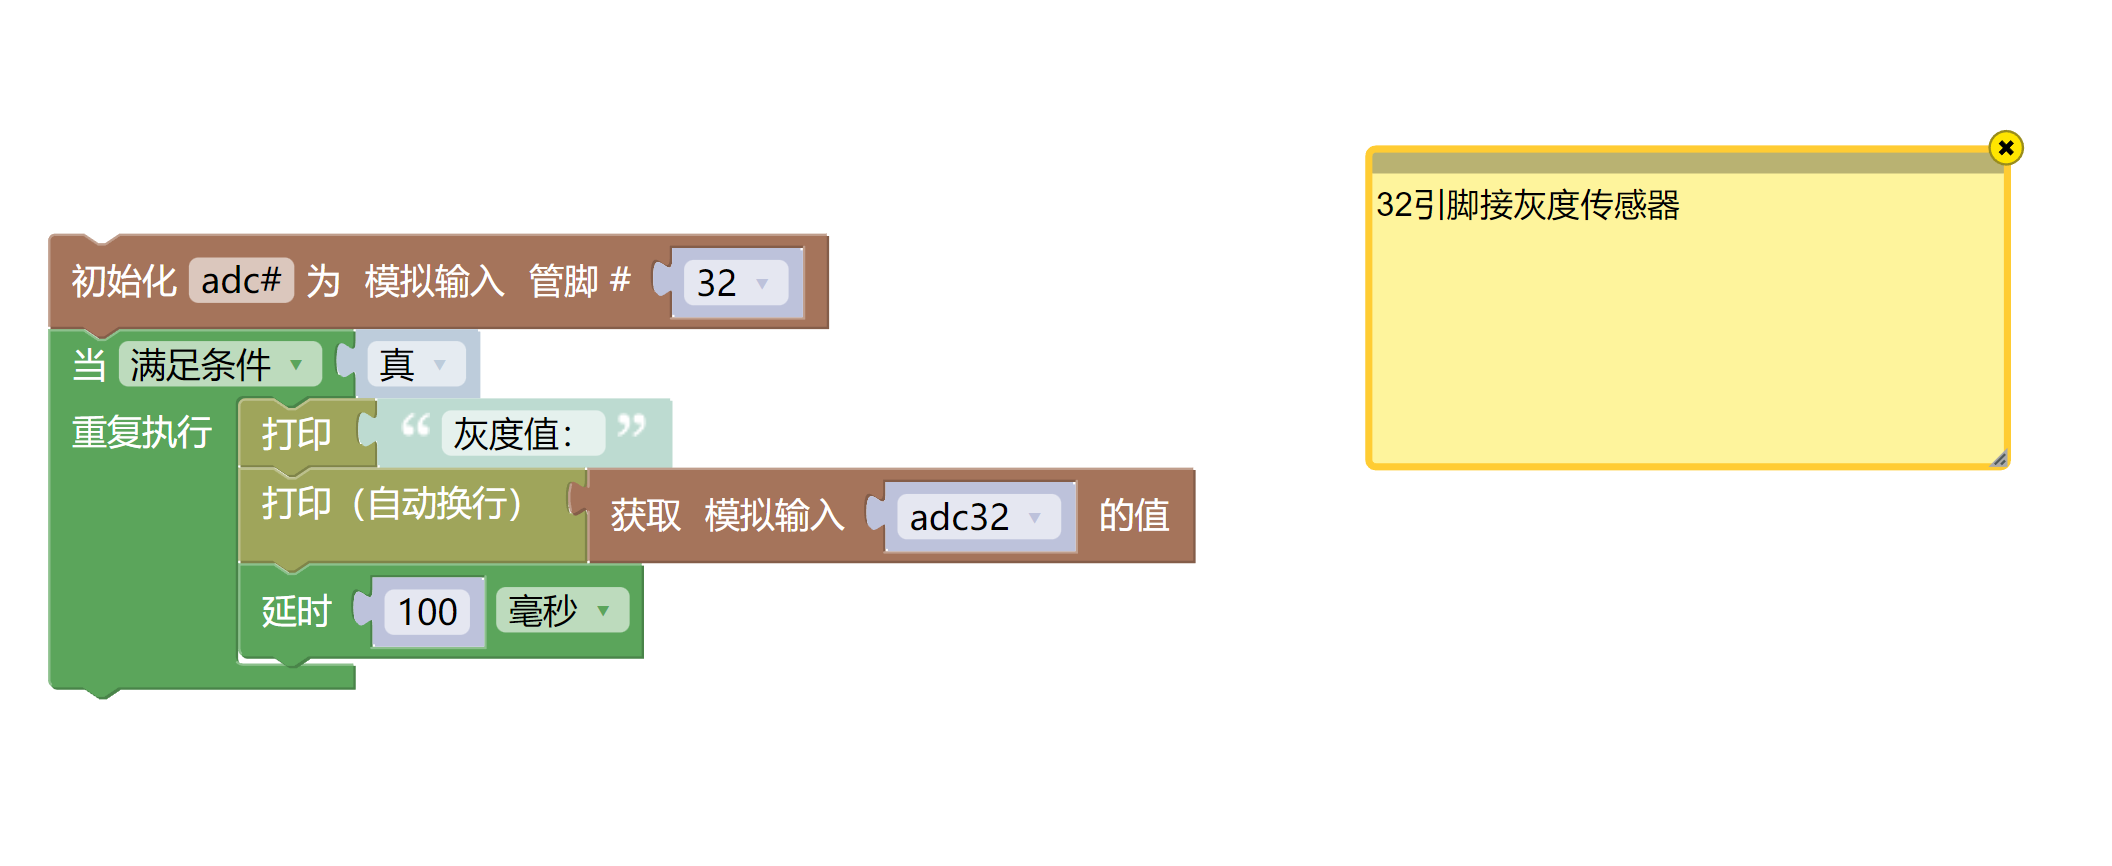
Arduino UNO Graphical Example Program:
int value = 0;
void setup(){
Serial.begin(9600);
pinMode(A0, INPUT);
}
void loop(){
value = analogRead(A0);
Serial.print("灰度值:");
Serial.println(value);
delay(500);
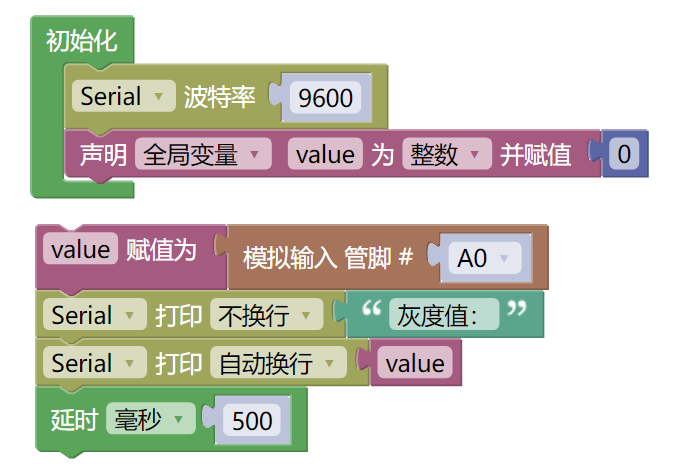
}ESP32 Python Example (for Mixly IDE / Micskit)
(Choose the Python ESP32 [ESP32 Generic(4MB)] to switch to code mode upload):
import machine
import time
adc32 = machine.ADC(machine.Pin(32))
while True:
print('灰度值:',end ="")
print(adc32.read_u16())
time.sleep_ms(100)
6, Miciqi Mixly Example Program (Graphical Language)
Arduino UNO Graphical Example Program:Click to download
ESP32 Python Graphical Example Program:Click to download
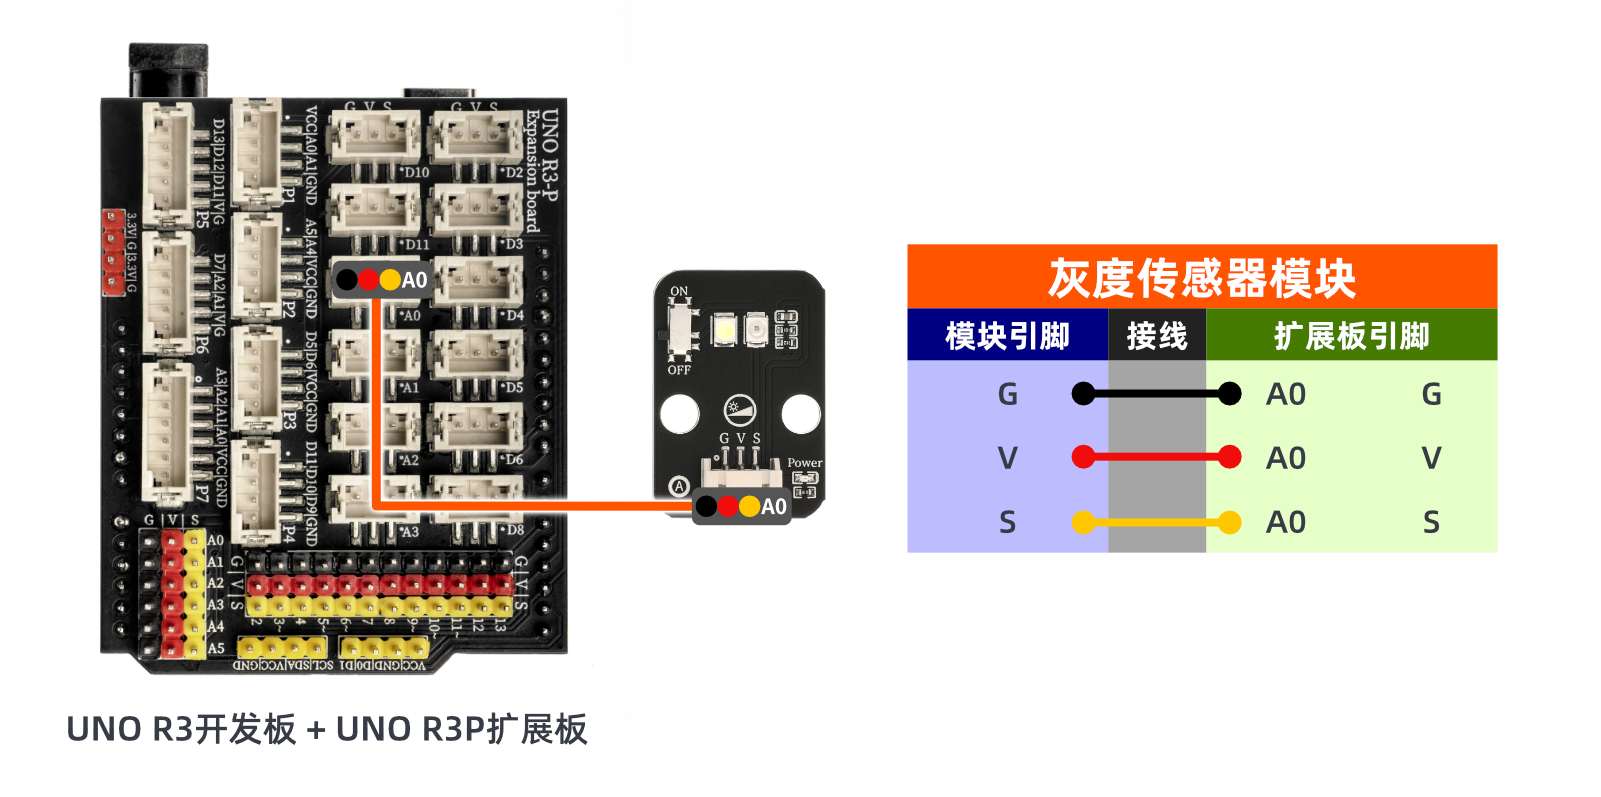
7, Test Environment Setup
Arduino UNO Test Environment Setup
Prepare Components:
HELLO STEM UNO R3 DEVELOPMENT BOARD *1
HELLO STEM UNO R3P expansion board *1
USB TYPE-C DATA CABLE *1
Gray Sensor (HS-S22A) *1
PH2.0 3P dual headed terminal line *1
Circuit wiring diagram:
ESP32 Python test environment setup
8. Video tutorial
Arduino UNO video tutorial:Click to view
ESP32 Python Video Tutorial:
9. Test conclusion
Arduino UNO Test Conclusion:
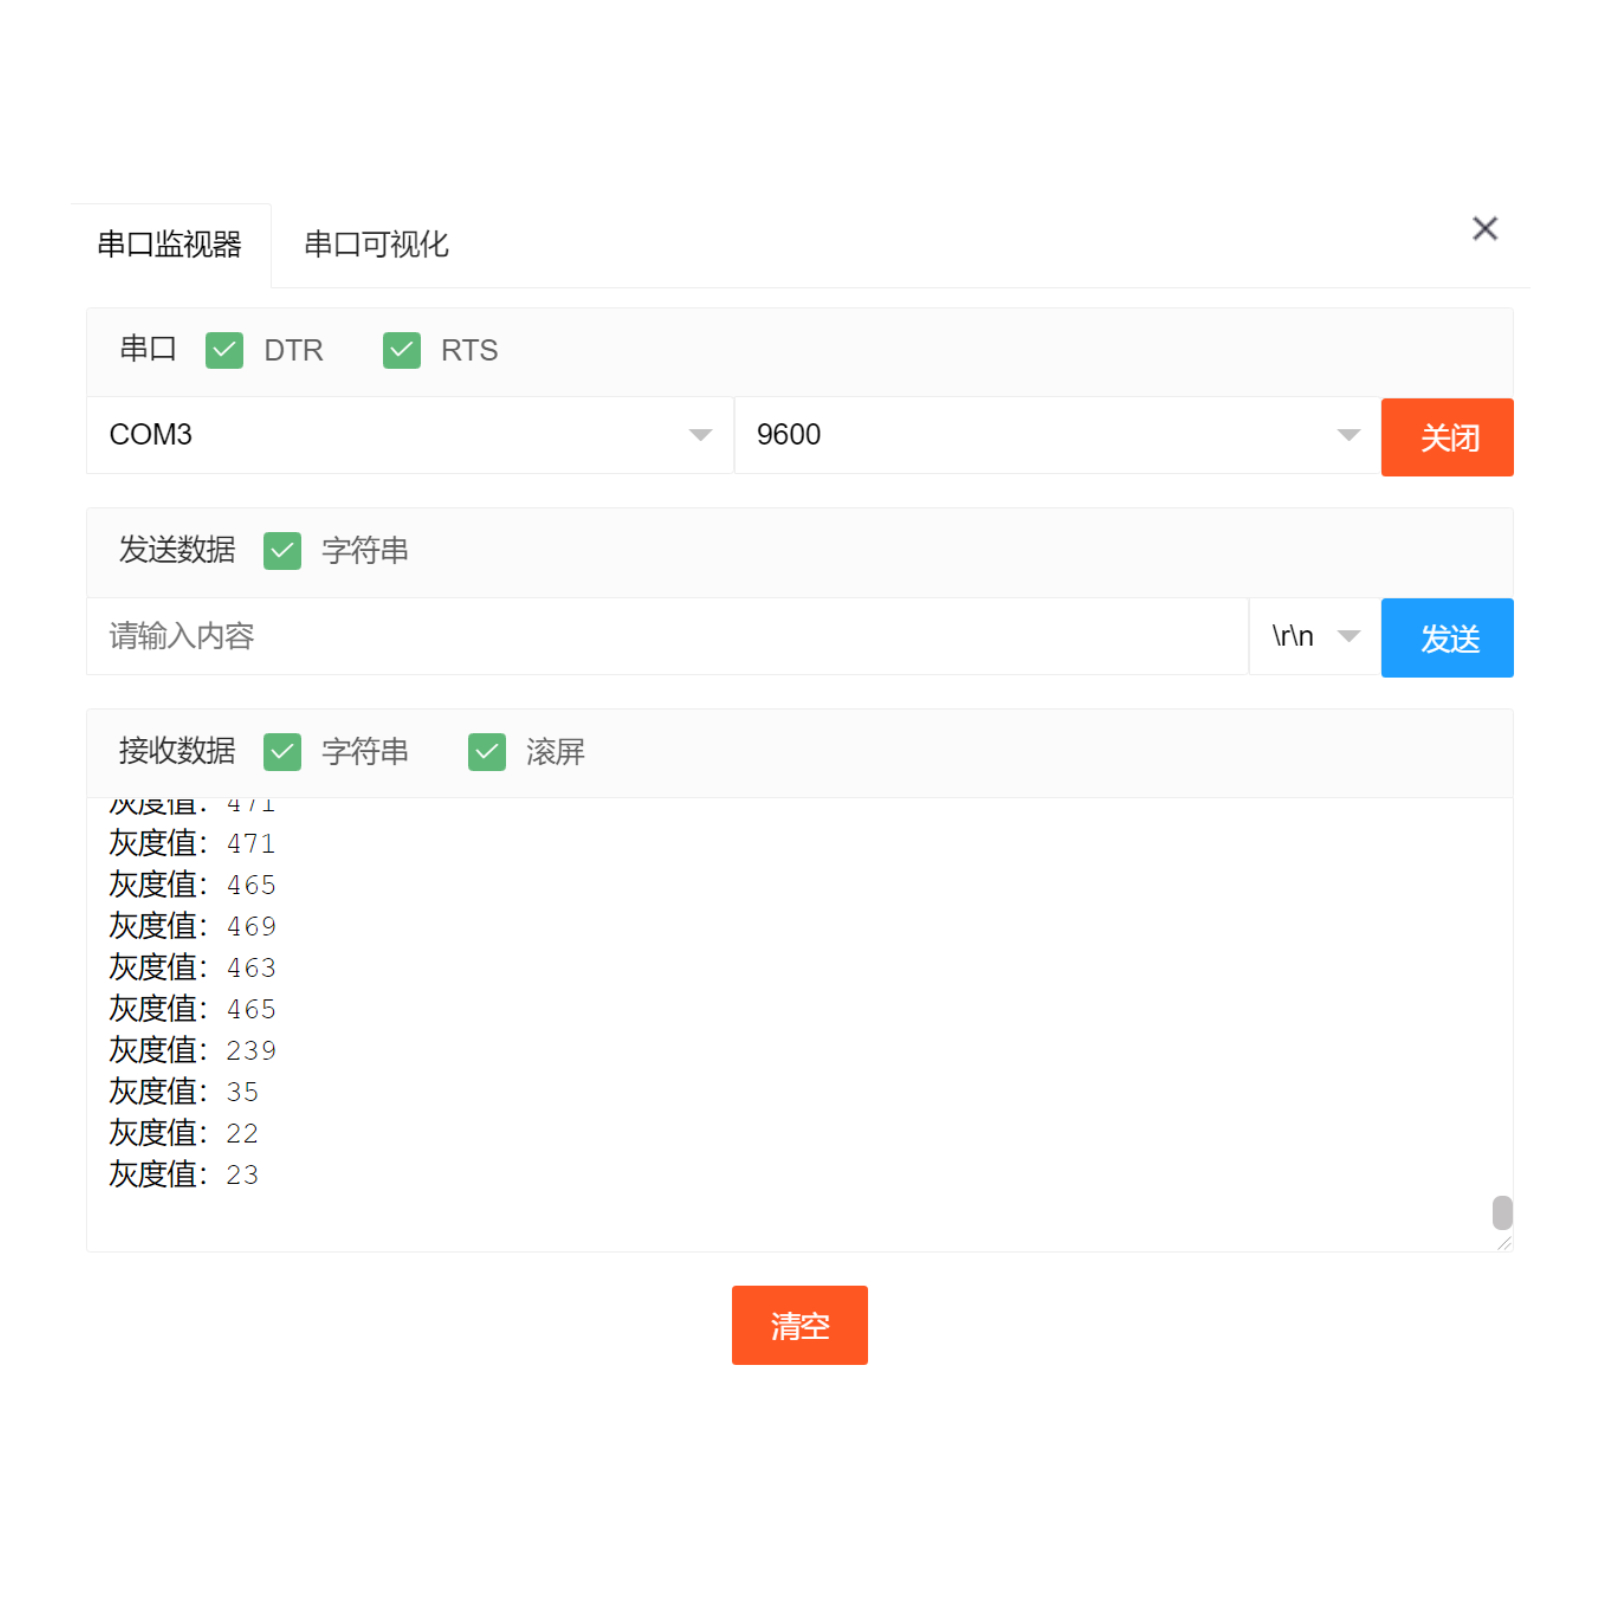
After connecting the device lines, upload the above program to the Arduino UNO development board, open the Mxily serial port monitor, place the sensor on paper with different gray levels, and we observe that the serial port prints out different measured analog value numbers.
ESP32 Python test conclusion:After the device is connected and the program is uploaded to the ESP32 development board, open the Mxily serial port monitor, place the sensor on paper with different grayscale, and we observe that the serial port prints out different analog value measurements.