
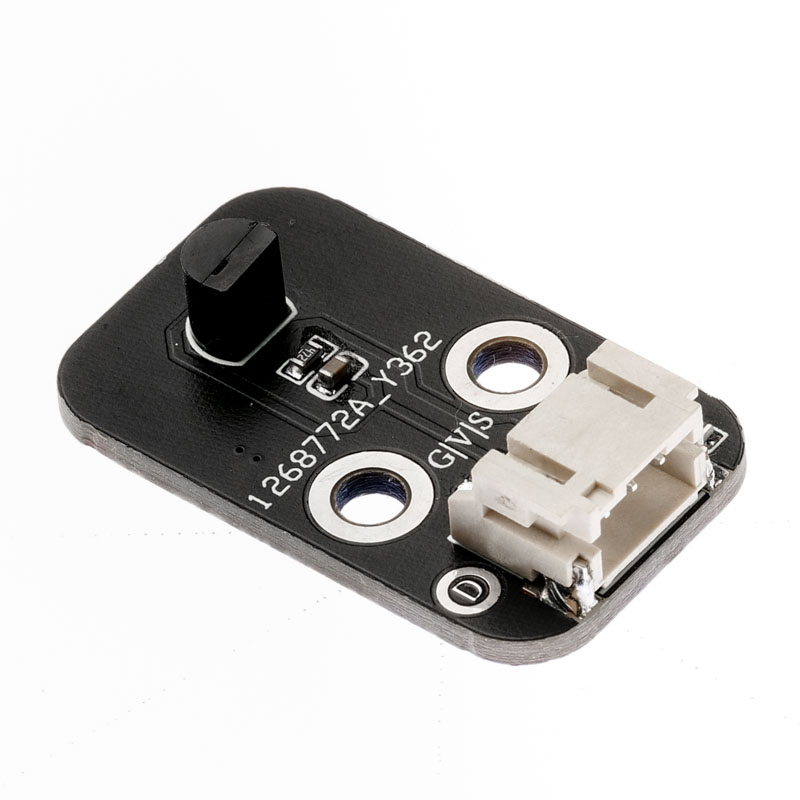
1. Introduction
2. Schematic
Digital Temperature Sensor-HS-S24P SchematicClick to view
Module Parameters
Pin Name | description |
|---|---|
G | GND (Negative Power Input) |
V | VCC (Positive Power Input) |
S | Digital Signal Pin |
Power Supply Voltage: 3.3V / 5V
Connection method: PH2.0 terminal wire
Installation Method: Double Screw Fixed
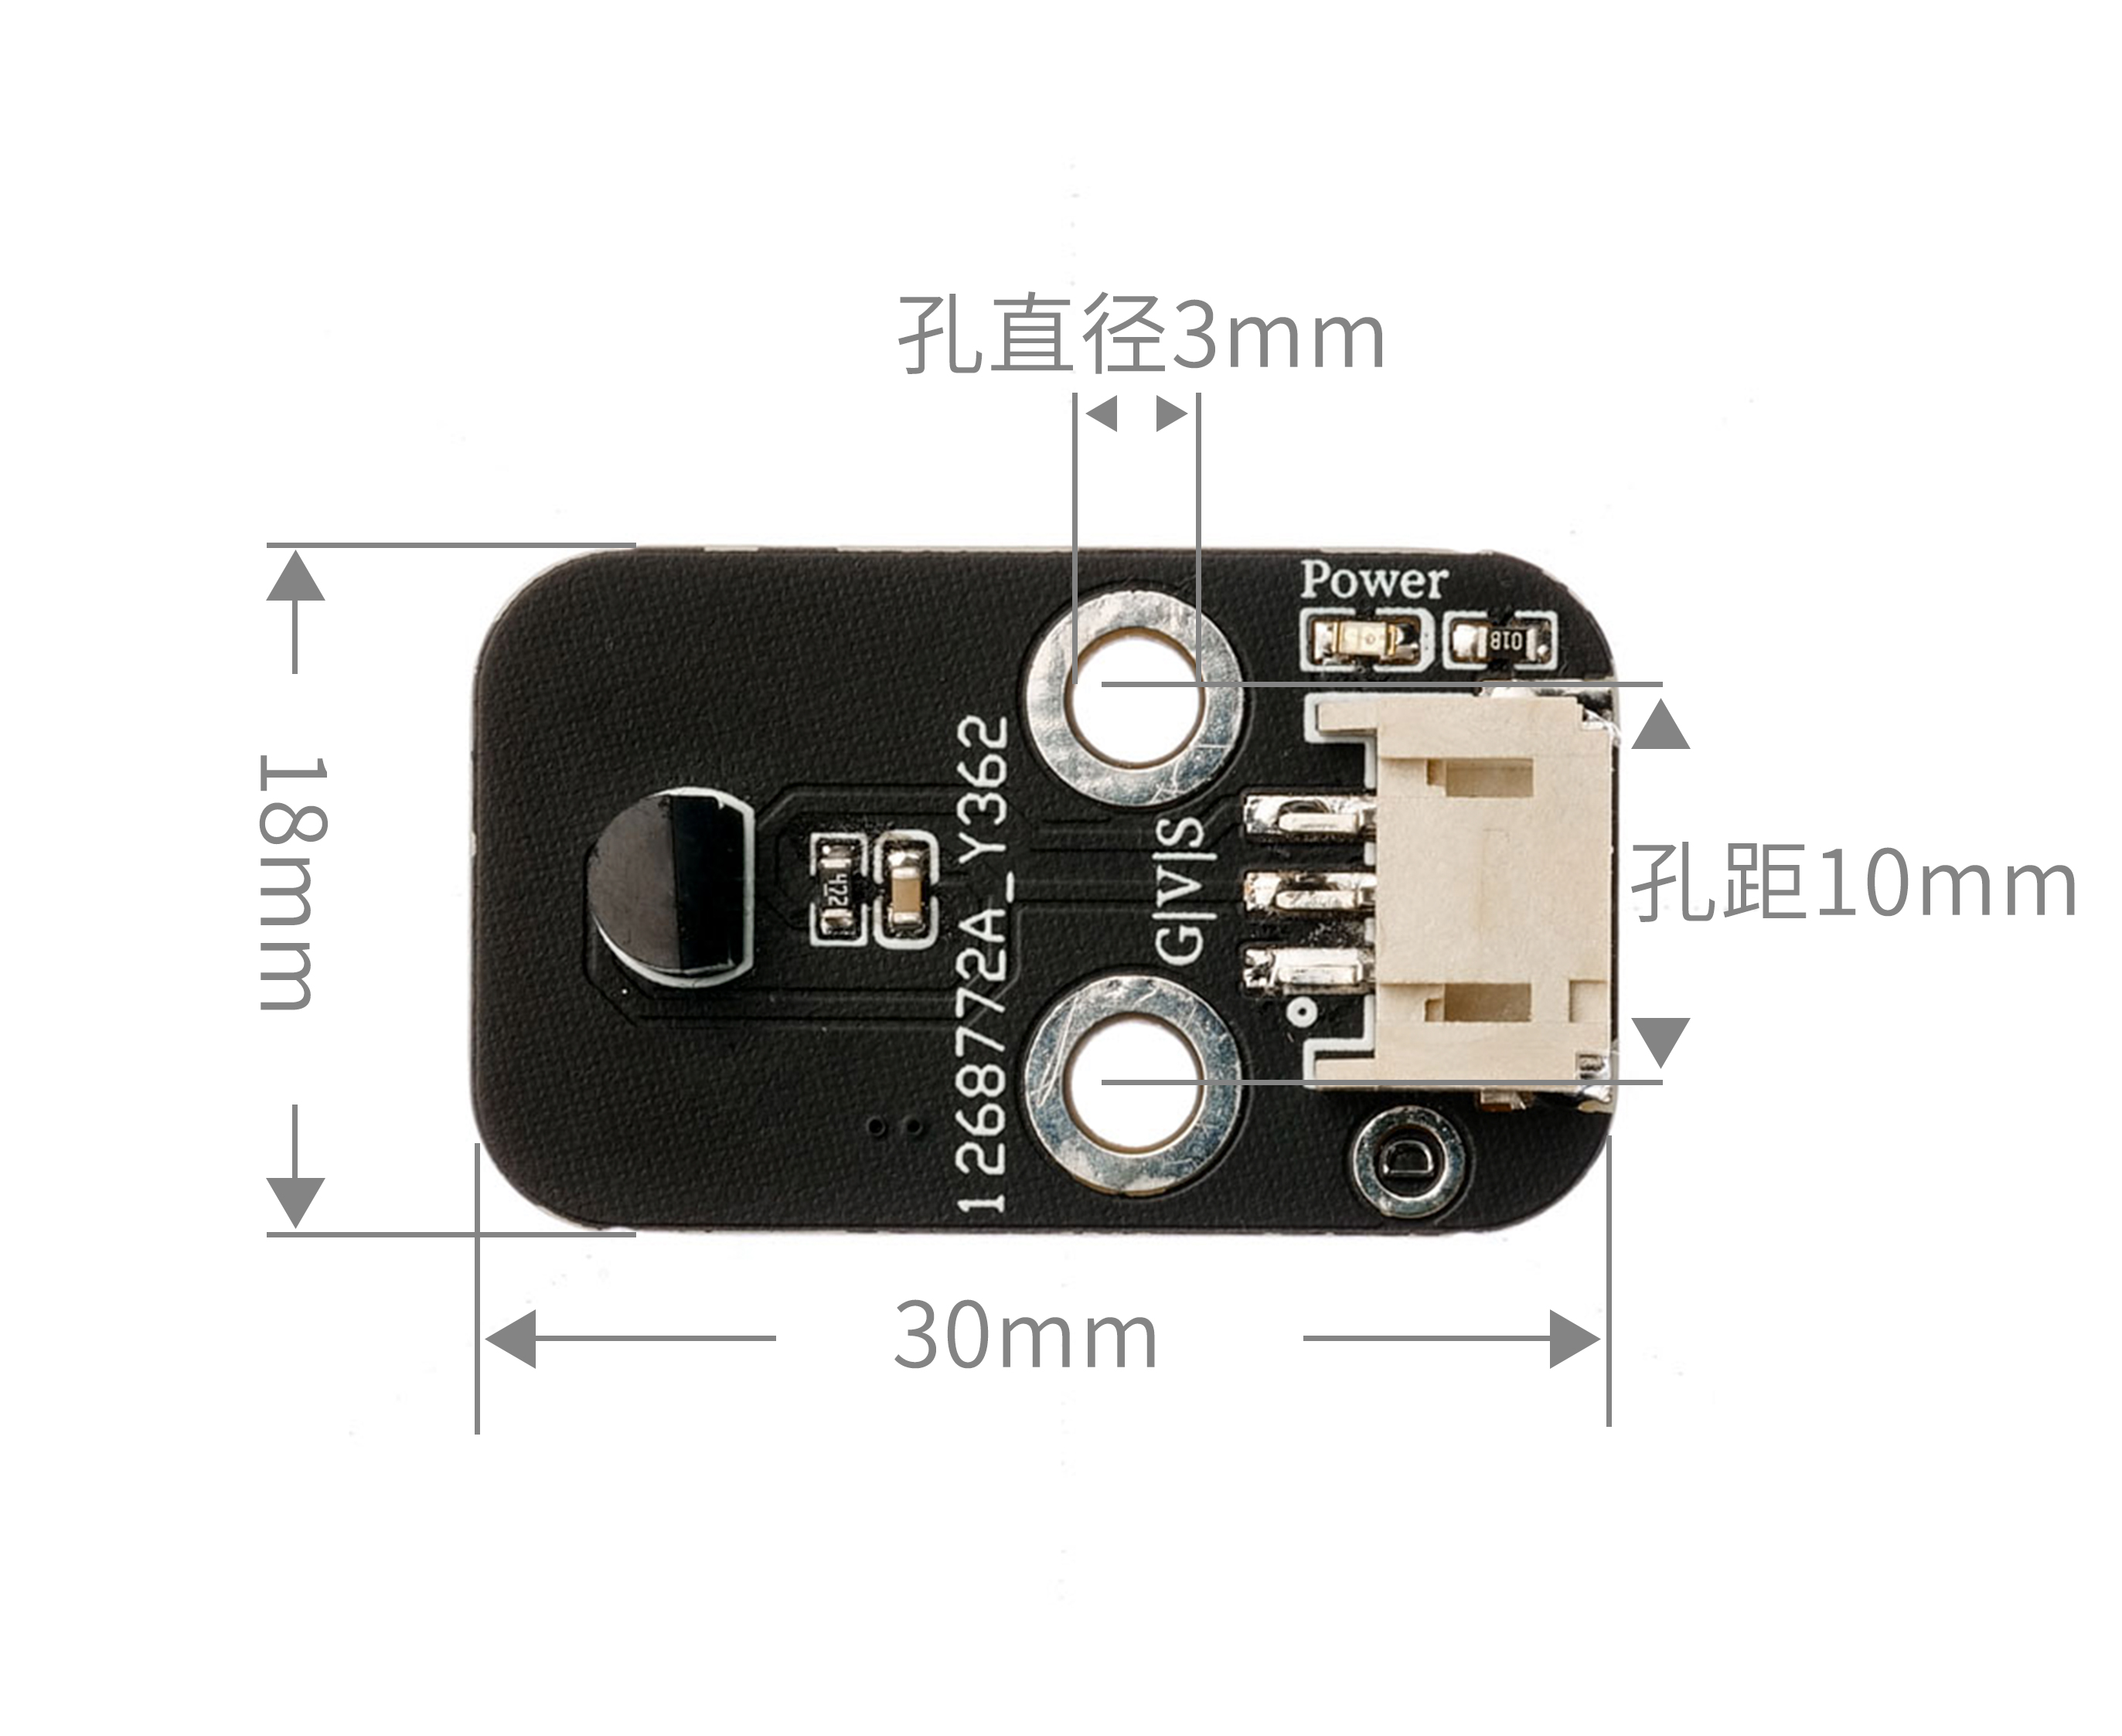
4, Circuit Board Size
5 of Arduino IDE example program
Attention: If prompted with an error message about the library file during program upload, please import the library file first!
Arduino IDE Library Download and Import Tutorial:Click to view
Example program (UNO development board):
#include <OneWire.h>
#include <DallasTemperature.h>

OneWire oneWire_6(6);//18B20数字温度传感器接 Arduino 上的数字引脚6口
DallasTemperature sensors_6(&oneWire_6);//将 oneWire 引用传递给DallasTemperature库
DeviceAddress insideThermometer;

float ds18b20_6_getTemp(int w) {
  sensors_6.requestTemperatures();//发送命令以获取温度
  if(w==0) {
    return sensors_6.getTempC(insideThermometer);
  }
  else {
    return sensors_6.getTempF(insideThermometer);
  }
}

void setup(){
  Serial.begin(9600);
  sensors_6.getAddress(insideThermometer, 0);
  sensors_6.setResolution(insideThermometer, 6);
}

void loop(){

  Serial.println(String("温度:") + String(ds18b20_6_getTemp(0)) + String("℃"));//以摄氏度为单位打印温度
  Serial.println(String("温度:") + String(ds18b20_6_getTemp(1)) + String("℉"));//以华氏度为单位打印温度
  Serial.println("");
  delay(1000);

}
6, ESP32 Python Example (for Mixly IDE/Misashi)
Choose the development board Python ESP32 [ESP32 Generic(4MB)] and upload in code mode
Attention: If prompted with an error message about the library file during program upload, please import the library file first!
Download and import tutorial for Mixly IDE ESP32 library:Click to view
Example program (ESP32-Python):
from machine import Pin
import time
class OneWire:
    def __init__(self, pin):
        self.pin = pin
        self.pin.init(Pin.OPEN_DRAIN, Pin.PULL_UP)
        self.pin.value(1)
    def reset(self):
        self.pin.value(0)
        time.sleep_us(480)
        self.pin.value(1)
        time.sleep_us(60)
        present = not self.pin.value()
        time.sleep_us(420)
        return present
    def writebit(self, value):
        self.pin.value(0)
        if value:
            time.sleep_us(10)
            self.pin.value(1)
            time.sleep_us(55)
        else:
            time.sleep_us(65)
            self.pin.value(1)
            time.sleep_us(5)
    def readbit(self):
        self.pin.value(0)
        time.sleep_us(2)
        self.pin.value(1)
        time.sleep_us(15)
        value = self.pin.value()
        time.sleep_us(45)
        return value
    def writebyte(self, value):
        for i in range(8):
            self.writebit((value >> i) & 1)
    def readbyte(self):
        value = 0
        for i in range(8):
            value |= self.readbit() << i
        return value
    def readinto(self, buf):
        for i in range(len(buf)):
            buf[i] = self.readbyte()
class DS18B20:
    def __init__(self, onewire):
        self.ow = onewire
        self.buf = bytearray(9)
    def convert_temp(self):
        self.ow.reset()
        self.ow.writebyte(0xCC)
        self.ow.writebyte(0x44)
        time.sleep_ms(750)
    def read_temp(self):
        self.ow.reset()
        self.ow.writebyte(0xCC)
        self.ow.writebyte(0xBE)
        self.ow.readinto(self.buf)
        temp = self.buf[0] | (self.buf[1] << 8)
        if temp & 0x8000:
            temp = -((temp ^ 0xffff) + 1)
        return temp / 16

def ds18b20_get_temp(w=0):
    sensor.convert_temp()
    t = sensor.read_temp()
    if w == 1:
        t = t * 9 / 5 + 32
    return t

ds_pin = Pin(12)
ow = OneWire(ds_pin)
sensor = DS18B20(ow)


while True:
    print(ds18b20_get_temp(1))
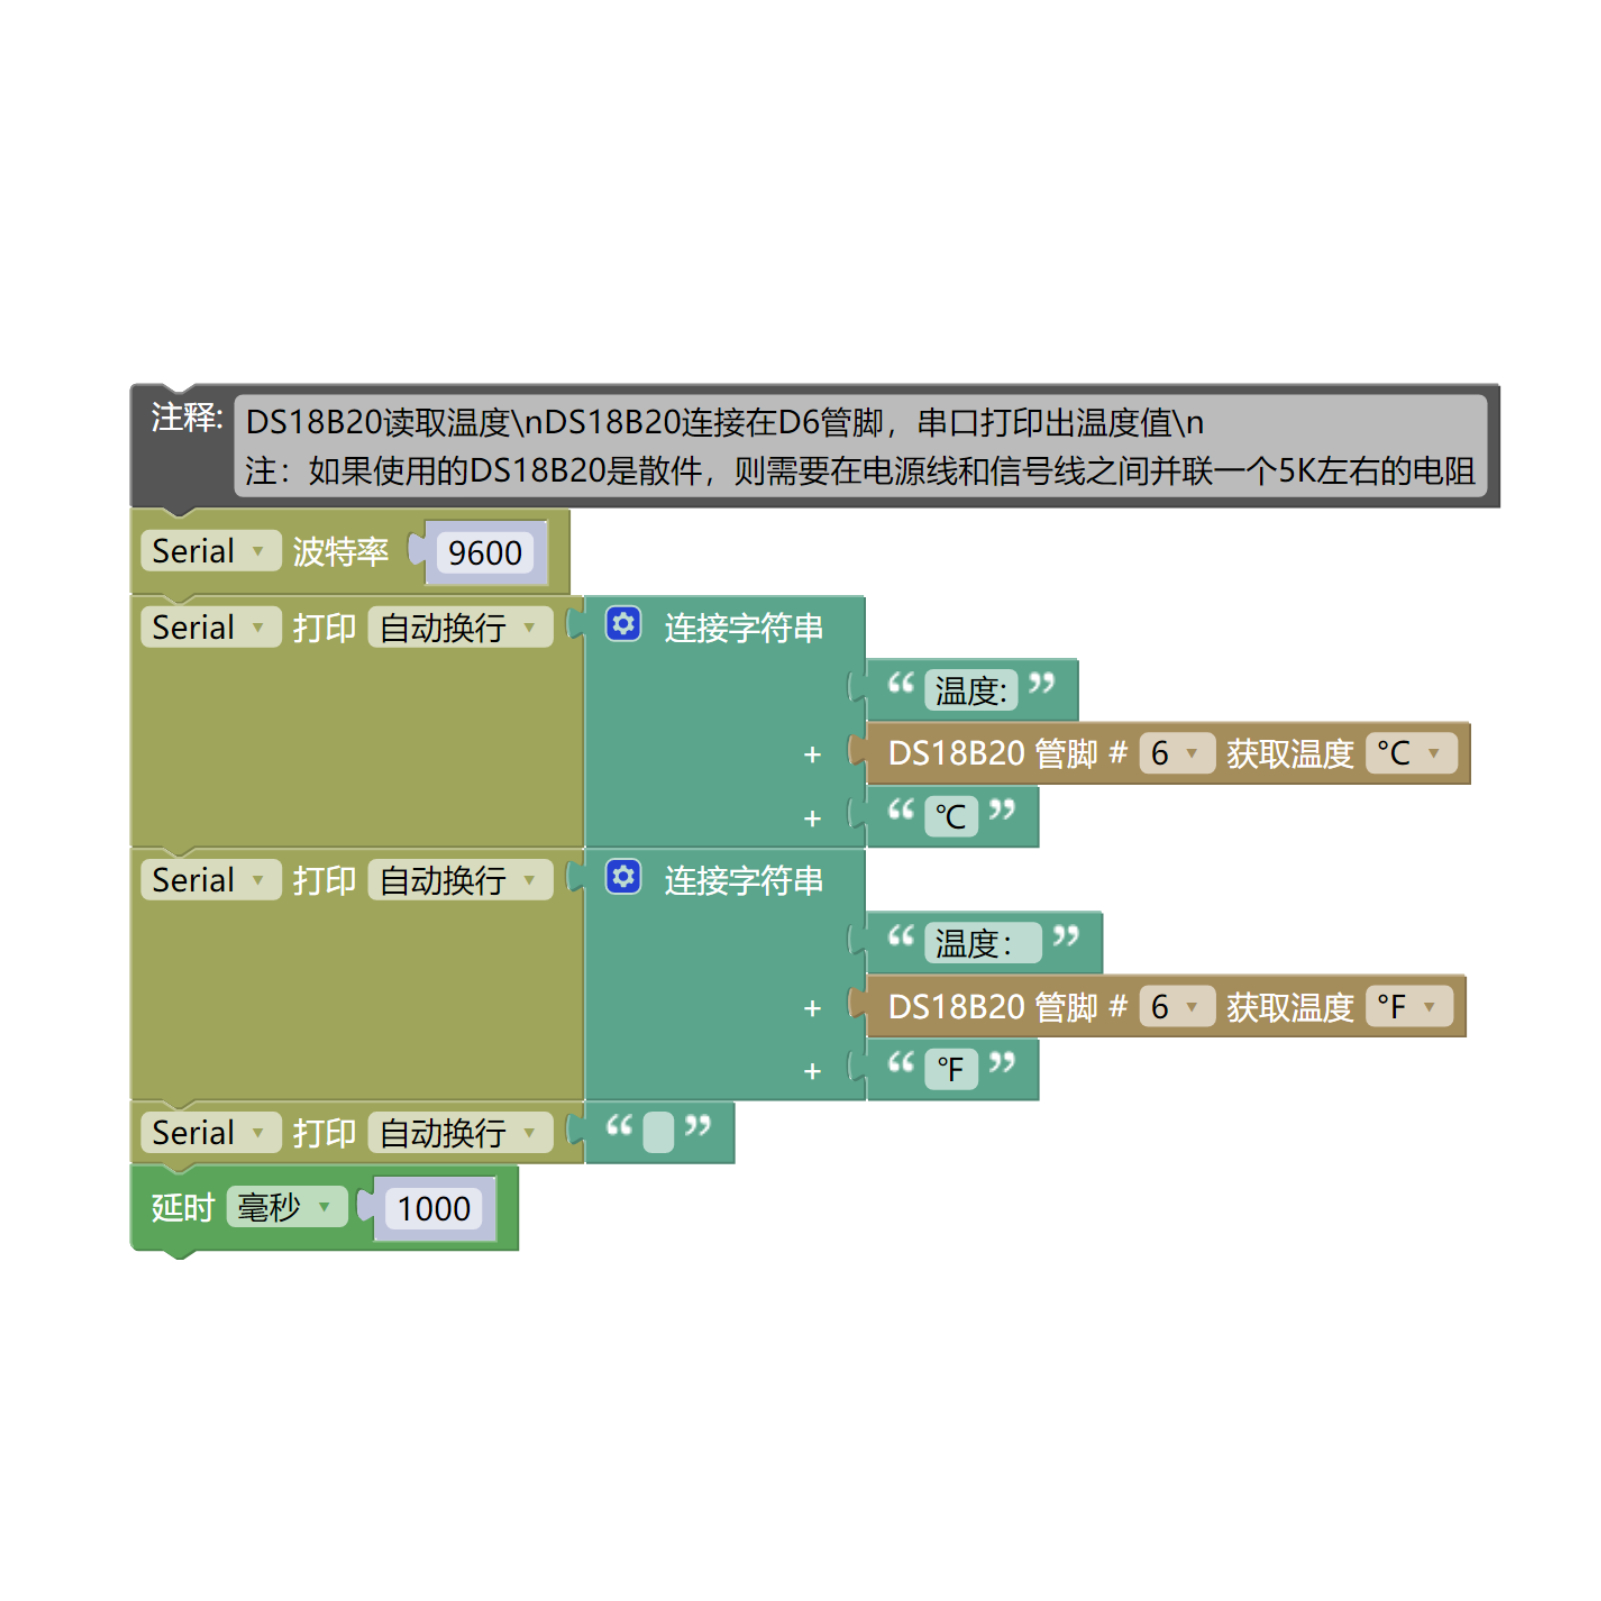
7, Mixly example program (graphical language)
Example program (UNO development board):Click to download
Attention: If prompted with an error message about the library file during program upload, please import the library file first!
Download and import tutorial of Mixly IDE Arduino library:Click to view
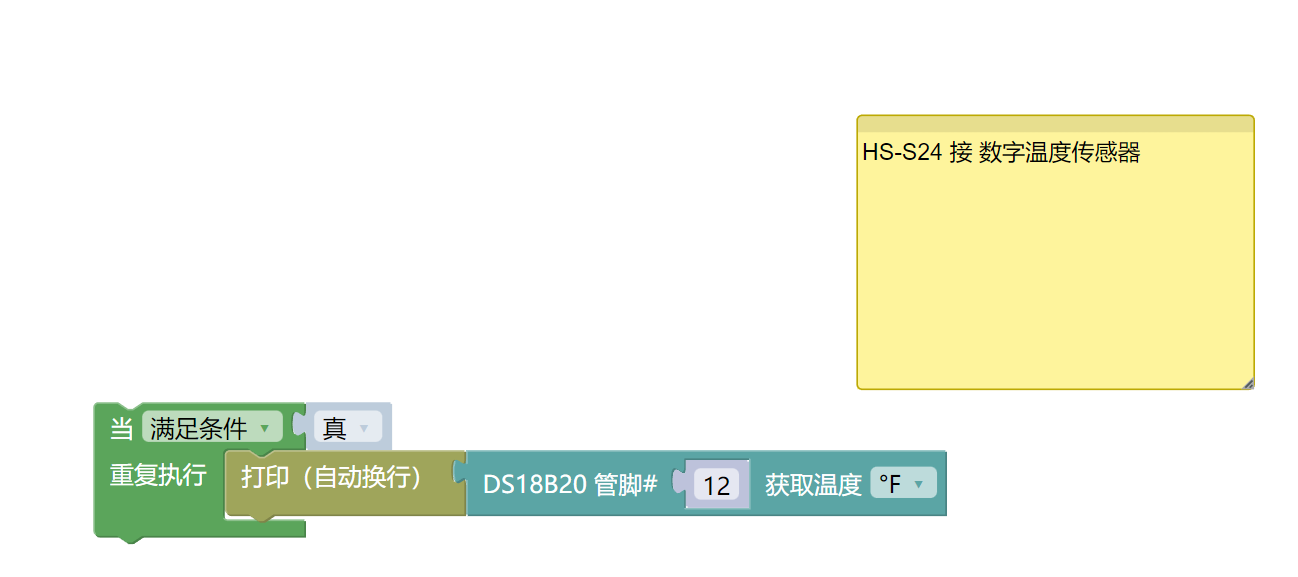
Example Program (ESP32 Development Board):Click to download
Attention: If prompted with an error message about the library file during program upload, please import the library file first!
Download and import tutorial for Mixly IDE ESP32 library:Click to view
8. Setting up the Test Environment
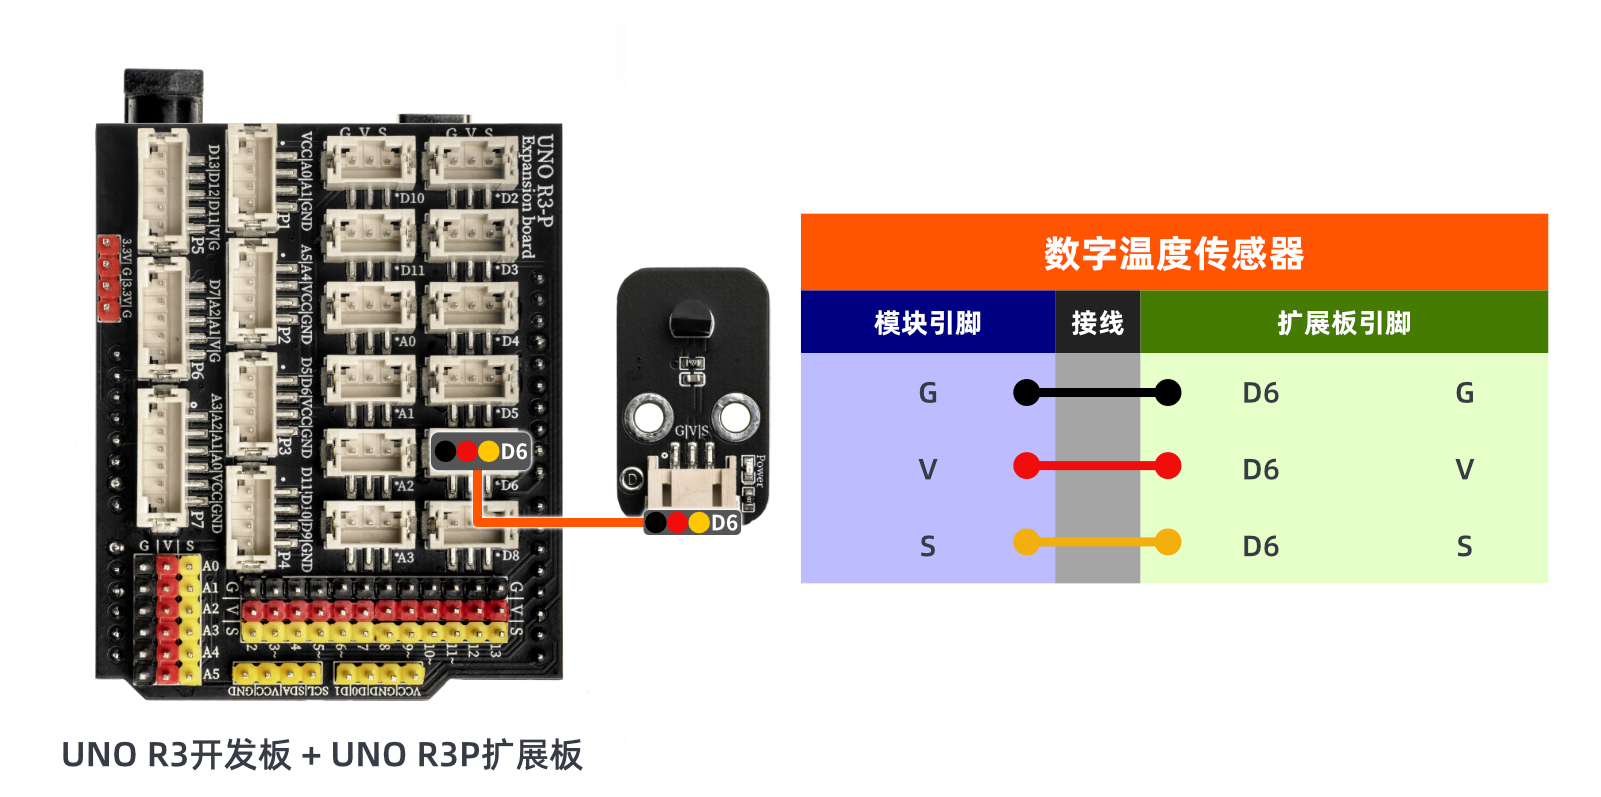
Arduino UNO Test Environment Setup
Prepare Components:
HELLO STEM UNO R3 DEVELOPMENT BOARD *1
HELLO STEM UNO R3 P EXPANSION BOARD *1
USB TYPE-C DATA CABLE *1
Digital Temperature Sensor (HS-S24P) *1
PH2.0 3P Connector to DuPont Wire *1 or PH2.0 3P Dual Head Connector Wire *1
Circuit wiring diagram:
ESP32 Test Environment Setup
Prepare Components:Pending update...
Circuit wiring diagram:Pending update...
9, Video tutorial
Video tutorial:Click to view
10, Test results
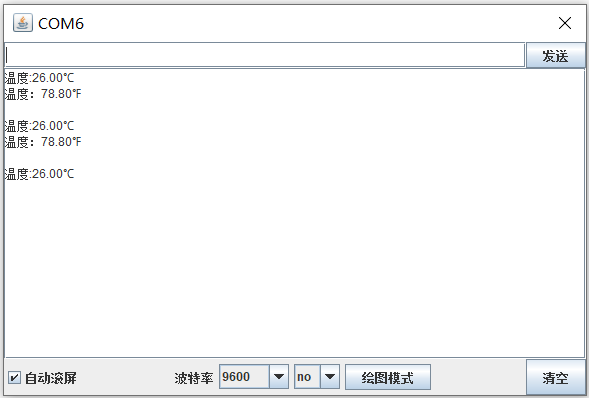
Arduino UNO test results:
After connecting the device, burn the above program to the development board, open the serial port monitor, set the baud rate to 9600, and you can see the serial port print the current environmental temperature.
ESP32 Test Results:
Pending update...