
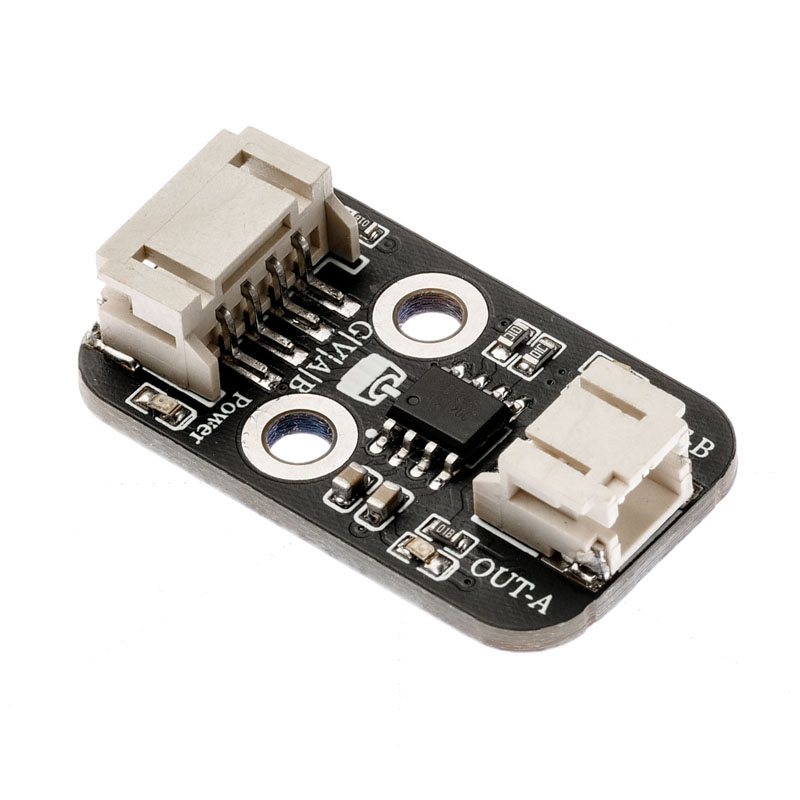
1. Introduction
2. Schematic
Motor Drive Board-HS-F04P SchematicClick to view
Module Parameters
Pin Name | description |
|---|---|
G | GND (Negative Power Input) |
V | VCC (Positive Power Input) |
INA | Motor Control Signal Pin A |
INB | Motor Control Signal Pin B |
Power Supply Voltage: 3.3V / 5V
Connection method: PH2.0 terminal wire
Installation Method: Double Screw Fixed
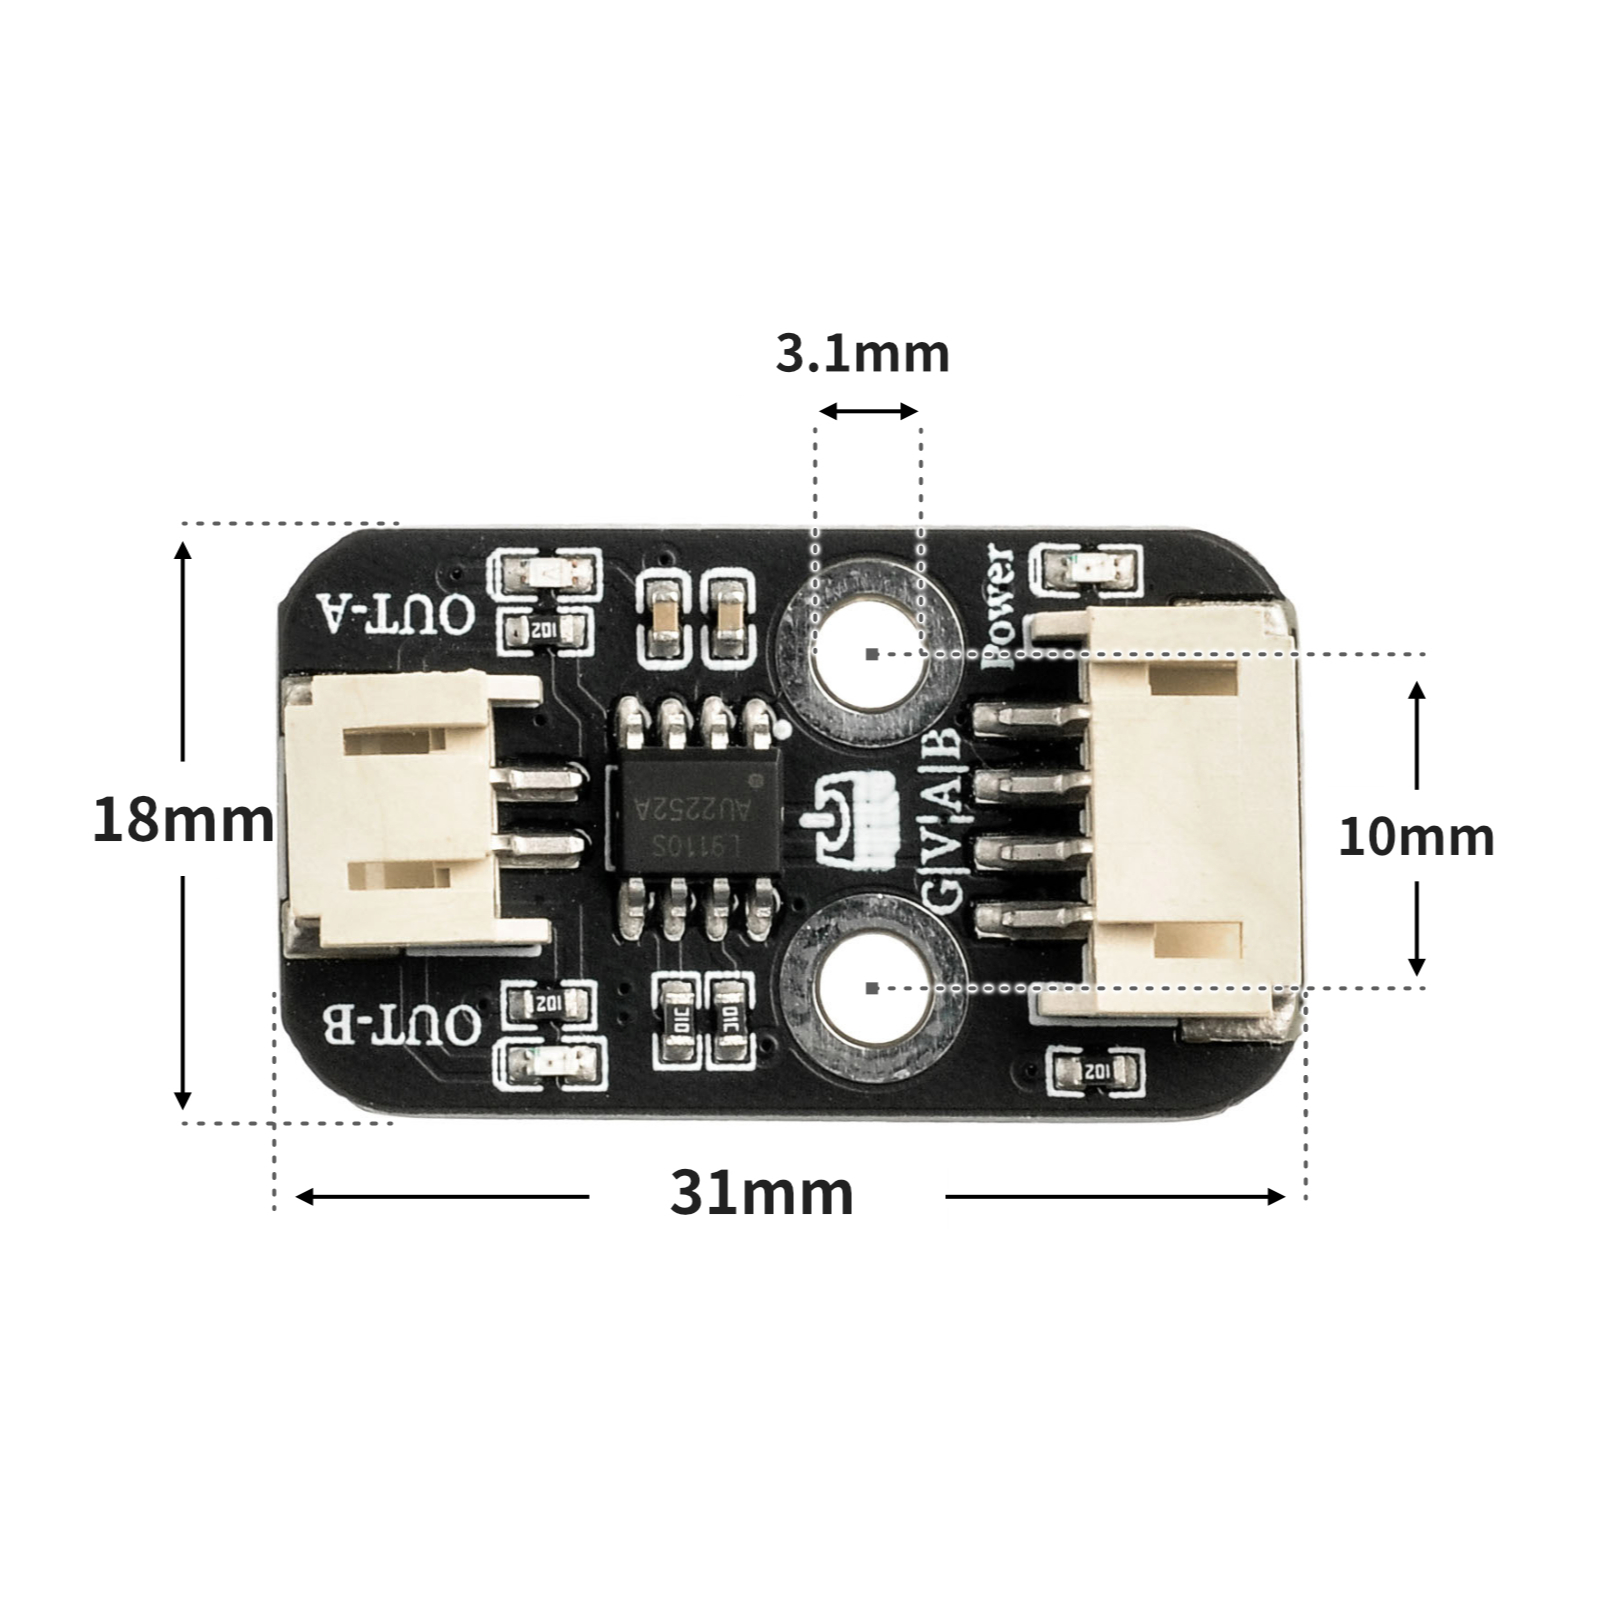
4, Circuit Board Size
5 of Arduino IDE example program
Attention: If prompted with an error message about the library file during program upload, please import the library file first!
Arduino IDE Library Download and Import Tutorial:Click to view
Example program (UNO development board):
void setup(){
  pinMode(5, OUTPUT);
  pinMode(6, OUTPUT);
}

void loop(){
  analogWrite(5, 255);
  analogWrite(6, 0);
  delay(2000);
  analogWrite(5, 0);
  analogWrite(6, 0);
  delay(2000);

}
6, ESP32 Python Example (for Mixly IDE/Misashi)
Choose the development board Python ESP32 [ESP32 Generic(4MB)] and upload in code mode
Attention: If prompted with an error message about the library file during program upload, please import the library file first!
Download and import tutorial for Mixly IDE ESP32 library:Click to view
Example program (ESP32-Python):
import machine
import time
pin16 = machine.Pin(16, machine.Pin.OUT)
pin17 = machine.Pin(17, machine.Pin.OUT)
while True:
pin16.value(1)
pin17.value(0)
time.sleep(1)
pin16.value(0)
pin17.value(1)
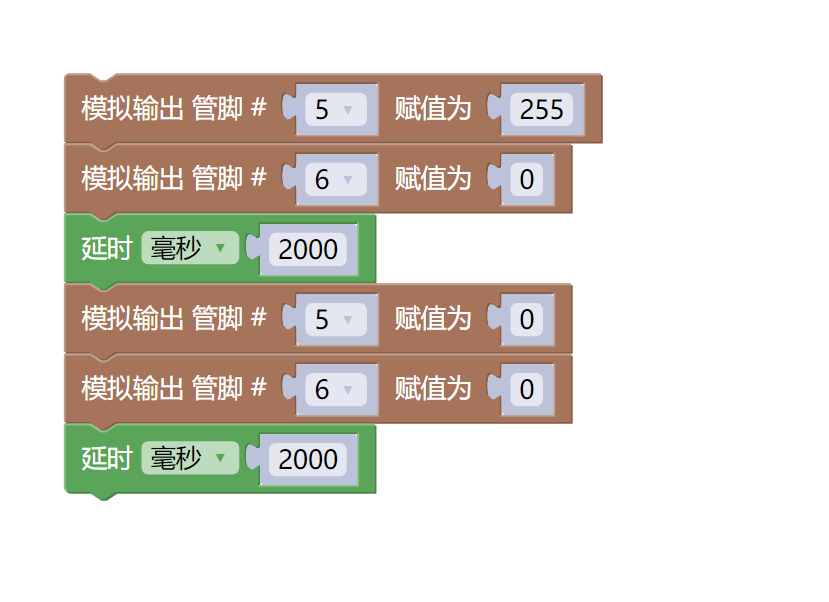
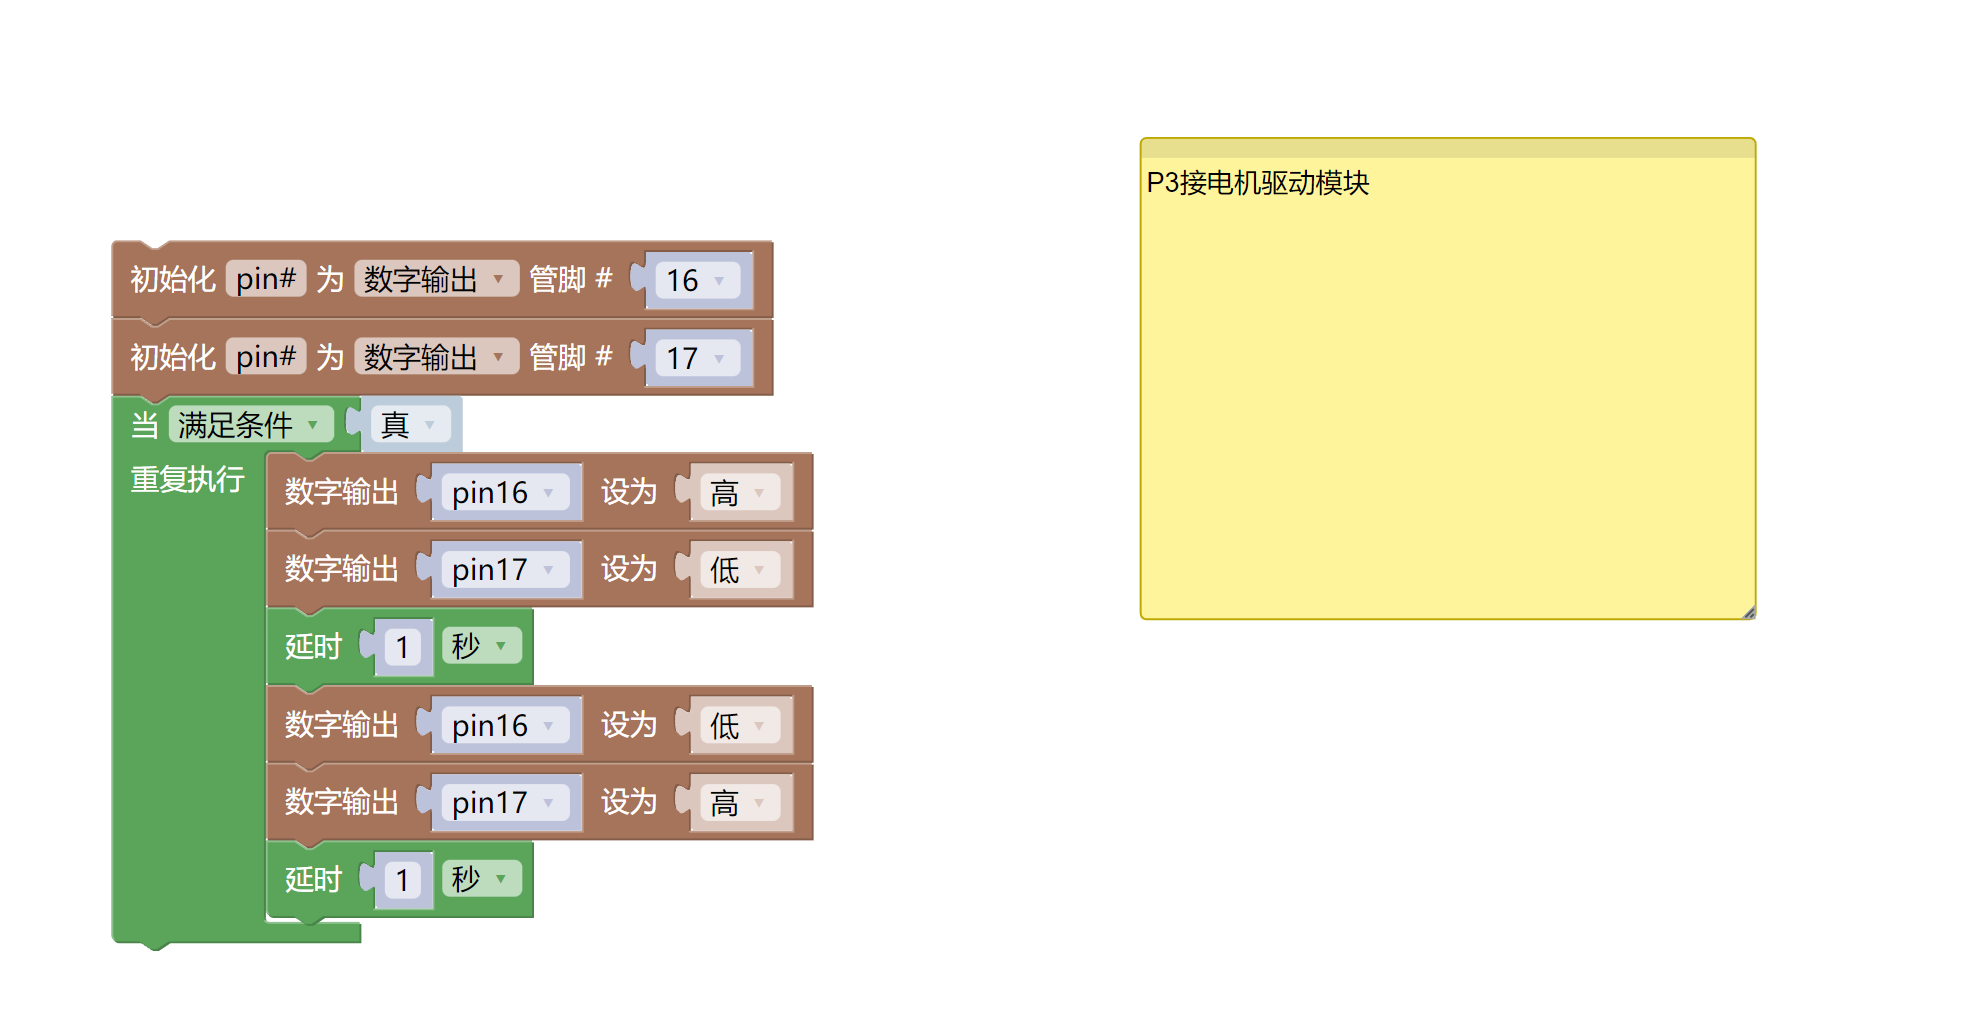
time.sleep(1)7, Mixly example program (graphical language)
Example program (UNO development board):Click to download
Attention: If prompted with an error message about the library file during program upload, please import the library file first!
Download and import tutorial of Mixly IDE Arduino library:Click to view
Example Program (ESP32 Development Board):Click to download
Attention: If prompted with an error message about the library file during program upload, please import the library file first!
Download and import tutorial for Mixly IDE ESP32 library:Click to view
8. Setting up the Test Environment
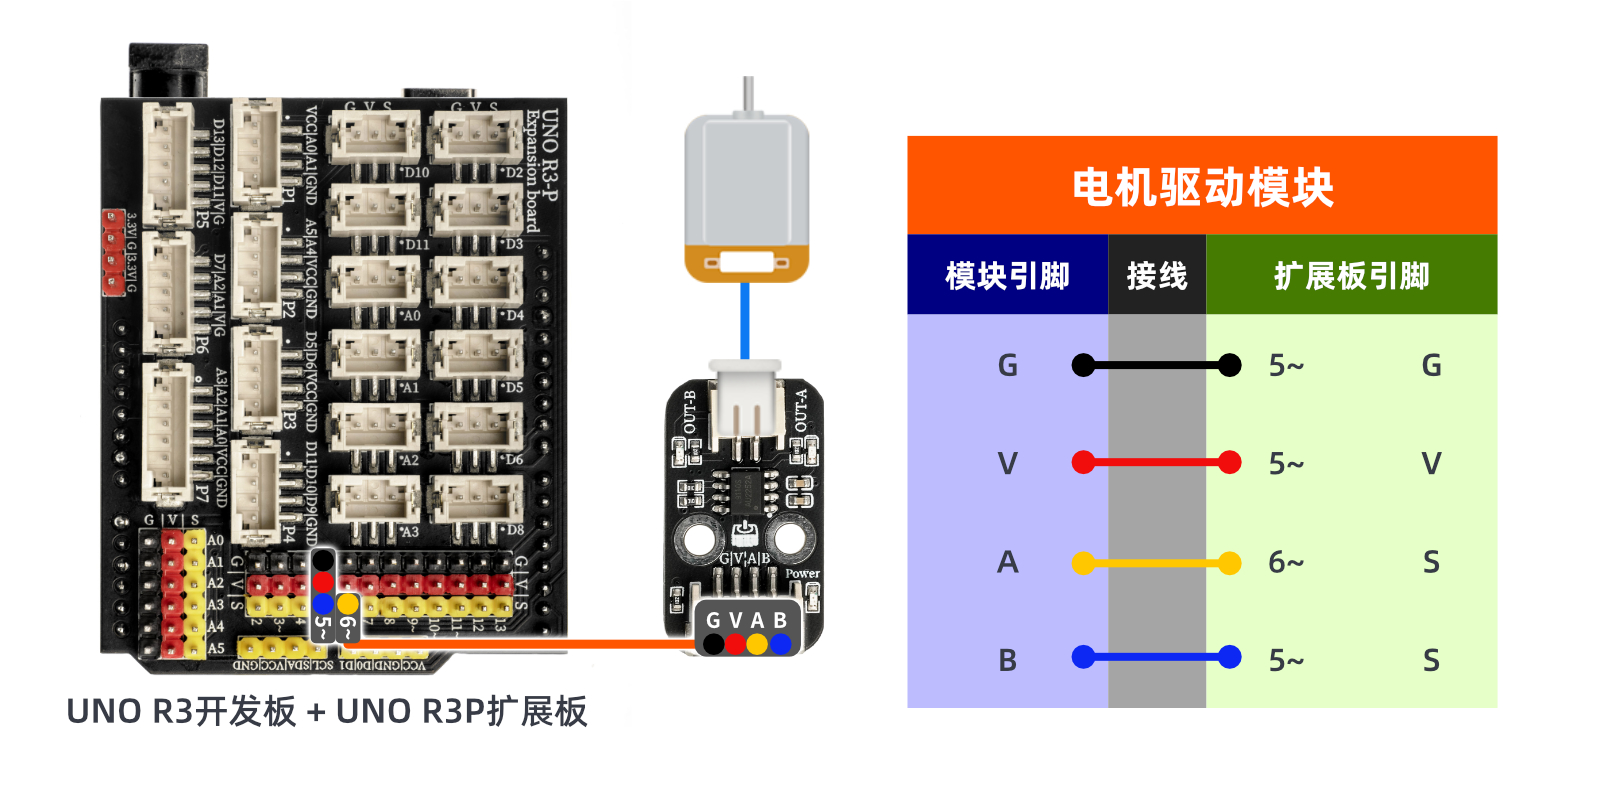
Arduino UNO Test Environment Setup
Prepare Components:
HELLO STEM UNO R3 DEVELOPMENT BOARD *1
HELLO STEM UNO R3 P EXPANSION BOARD *1
USB TYPE-C DATA CABLE *1
Motor (with 2.0 terminal) *1
Motor Drive Module (HS-F04P) *1
Blade*1
PH2.0 4P socket to Dupont wire *1 or PH2.0 4P double-ended socket wire *1
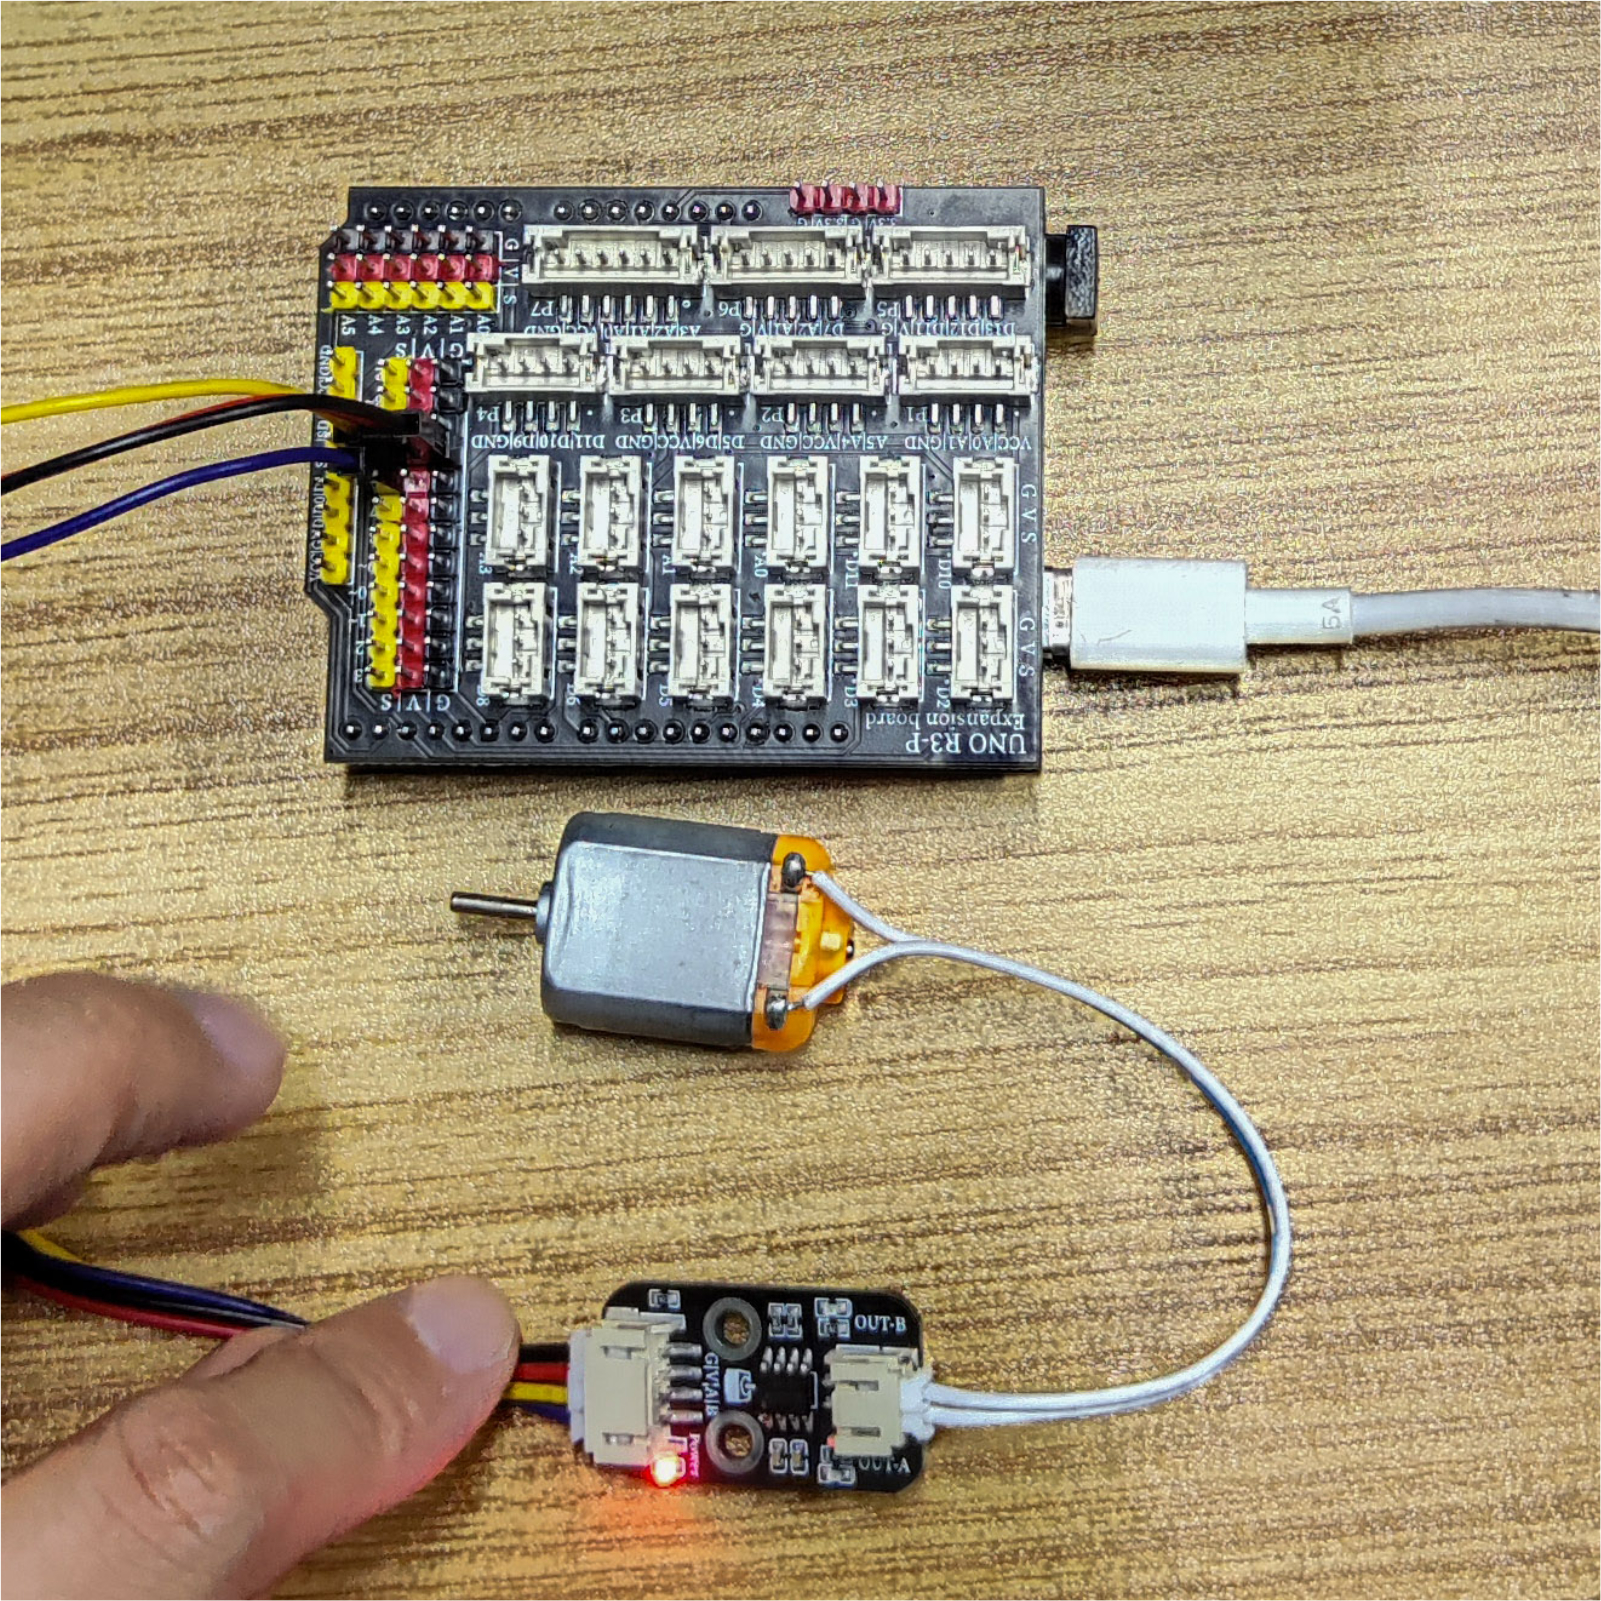
Circuit wiring diagram:
ESP32 Test Environment Setup
Prepare Components:Pending update...
Circuit wiring diagram:Pending update...
9, Video tutorial
Video tutorial:Click to view
10, Test results
Arduino UNO test results:
After the device is connected and the program is uploaded to the Arduino UNO development board, it will be found that the motor will rotate for 2 seconds and stop for 2 seconds and then continue to cycle.Now you must have mastered the basic theory and programming of DC motors.You can not only make it go forward and backward, but also adjust its speed.In addition, you can use the knowledge you have learned to make more wonderful applications.
ESP32 Test Results:
Pending update...